MW II Season 03 — Black Gold Map Intel
The Mission: Detailing the map, tactics, and tips for a 6v6 Multiplayer map set in the Al Mazrah Rohan Oil Field under the cover of night.
Black Gold
United Republic of Adal
Day 166, 20:00
Factions Deployed: SpecGru / KorTac
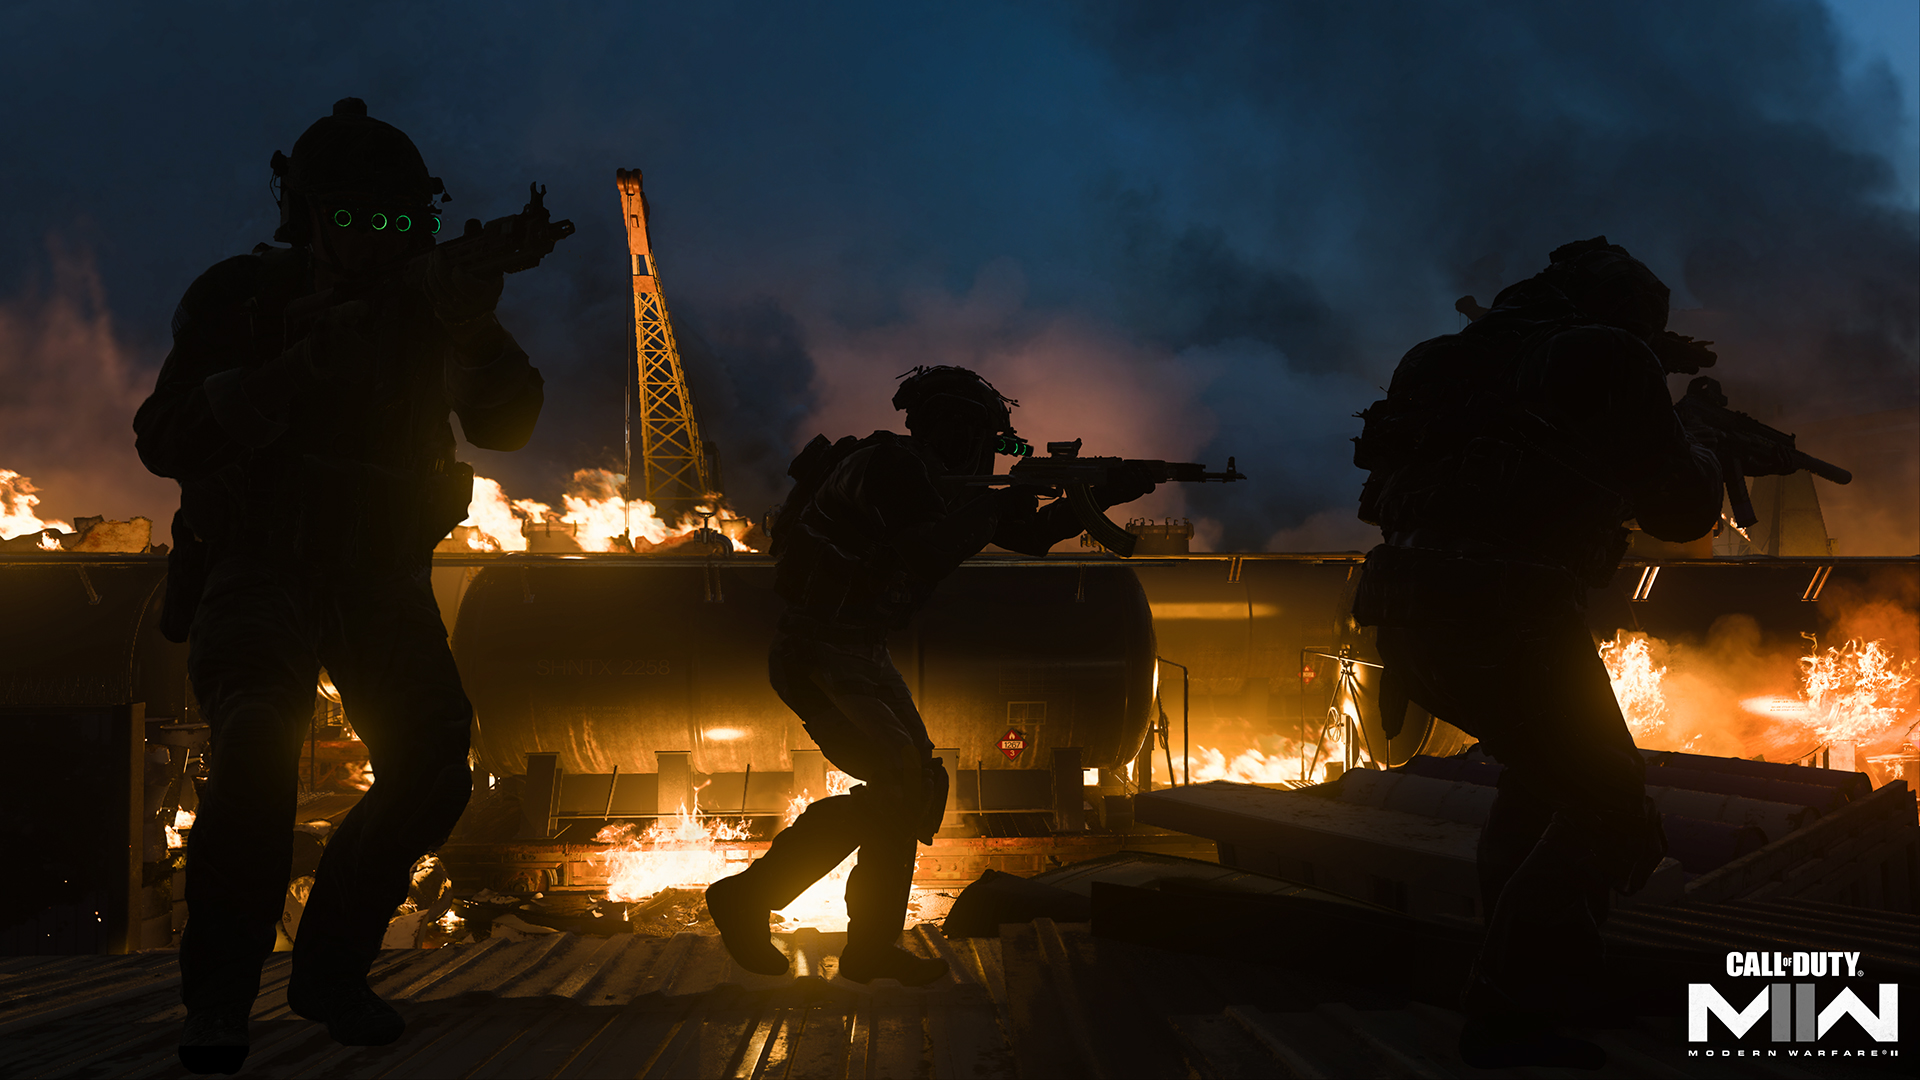
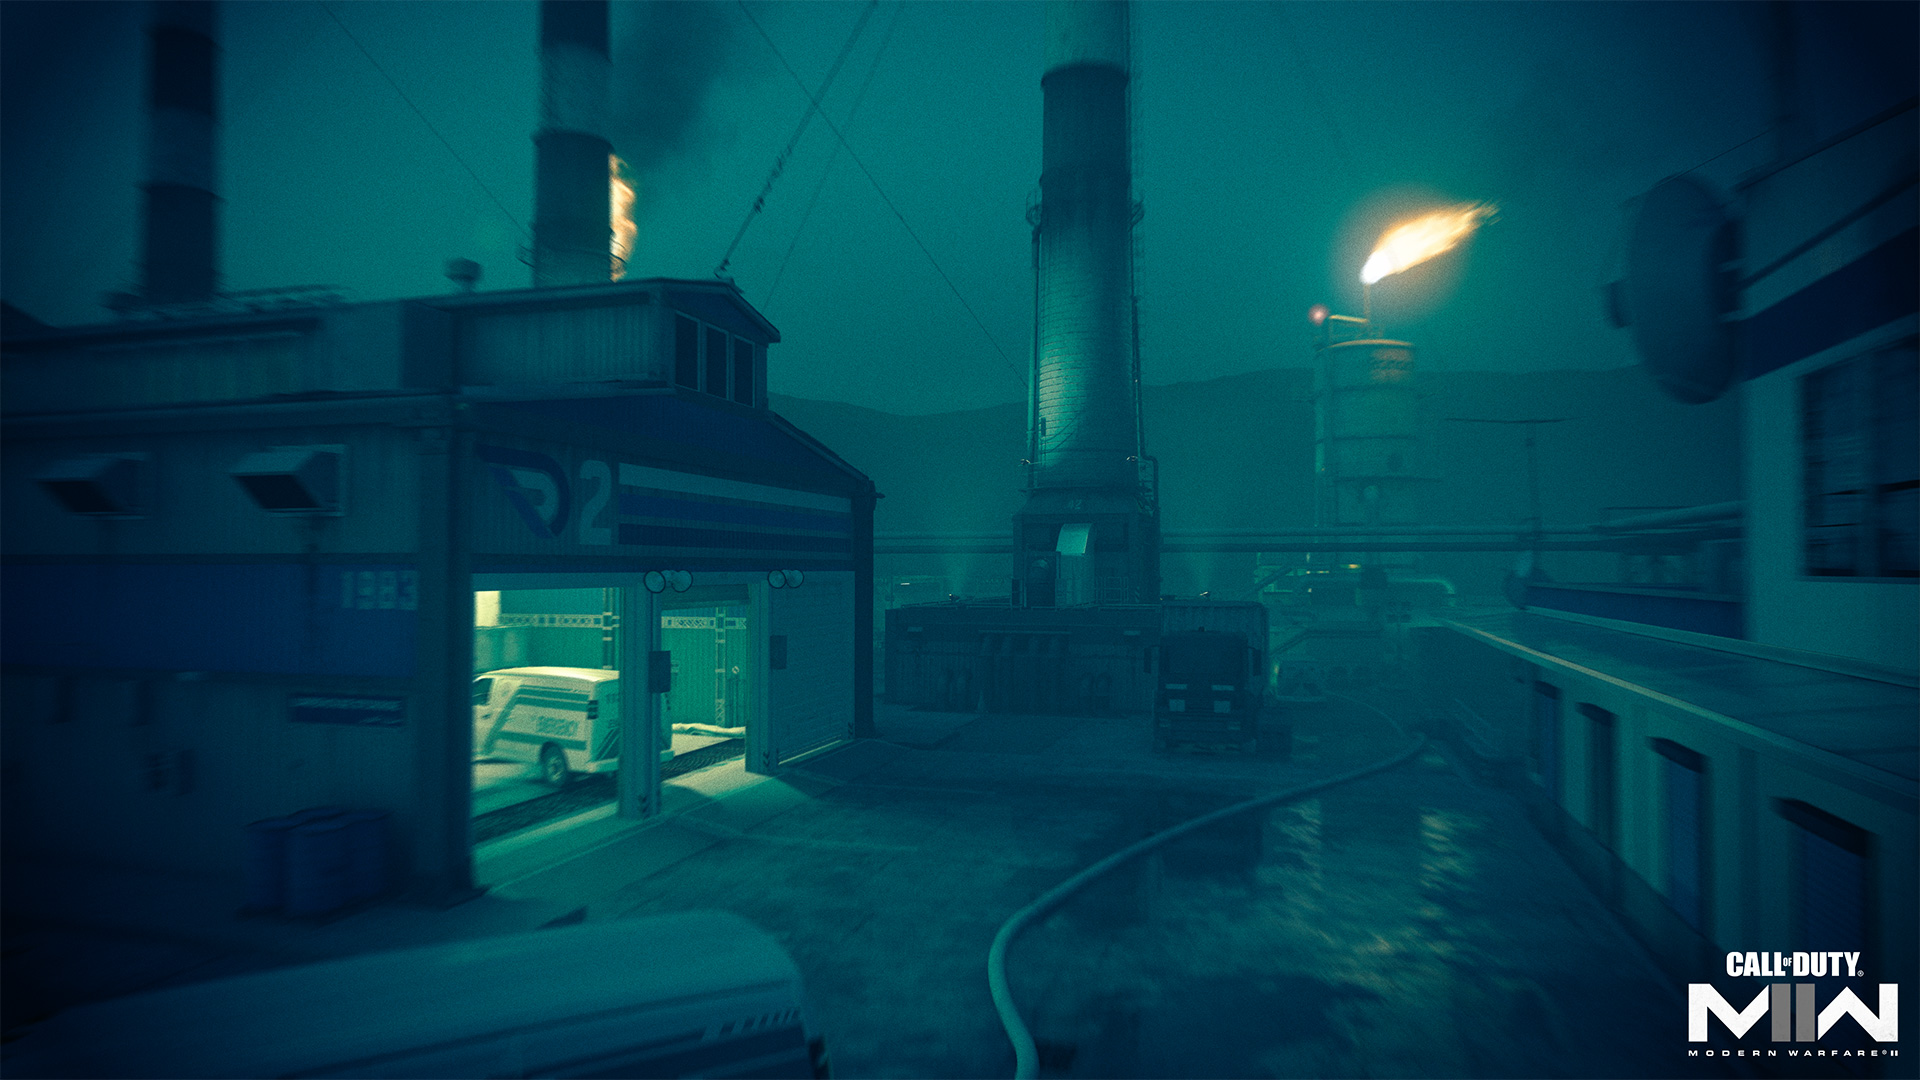
Grab your night vision goggles and thermal optics: We’re going dark for a nighttime raid at the Rohan Oil refinery. This is Black Gold, the first iteration of Multiplayer night operations in Call of Duty®: Modern Warfare® II, set to arrive with the Season 03 launch.
Based on the Rohan Oil section of Al Mazrah, this Core Map represents a critical strategic location for both KorTac and SpecGru. Needless to say, failure is not an option.
Here’s what you need to know to secure victory:
Spawn Point: KorTac
KorTac Spawn Zone (West) — Security Gate
Descending onto the map by the Security Gate, KorTac forces stage their assault from the west. On a large map like this, there are many ways to approach the start of the match, including moving along the northern path toward the Control Room, heading around or through the Main Warehouse, or sticking close to the southern train tracks.
When moving north, note the West Chimney platform, close enough to the KorTac spawn for you to get into a good position on top of it just before the fighting begins. You can also climb up onto either of the Main Warehouse’s side roofs, though while the height advantage is helpful here, there’s little cover to be found. If you’re sticking to the ground floor, try moving around the scattered cover objects to avoid getting sighted down one of the map’s long lanes.
Spawn Point: SpecGru
SpecGru Spawn Zone (East) — Backlot
Flying in from the east, SpecGru forces are situated closer to the northern path through the map. Just as KorTac has quick access to the West Chimney platform, so does SpecGru on the East Chimney Platform, so expect some early fighting across the two elevated spaces as teams vie for control over the area.
The Main Warehouse and the Train Docks aren’t much farther off, but be aware that enemy Operators coming from the west do have a slight advantage in rushing these areas, at least in how far they can push forward before the battle starts. If you’d rather let them come to you, consider hopping onto the air-conditioning unit behind the Offices near the starting spawn.
Map Maneuvers: Route Planning
For the purposes of this guide, we’re dividing Black Gold into five main sections:
- Security Gate
- Chimneys
- Main Warehouse
- Train Docks
- Backlot
Security Gate
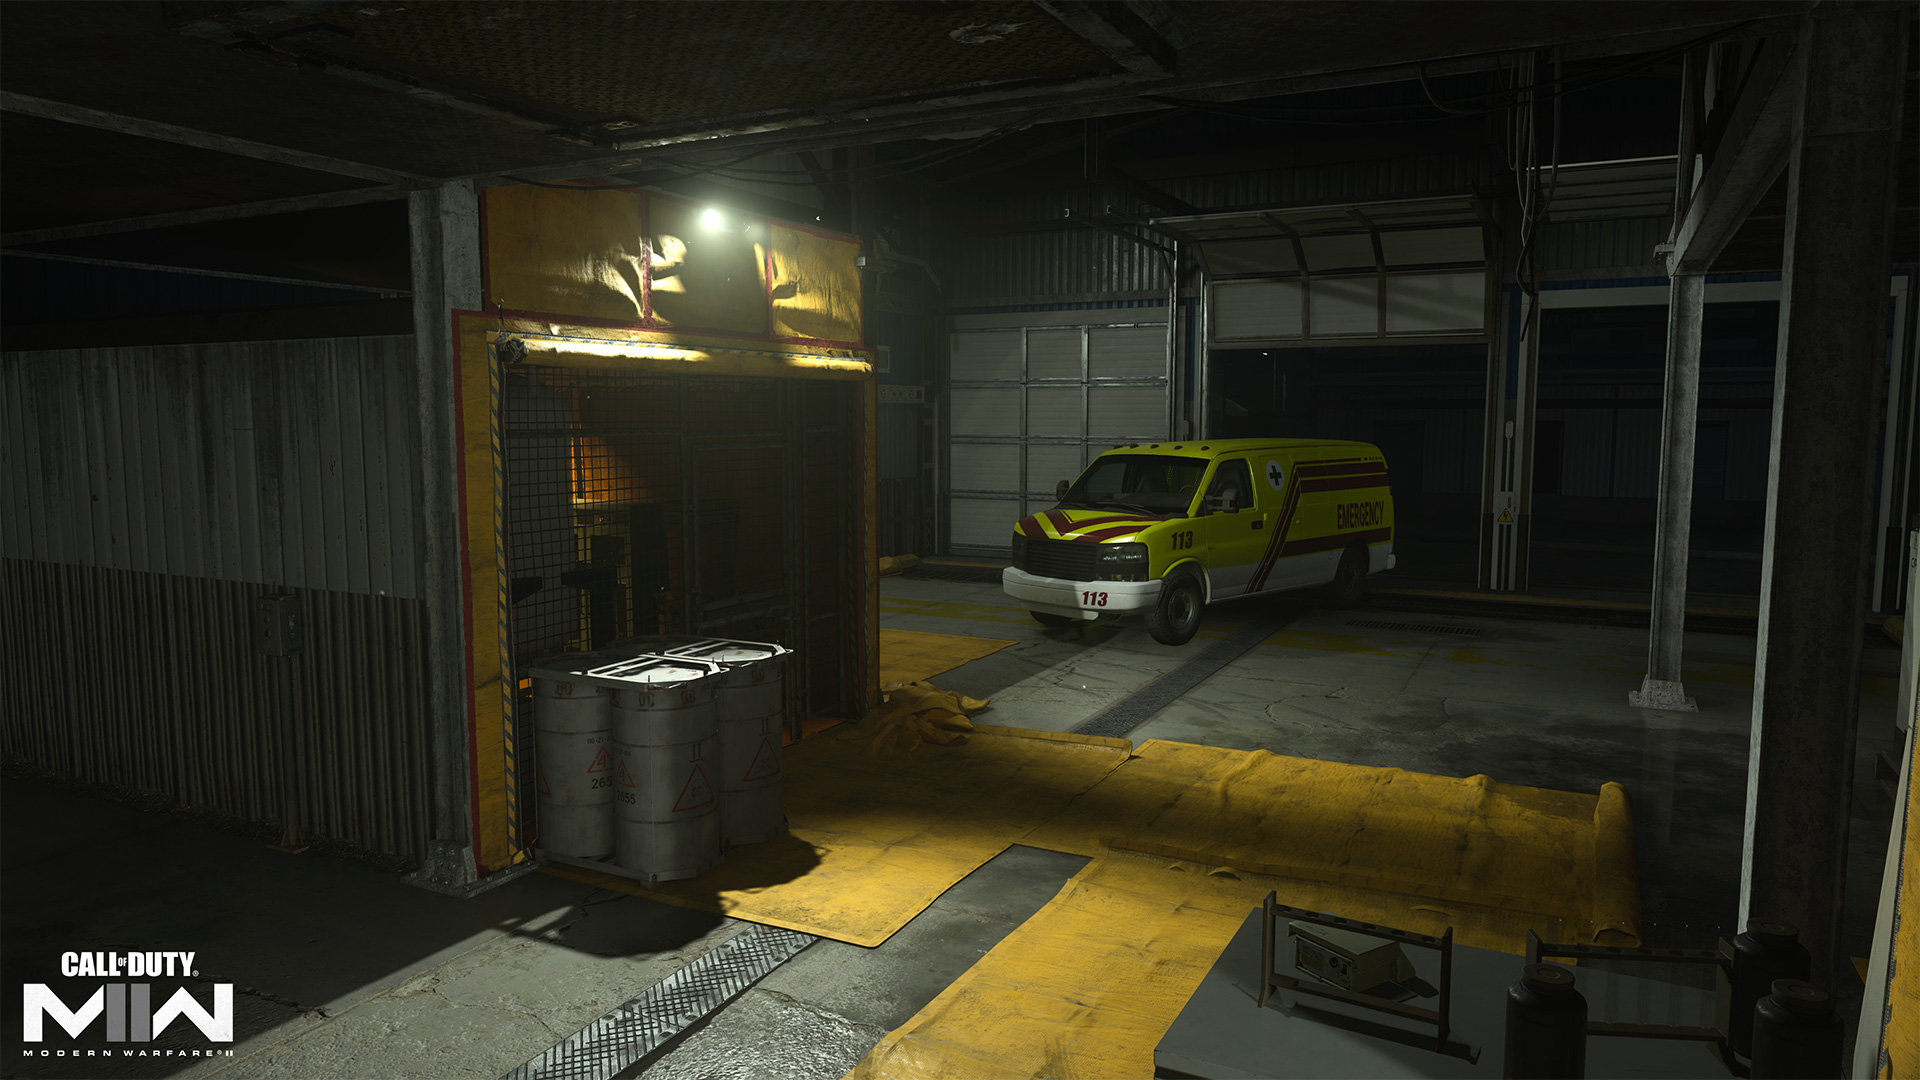
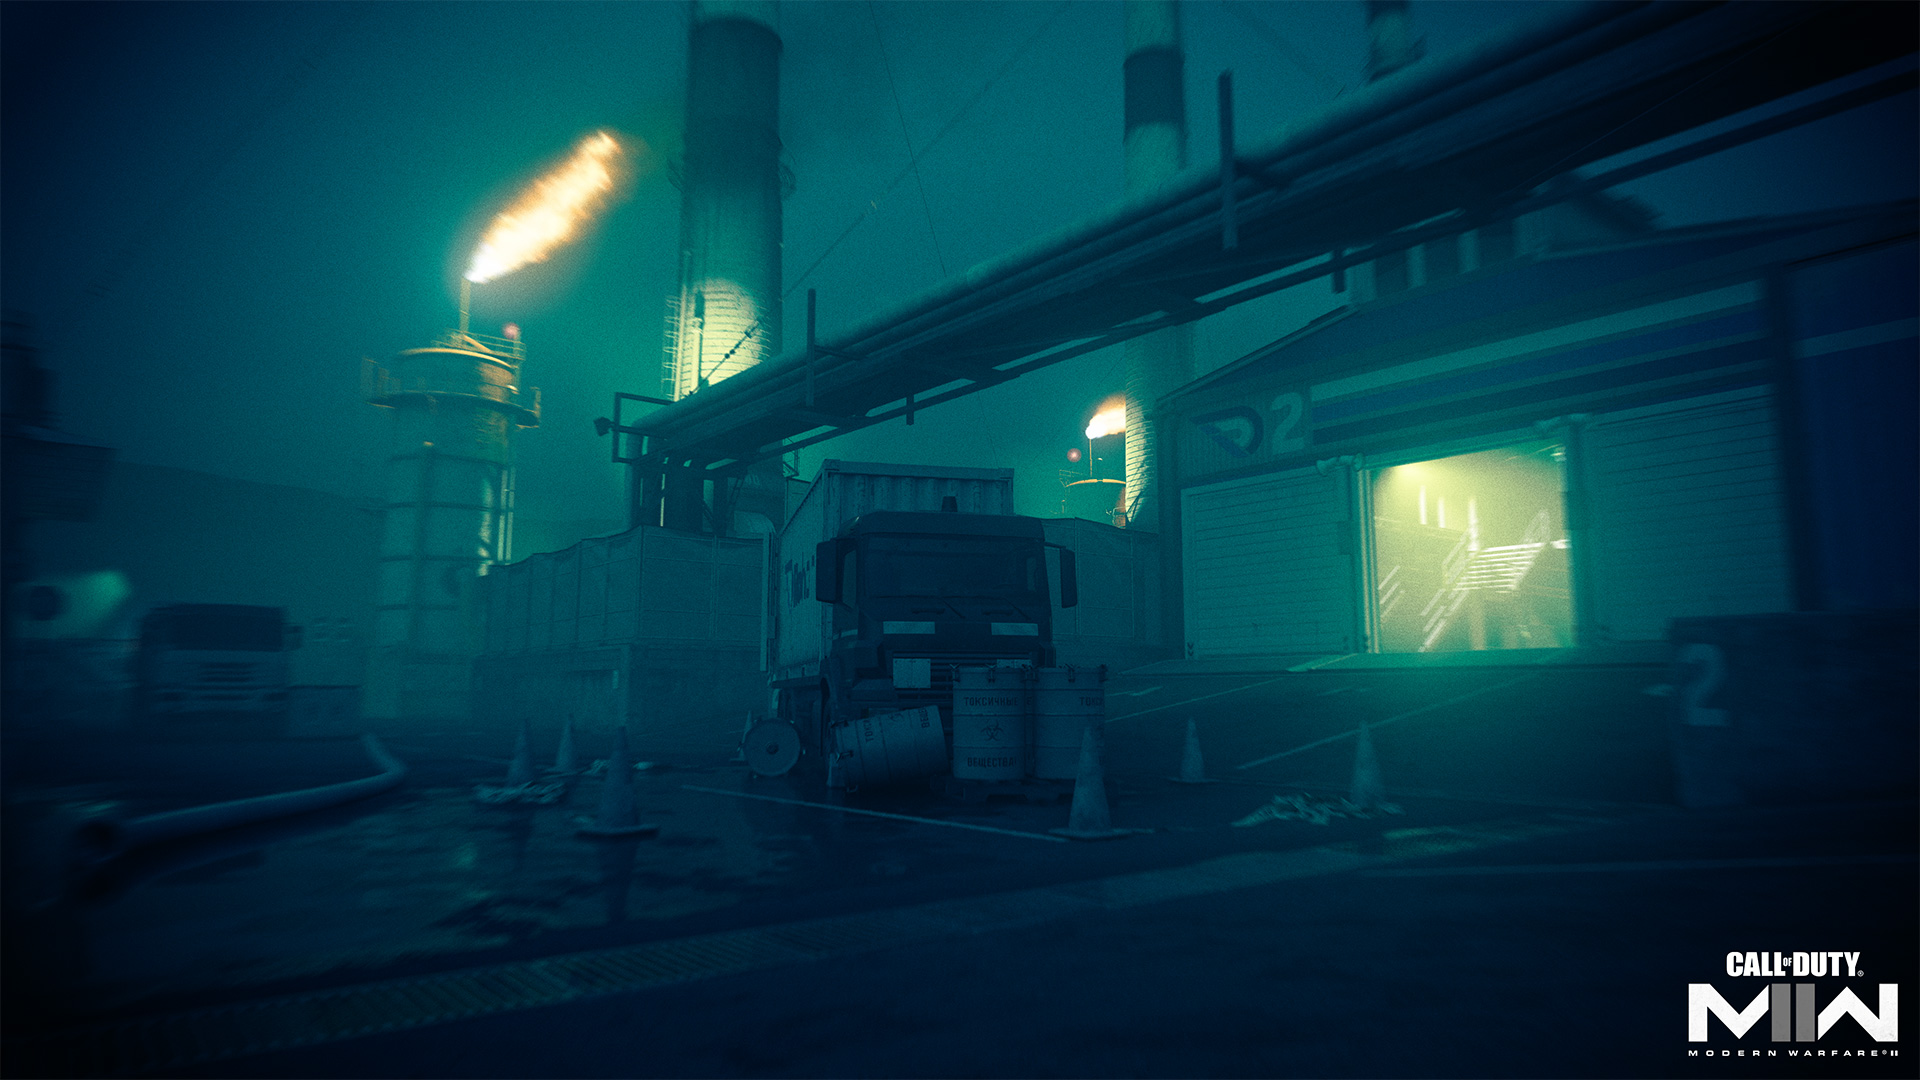
This area includes the Security Gate, Cargo Dock, Side Warehouse, and Chem Spill.
Set on flat ground between the Cargo Dock and Side Warehouse, this section of the map rewards weapon skill over positioning, as there are fewer objects to climb on or places to set up ambushes, meaning that gunfights often come down to who is the better marksman. The Cargo Dock may be the hottest point of contention here, as the parked delivery trucks provide greater cover options within a small area.
Don’t pass up the truck and barrels in Chem Spill just before the Main Warehouse’s west entrance. It’s a solid piece of cover you can move around while scouting the more open surrounding areas, and you can get on top of it for a height advantage.
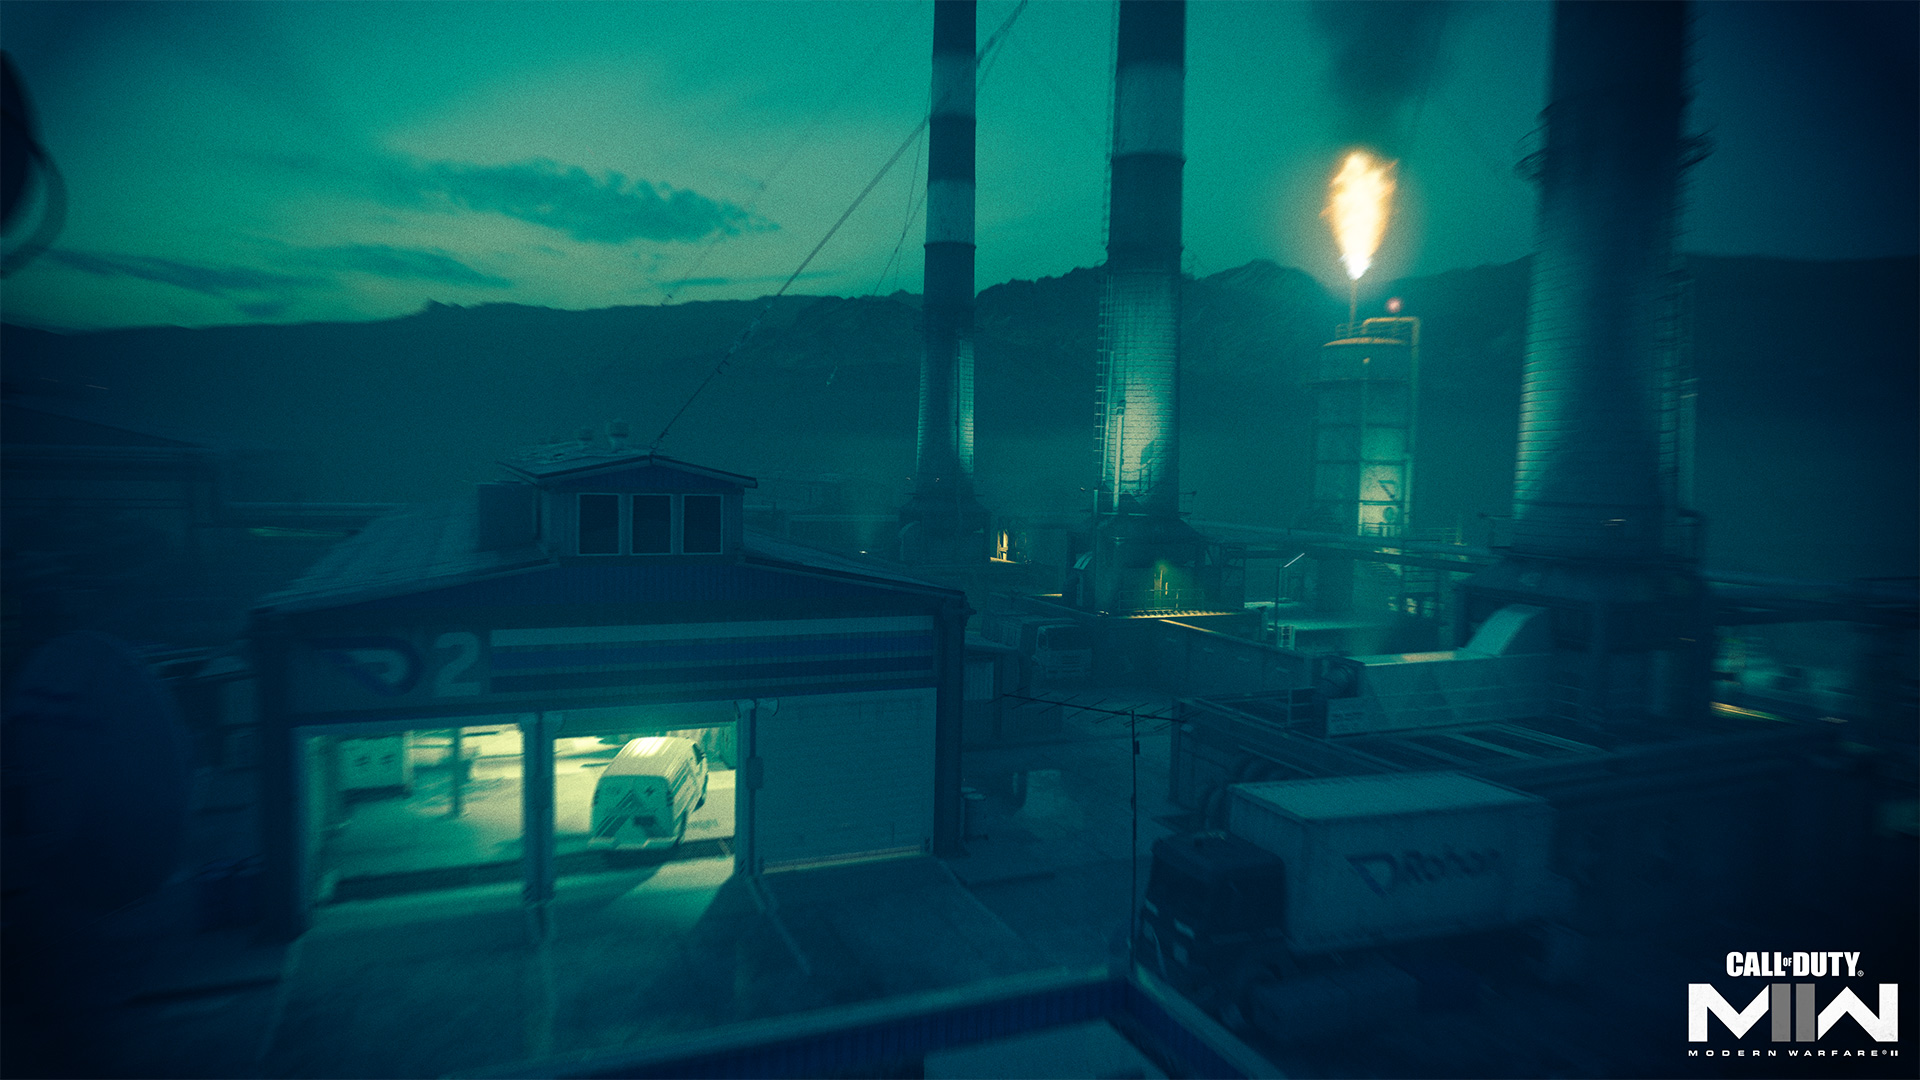
Chimneys
This area includes West Chimney, Middle Chimney, Control Room, and East Chimney.
Ladders, crates, vehicles, stone walls, and ledges: This area is full of climbing potential on and around the three chimneys. The swifter you change your position and elevation here, the greater the advantage you’ll have over enemy Operators who just can’t pinpoint your position. Look for creative opportunities as well, like running along the top of the wall connecting the Middle and East Chimney, using it to jump from chimney to chimney without touching the ground.
Main Warehouse
This area includes the Main Warehouse, Chem Drop-Off, and Chem Lab.
Inside the Main Warehouse, on its west end, you’ll find Chem Drop-Off. This large, open space has a climbable truck and barrels in the center and a staircase leading up to a smaller upper level. The Chem Lab on its east end has a lower ceiling and more spread-out cover. Stacked crates within offer another passage to the upper level.
The perimeter of the Warehouse is surrounded by motion sensors that turn on the lights when detecting nearby movement. There are sensors located over all the ground-floor entrances, as well as above each of the side roofs. If a light turns on, there’s likely an Operator on the move.
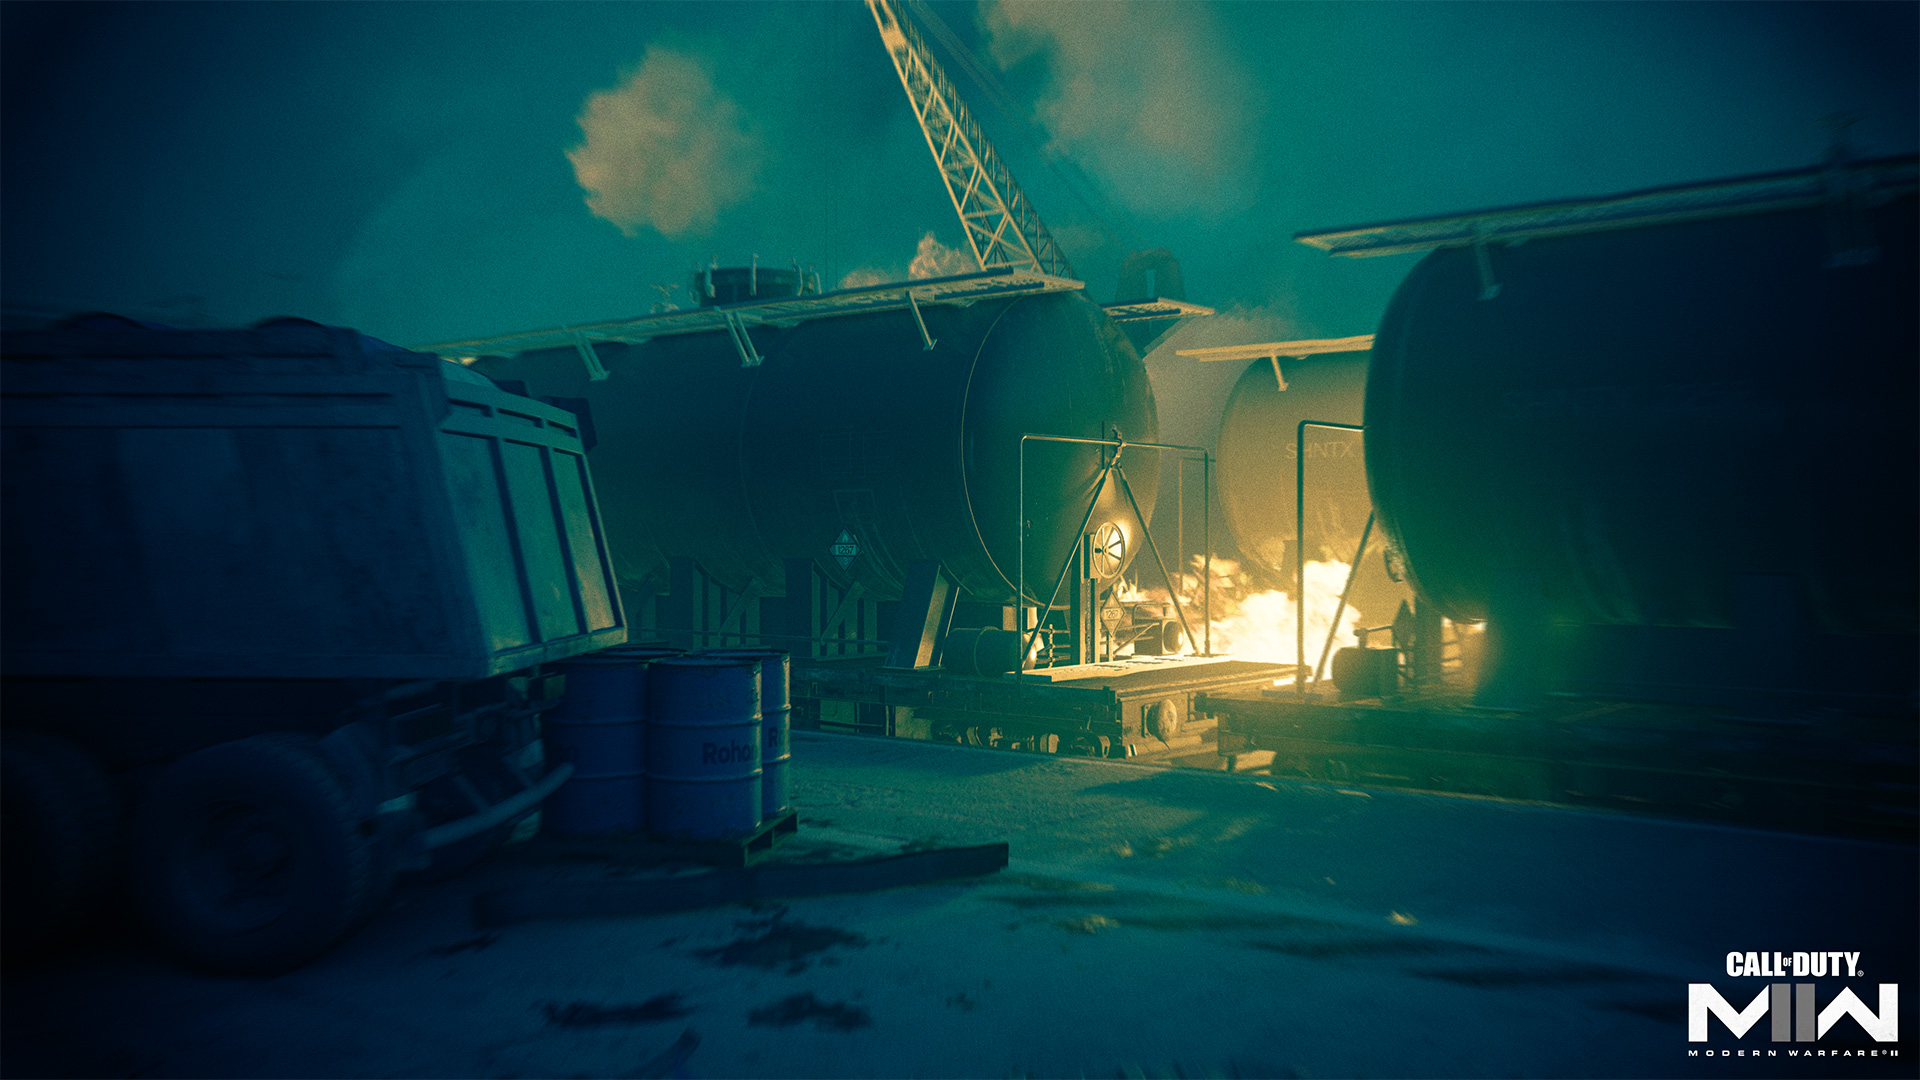
Train Docks
This area includes just the Train Docks.
Running south alongside the Main Warehouse, Train Docks is a narrow combat zone hemmed in by a burning train. The truck in the middle of the path blocks direct sight to the other side; run around it or climb on top of it for a better view and easy transit into the top story of the Warehouse.
Watch the motion sensors above and below here to catch enemies coming out of the buildings. And yes, attempting to climb over the burning oil barrels may result in serious injury.
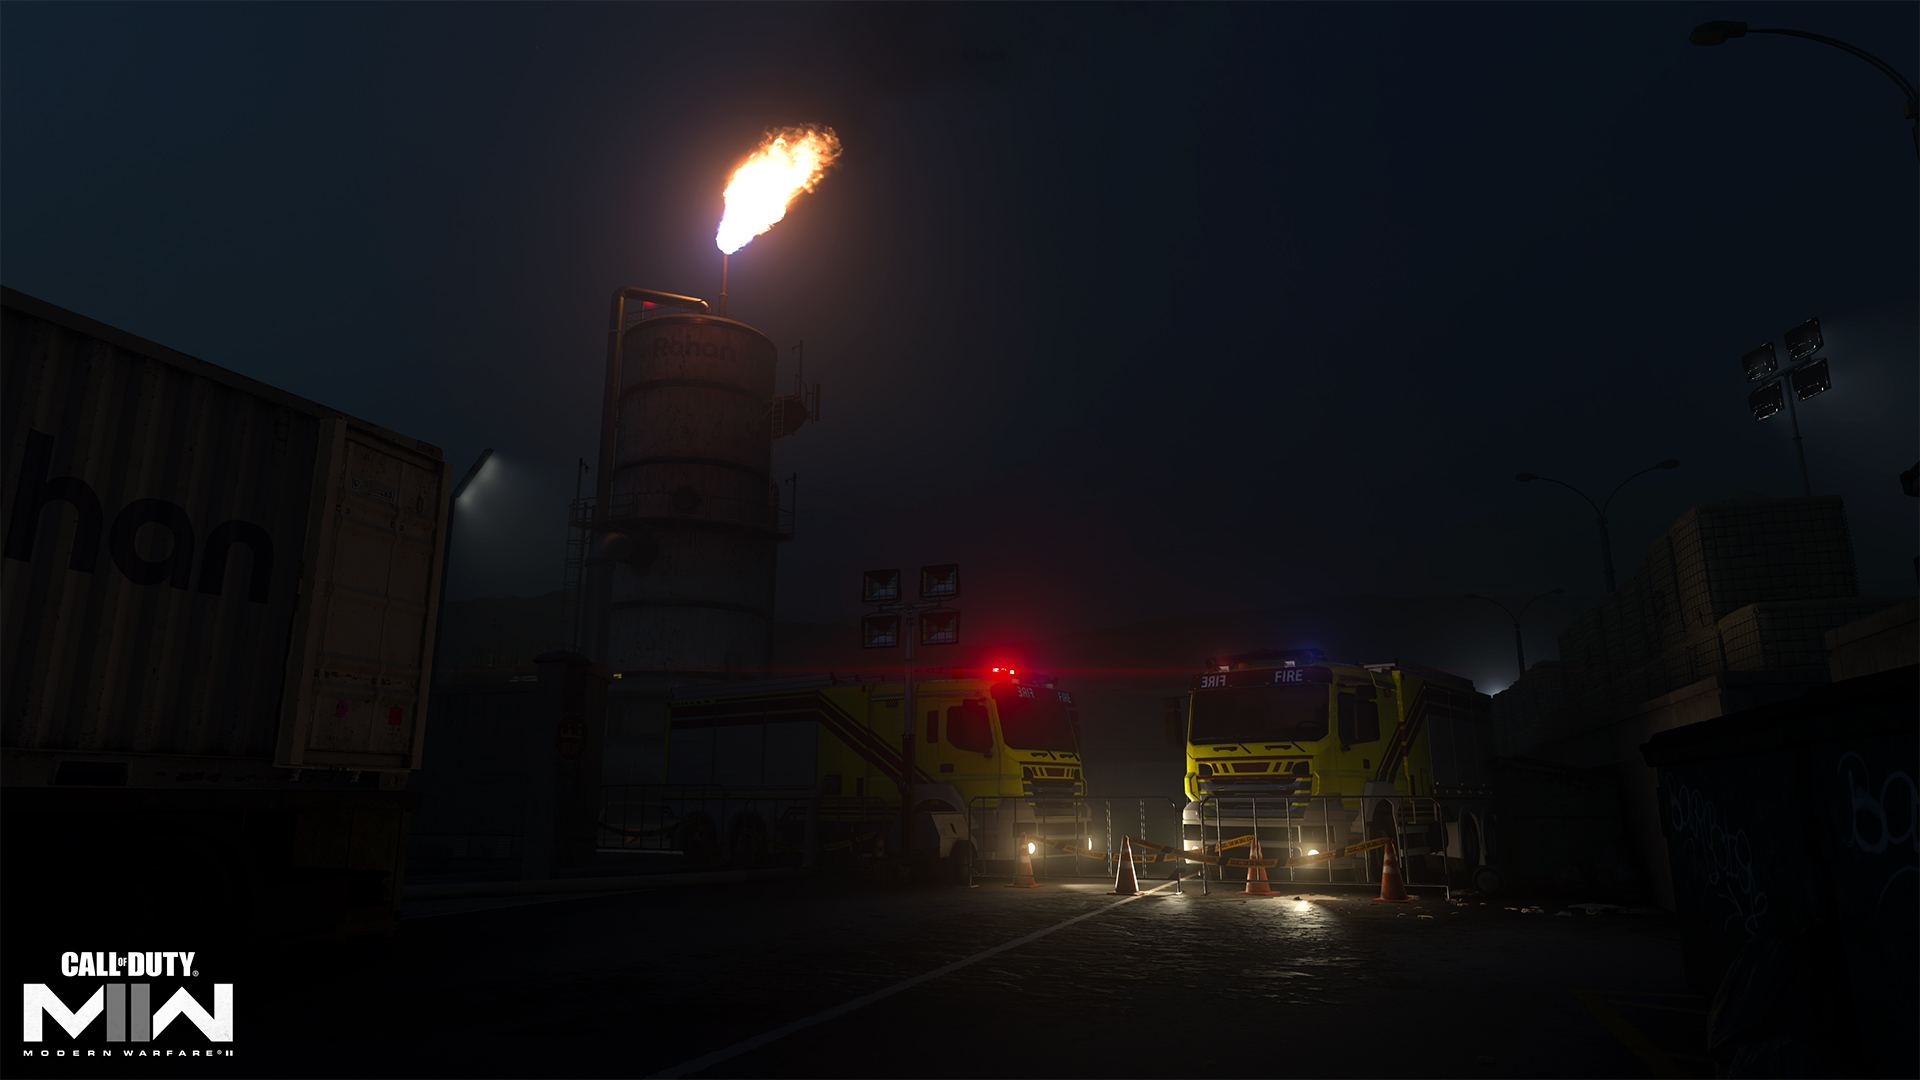
Backlot
This area includes the Backlot, Tunnel, Offices, Server Room, and Surveillance Room.
The parked vehicles and small offices here create a tight-knit environment that favors close- to mid-range combat as Operators battle across the road and through the offices. While you can’t climb on top of the security office, you can get on top of the other building for a better view of the space ahead, both toward the Main Warehouse and around the East Chimney.
When enemy streaks are threatening you from above, the security office provides good cover while you plan your next move. Also note the truck with the open back — this is a prime spot for ambushing enemies approaching objectives in the area.
Recruit Tactics
Check that Building
With the Spotter Bonus Perk equipped, you won’t have to worry so much about running into enemy equipment when moving through spaces like the Main Warehouse or the Control Room, or taking a sharp turn into an enemy Claymore at the base of a chimney. Don’t forget to aim down sights at any spotted equipment in order to highlight their position for your whole team, and when the opportunity presents itself, get hacking.
Top Level Break-in
If there’s too much activity on the ground floor of the Main Warehouse, or if you just want to make a cooler entrance, try climbing onto either side roof and entering into the building from the top floor. You can hold your position up there, ambush Operators downstairs, or exit the window on the other side to get past the Warehouse altogether.
Veteran Tactics
Go Over It
With a ladder on either side, it often makes more sense to climb up and over the Control Room than to run through it, at least when you’re worried about giving up your position by activating the motion sensor within. It takes a bit longer, but you’ll retain the element of surprise and be in a good position to take on enemies on the other side.
Recon the Area
The Recon Drone Field Upgrade is a solid choice here, helping you and your team take the guesswork out of locating the enemy. On a larger map like this, that intel can mean the difference between successfully taking an objective or turning the tide of the match. It’s especially useful around the chimneys by targeting Operators high and low.
Prestige Tactics
Crouch Under the Sensor
Try crouching if you need to get past an area with a motion sensor. You’re much less likely to be detected, meaning you can catch enemies off guard who are relying on the light to spot nearby threats. If you like using this strategy, add in the Double Time Perk to improve your crouch movement speed.
There’s Always Another Way
Do you want to get past the Control Room without tripping the light sensor? Use your Tactical Sprint to dash along the wall that’s just out of bounds. There’s enough time to reach the other side so long as you keep running. Be ready to engage once you return to the combat area.
Objective Routes and Rotations

Mode Intel: Domination
All eyes are on the Chem Lab in the Main Warehouse, where the B flag sits ready for the taking. With so many entry points into the Warehouse, the challenge is holding the flag after you capture it. Communication is especially important here; spread out, cover multiple angles, and call out enemy sightings. By combining your intel on their movement, they’ll have a much harder time catching you off guard.
It’s also viable to go for the A and C flags instead. Even if they are positioned across the map from each other, both flags are located along the northern lane that moves across the chimneys. If you can hold down the area between the two flags as a team, then capturing the B flag won’t be as essential.
Mode Intel: Search & Destroy
Nighttime operations add a new flavor of tactical play to Search & Destroy, and on a map of this size, there’s a lot you can do in terms of planning tactical plays each round.
The attacking team starts on the map’s west end. When approaching the B flag, positioned outside the Main Warehouse’s southeast corner, you can try to funnel the battle by moving through the Train Docks, split half the team into the Warehouse, or make a fake play toward A only to swing back around to B. With all the climbable objects around the map, you can easily conduct the attack from several angles at once.
The A Bomb Site is a bit more contentious, being positioned in the Control Room, where it’s easier to dislodge or disorient an enemy Operator by tossing in a grenade. If the fighting’s not too hot around the area, you can try crouching down before entering the Control Room to avoid setting off the light. This may provide the extra concealment you need to avoid detection as you make the plant.
On the defending team, it’s not a bad idea to bring some long-range support. Because the attacking team must make the play against the bomb sites, you can utilize the map’s long sightlines to take up position and cover important lanes like the Train Docks or climb up to the base of the East Chimney for a view toward the Control Room.
Mode Intel: Hardpoint
There are few modes better than Hardpoint to really learn a map, and it’s no exception here. The five objective locations will take you all over the facility, starting in the upper level of the Main Warehouse; expect Operators to make full use of the side roofs to break into the Hardpoint from above.
The following Hardpoints will have you battling back and forth across the whole environment. After the first location, the objective moves west by the Side Warehouse, then east into the Server Room of the security offices, west again to just north of West Chimney, and then east for the final point into the eastern Offices. During the last 10 seconds of any Hardpoint, it’s a good idea to start moving into position for the next. By the end of a few Hardpoint matches, you’ll have this place down.
Top Tips

1. Cover on a whim. While there are plenty of climbable spaces here, there’s also some open, level ground. Bring some extra protection by equipping the Deployable Cover Field Upgrade. This way, even if you get caught between the Main Warehouse and the chimneys, you’ve still got something to defend against an imminent attack.
2. Watch those sensors. Note the motion-activated lights around the Main Warehouse and in the Control Room. If one turns on and there’s no indication of a friendly in the area, there’s likely an enemy nearby. Be on the lookout.
3. Nothing to see here. With Black Gold’s complexity, intel becomes even more valuable when compared to smaller maps where you’re bound to encounter the next fight right around the corner. Keep the enemy from discovering your position by equipping the Ghost Ultimate Perk, so you can set up that perfect attacking rush that they’ll never see coming.
4. Toggle your NVG. Remember that you’re able to manually activate and deactivate your night vision goggles. While it’s still possible to wear them where there’s light, some Operators may prefer removing them in more well-lit areas like the Main Warehouse.
5. Just right for the Wheelson. Take advantage of the map’s level ground and smooth ramps to easily navigate the Wheelson around in pursuit of eliminations. You might also consider setting it to autopilot and treating it as a companion as the two of you move through the map, taking down enemies with ease.
6. Care Package, please. Some maps don’t favor equipping the Care Package streak (e.g., Shipment), but this isn’t one of those maps. Between the open area behind the Cargo Dock in the west and the ramp down to the Tunnel in the east, there’s a good chance that you’ll find a spot away from the action long enough to call in your goods.
7. Bait them with the light. Get creative with the motion sensors by turning the lights into a trap. Set one off on purpose to alert an approaching enemy, then get into position and take them down when they come around to investigate.
8. Watch that corner. Be mindful of the small, sheltered area outside the northeast corner of the Main Warehouse. It may not seem like much, but it’s a great location from which to ambush passing Operators. Don’t get too comfortable in there, as you’re an easy target for anyone returning for revenge.
9. New map, new gear. With long sightlines like these, you’d be remiss not to check out the new FJX Imperium Sniper Rifle found in the Season 03 Battle Pass. Once you’ve accessed the new weapon, give it a spin on Black Gold. You’re likely to get good results.
10. Scared of the dark? Bring a flashlight. Sure, it might seem pointless when you’ve got night vision goggles on hand, but it sure does set a cool atmosphere on this night mission. Try equipping a flashlight Laser attachment and moving in the dark without your NVG. Opt for the 1,000-lumen DXS Flash 90 for a more powerful light.
Stay frosty.