MW II Season 03 — Pelayo’s Lighthouse Map Intel
The Mission: Detailing the map, tactics, and tips for a 6v6 Multiplayer map set on an island in the middle of a raging storm.
Pelayo’s Lighthouse
Spain
Day 168, 18:15
Factions Deployed: SpecGru / KorTac
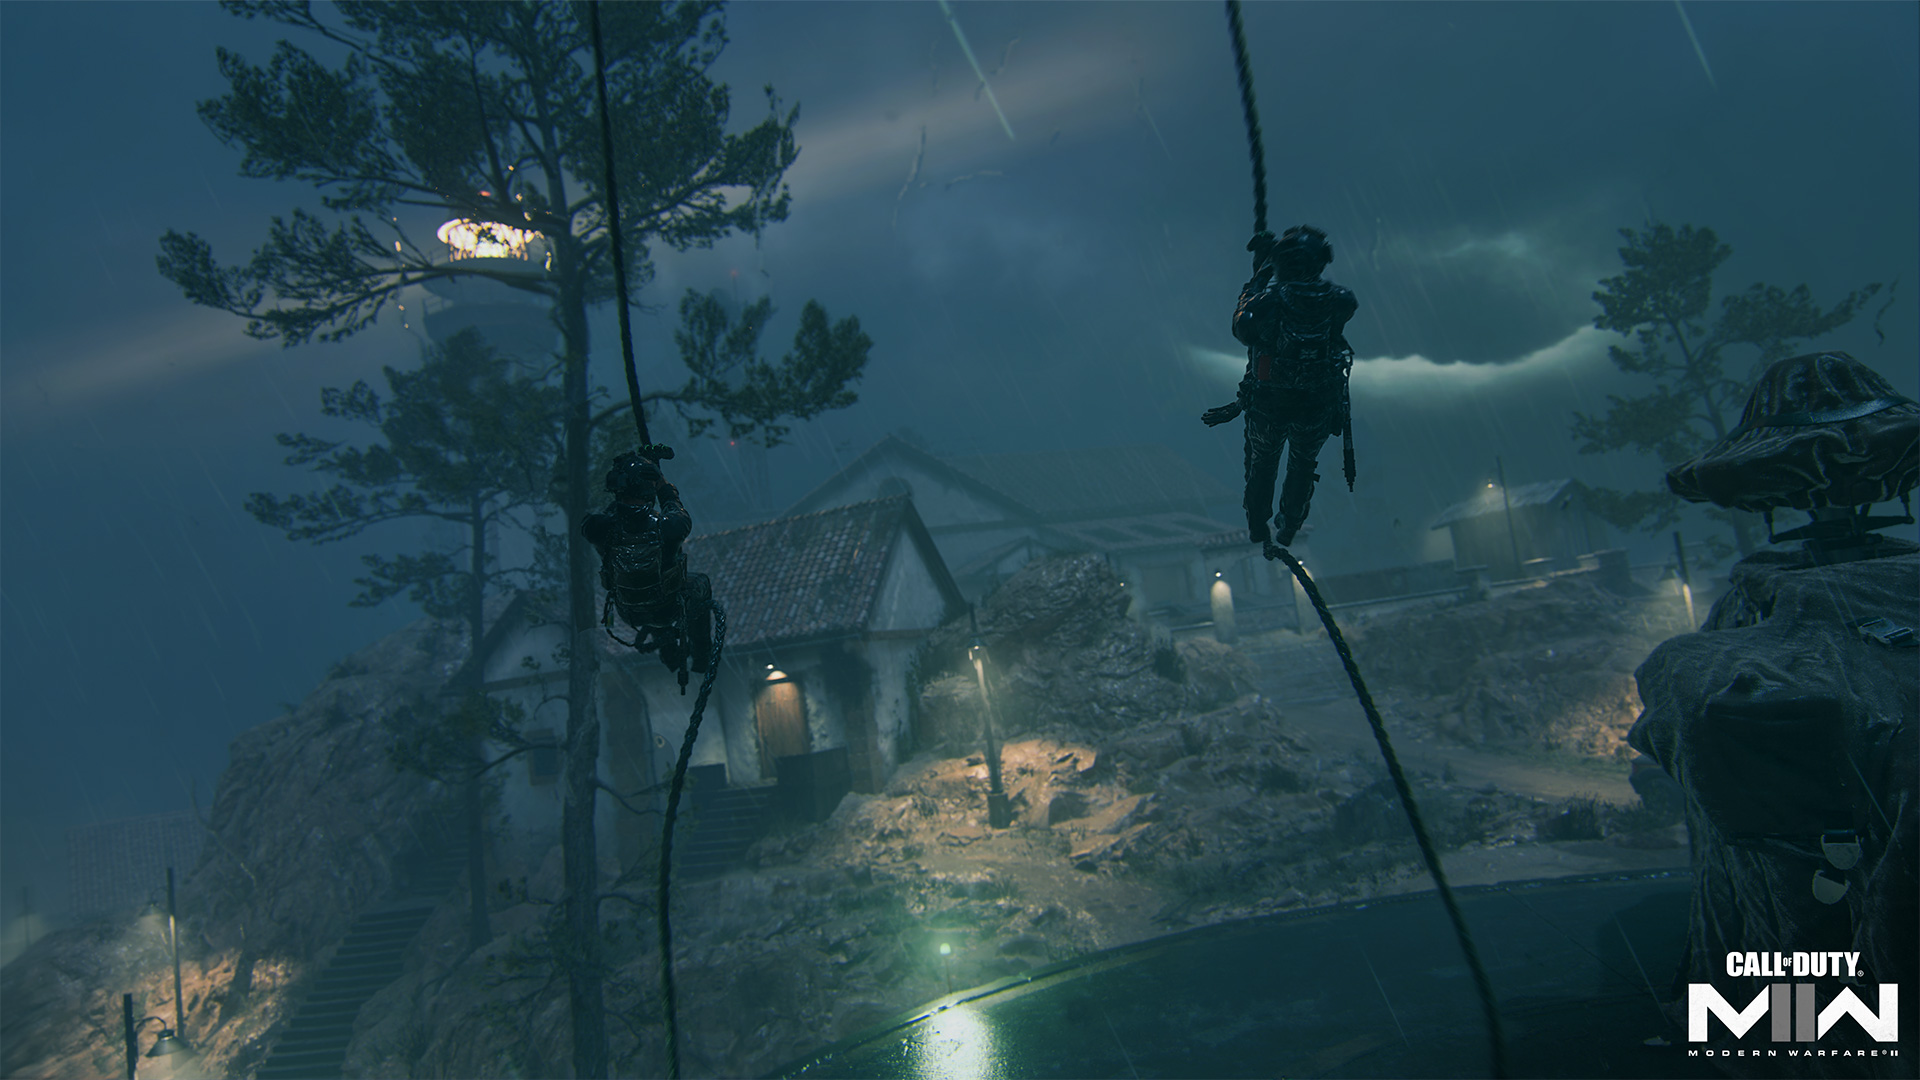
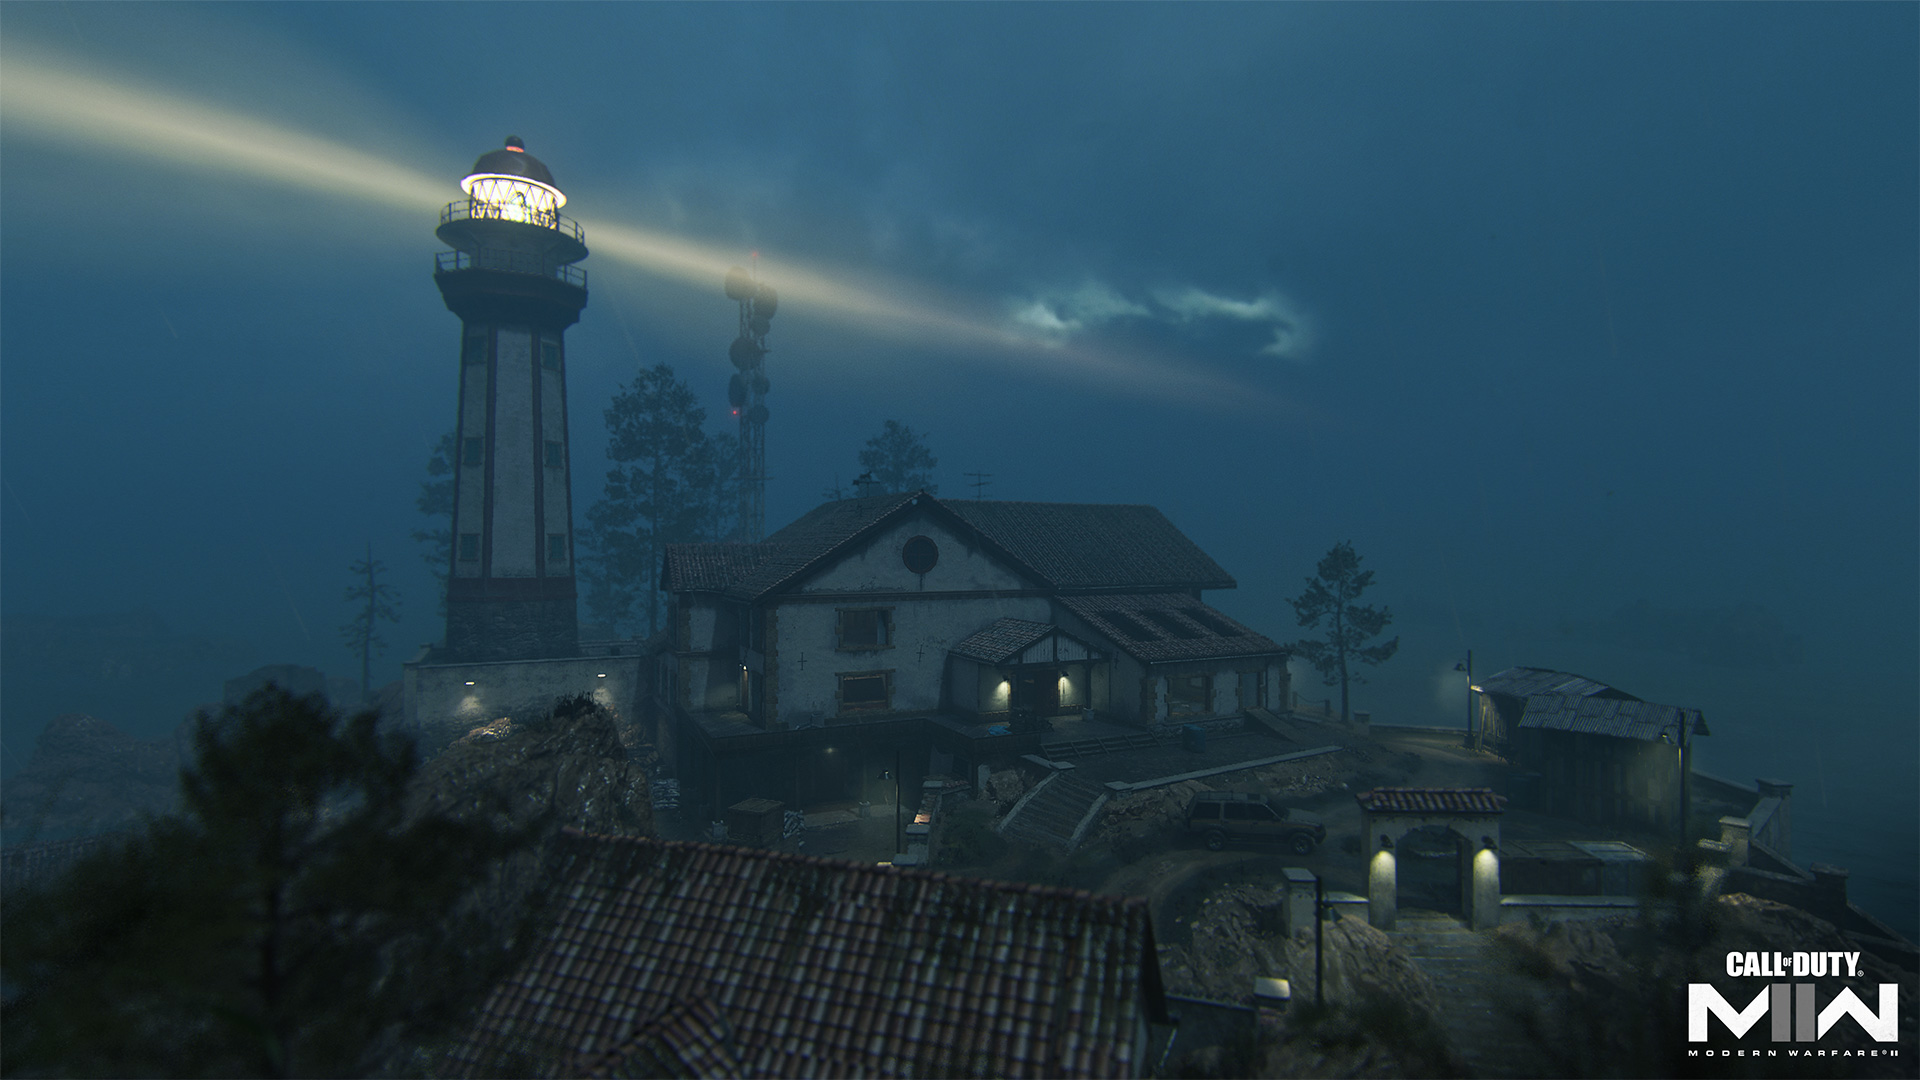
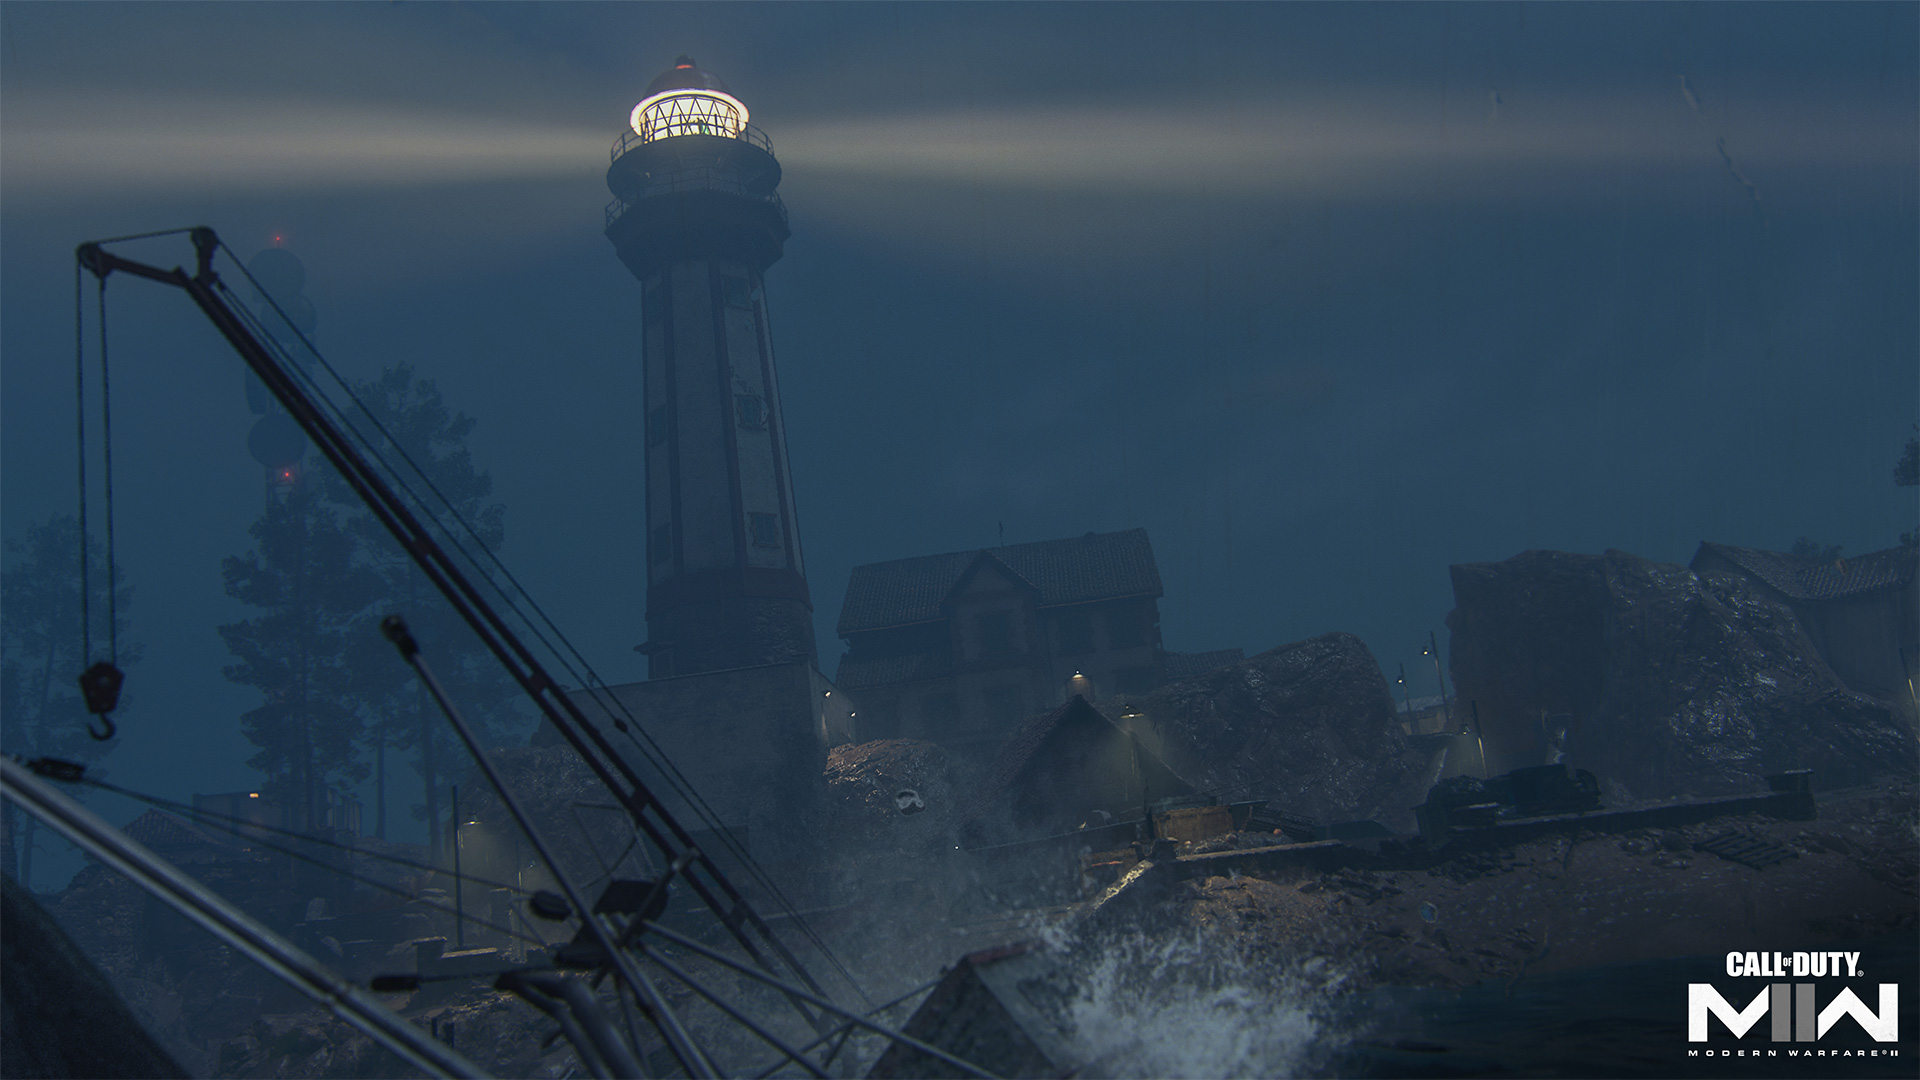
As rain pounds the cliffs of this small, craggy island, a lighthouse offers guidance to passing ships in the night. Even so, nearby shipwrecks tell of the immense danger that comes with navigating the rocky seas.
Welcome to Pelayo’s Lighthouse, one of two new Multiplayer maps arriving with the launch of Call of Duty®: Modern Warfare® II Season 03. Battle in the midst of a storm over uneven terrain and seek shelter in the Main Building at the center of the island. Watch the scattered maintenance buildings as you traverse the map; you never know who might be positioned within.
On an island this deadly, some early preparation goes a long way — here is what you need to know:
Spawn Point: KorTac
KorTac Spawn Zone (South) — Boat Landing
KorTac conducts an amphibious assault on the map via the southern Boat Landing. A lighthouse towers in the distance, and the nearby Bunker provides a brief respite from the storm.
Moving north toward the enemy spawn, Operators can make their way up either coastal path to fight out in the open. One path leads to the Main Building on the left and one leads to the Docks to the right. If heading toward the Main Building, consider taking up position by the Antenna to the south; this provides a good sightline to enemies pushing into your starting spawn. When approaching the Docks, prepare for longer-ranged combat.
Spawn Point: SpecGru

SpecGru Spawn Zone (North) — Helipad
SpecGru forces descend onto the northern Helipad via helicopter. Due to the map’s narrow layout, the break is much the same as with the enemy: Both sides will be barreling toward the central Main Building and Docks. With SpecGru’s spawn being positioned a touch closer to the Main Building than KorTac’s southern spawn, it’s possible to get a head start on positioning inside; Operators with SMGs and Shotguns may want to set up shop within to fight off incoming enemies off the break.
Those looking to engage in long-ranged combat can set up behind the rowboat on the coastal path north of Docks; this grants partial cover and strong visibility to the south.
Map Maneuvers: Route Planning
For the purposes of this guide, we’re breaking up Pelayo’s Lighthouse into four main sections:
- Boat Landing
- Main Building
- Docks
- Helipad
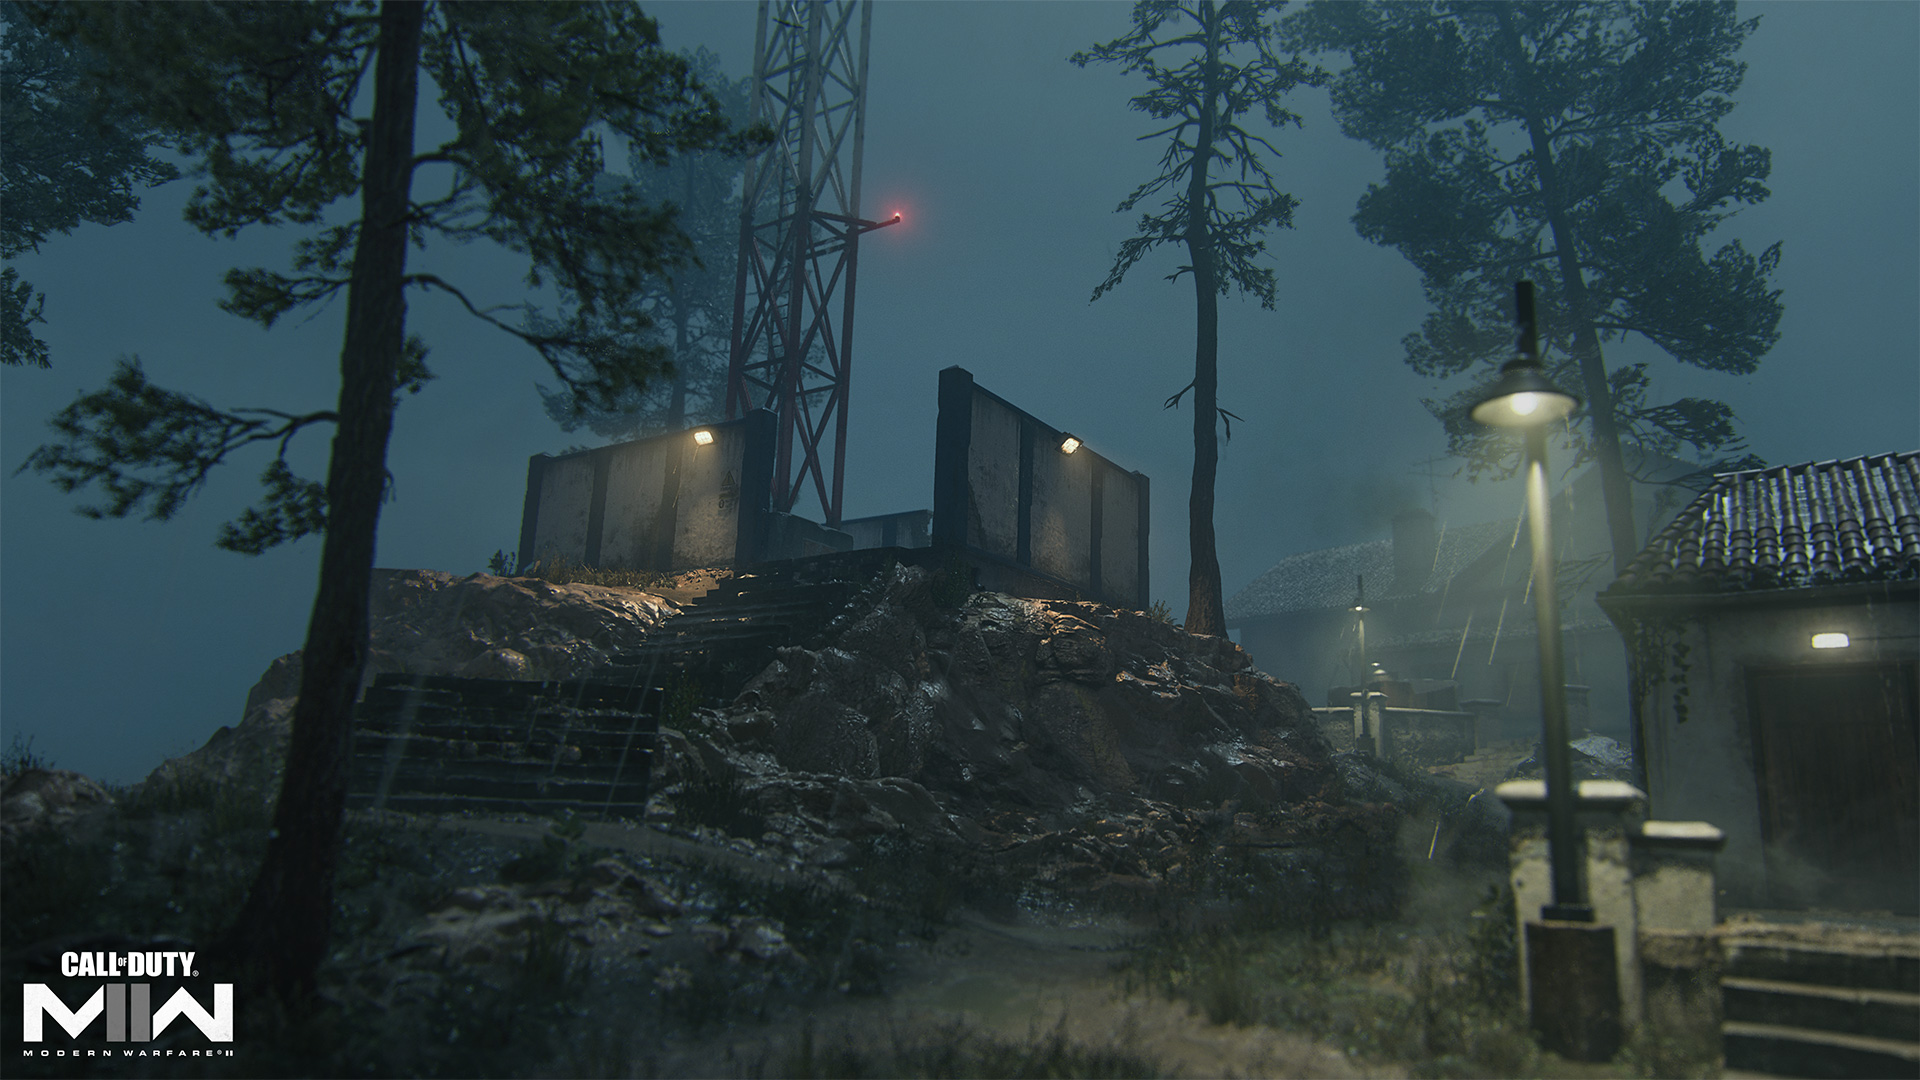
Boat Landing
The rocky southern portion of the map consists of mostly open, uneven ground, sloping down to the waterline. Operators can stick to this outer edge, using the high rock walls as cover, or move into one of the three enclosed spaces here: the Bunker, Water Storage, or within the Antenna’s outer walls.
With the addition of the eastern Ruins and its power position over Docks, each of these spaces gives Operators a place to defend against enemies coming from the north. Don’t get too comfortable in any one spot, though, as a well-placed grenade or Launcher blast can easily uproot your position.
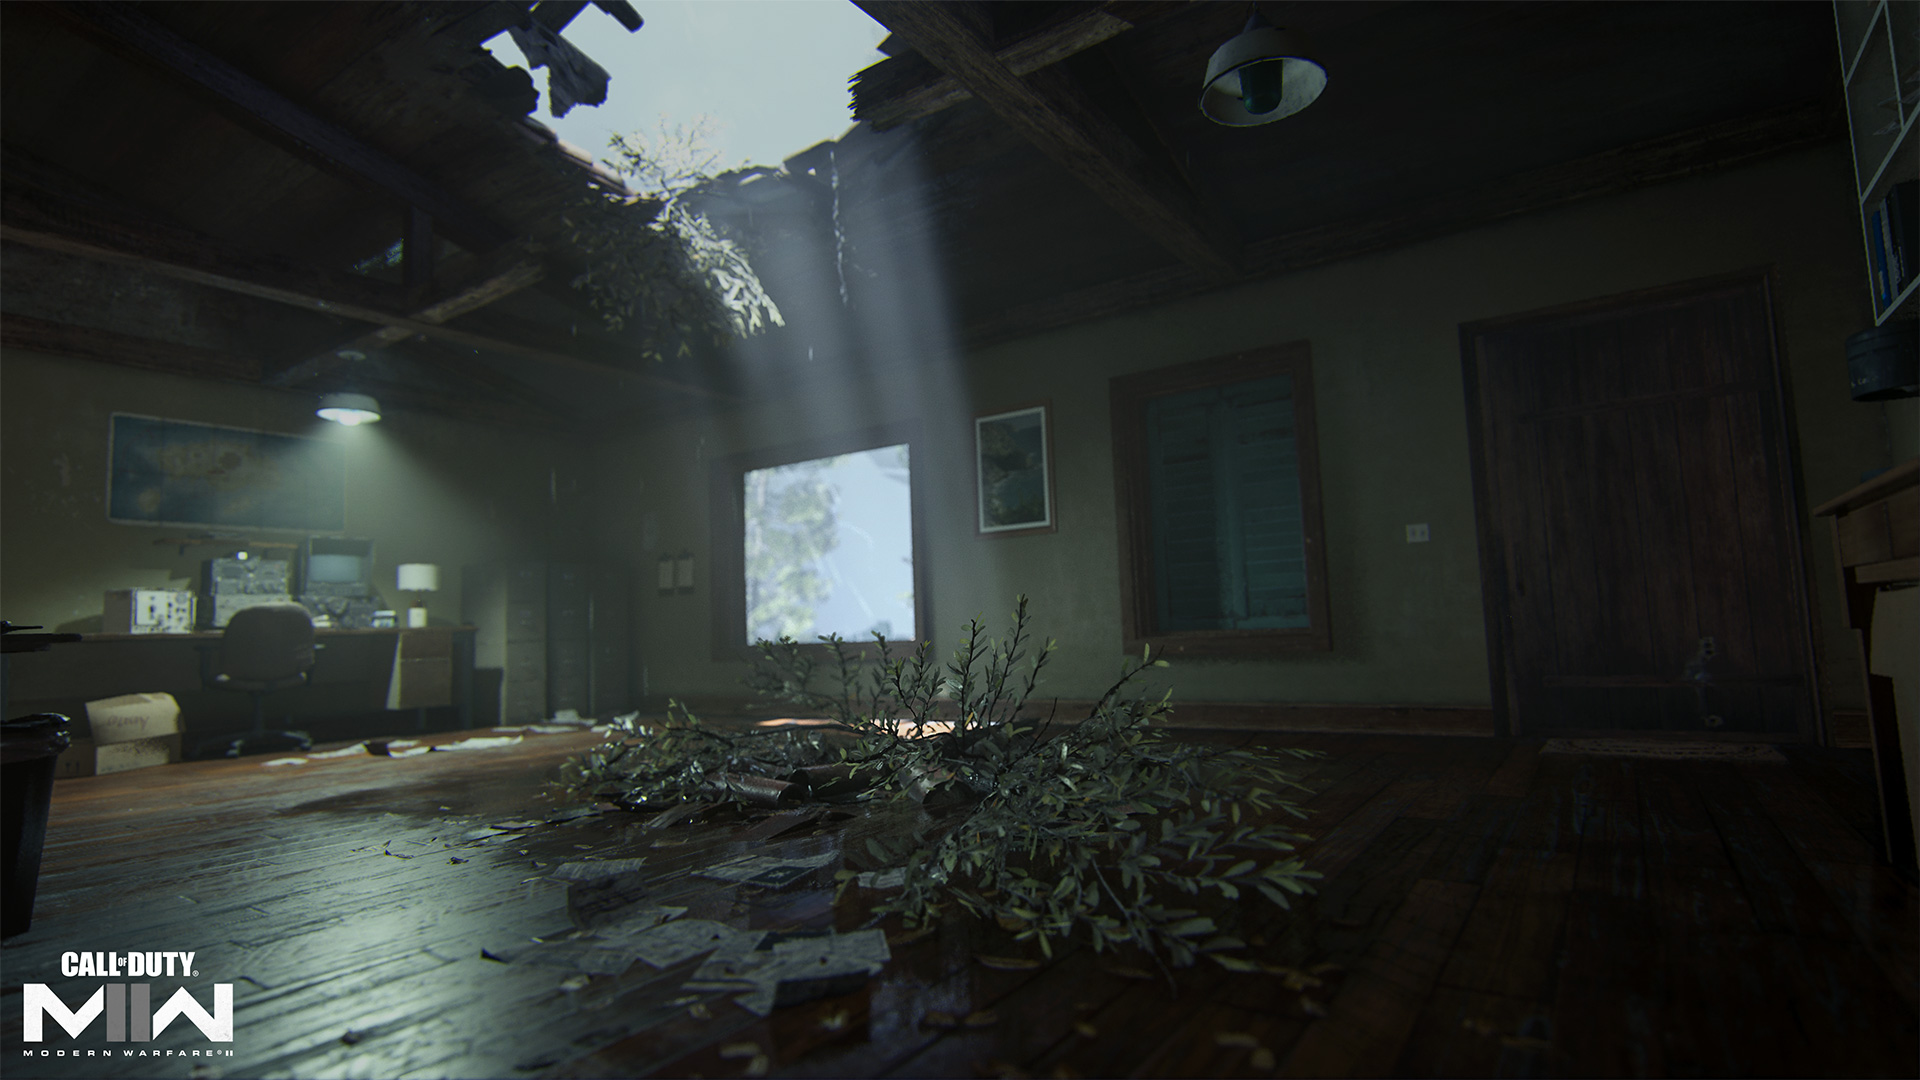
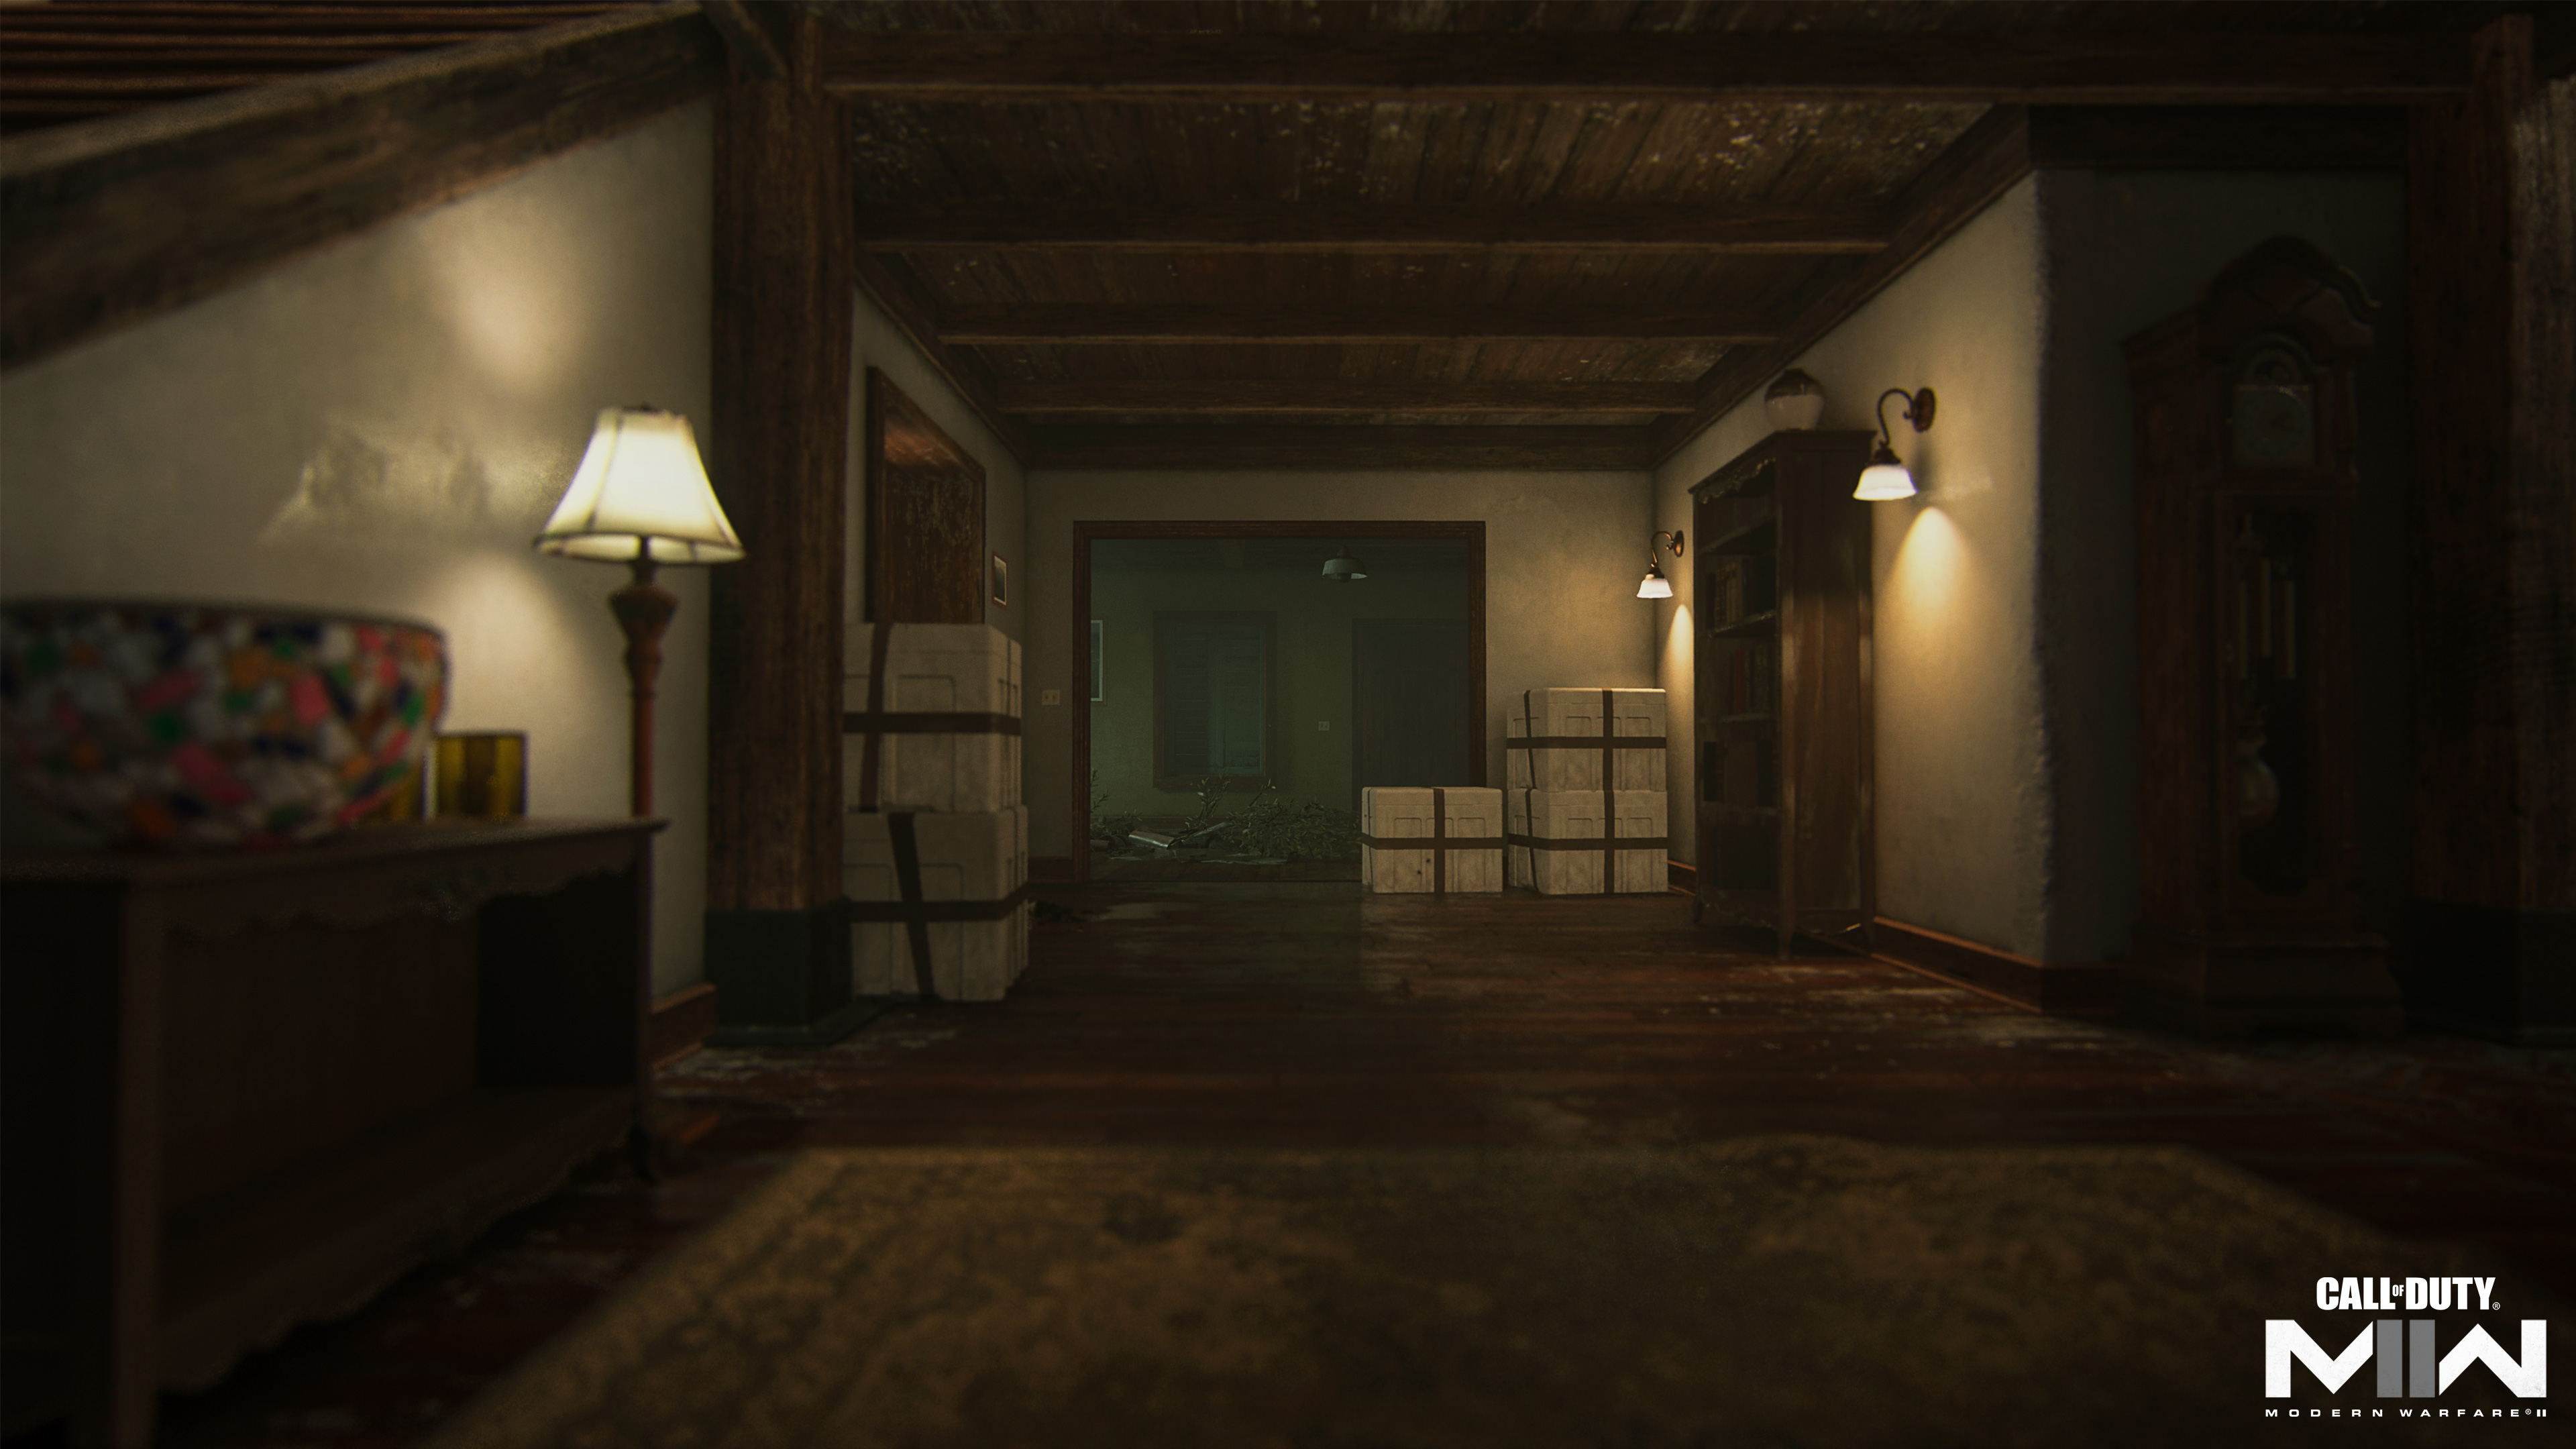
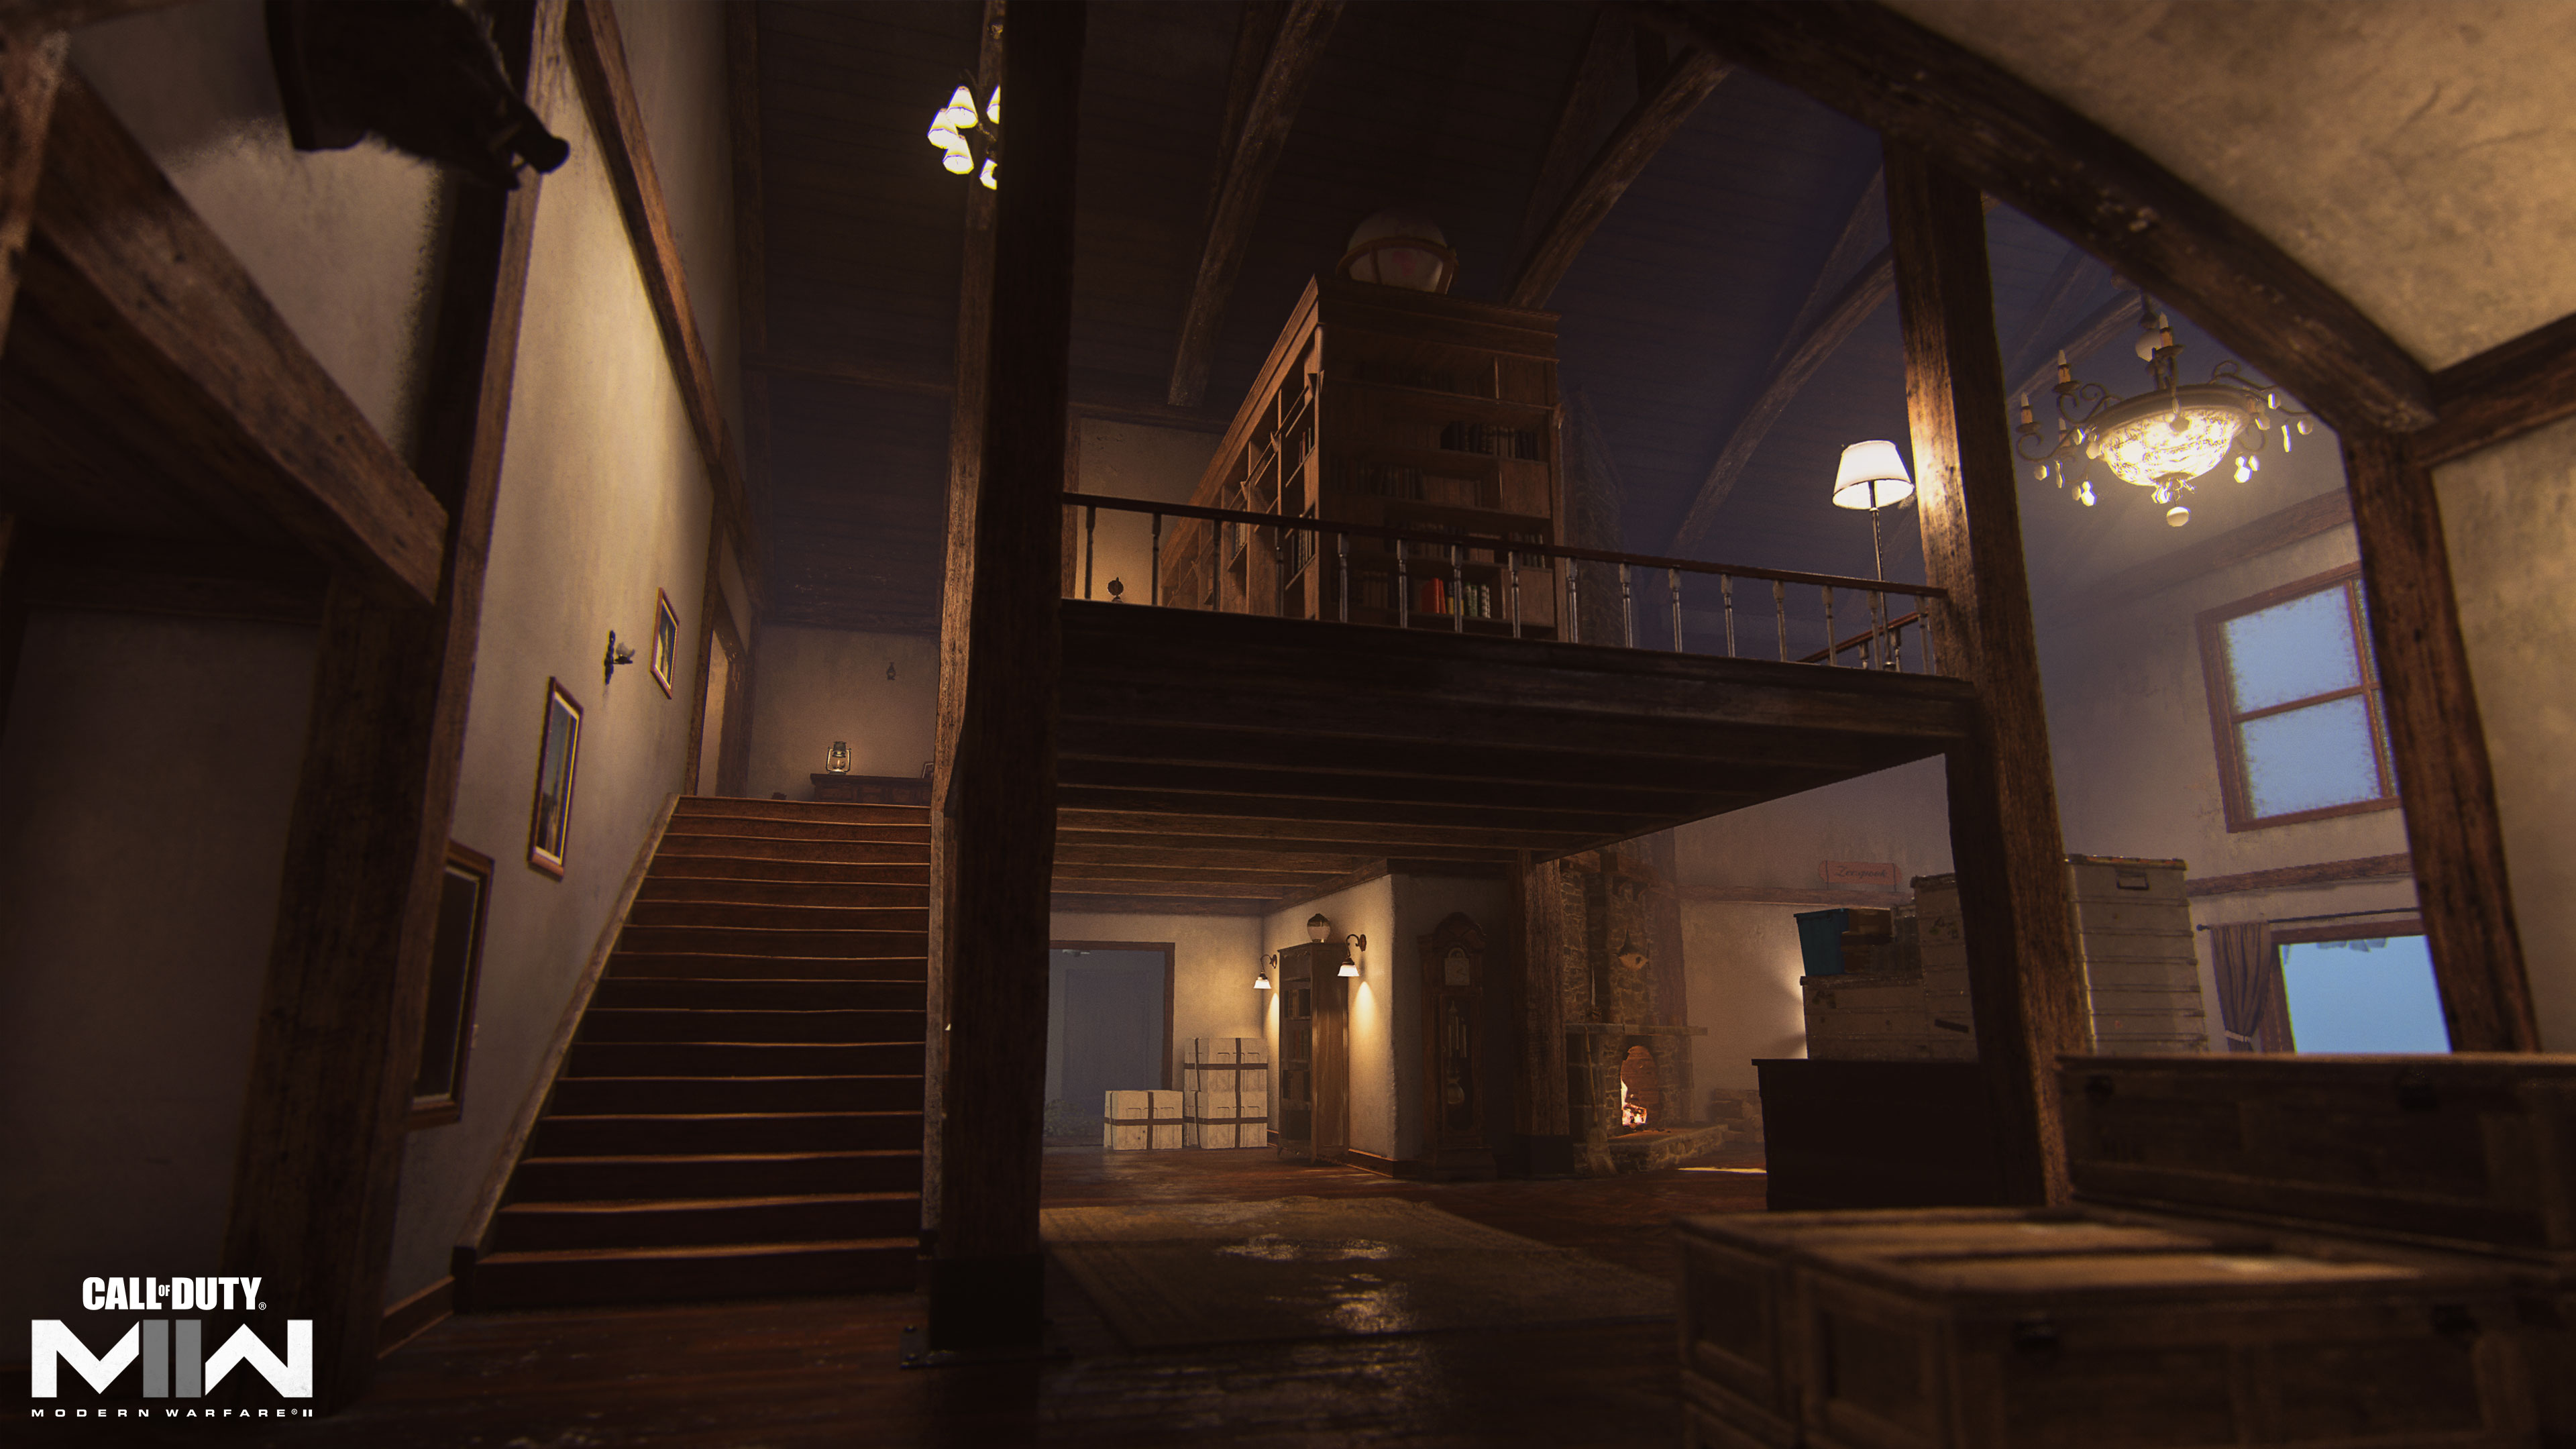
Main Building
Located in the center of the map, the Main Building consists of three explorable levels with many entry and exit points throughout. From the south-facing rear of the house, descend into the cellar and bar, climb a ladder up to a second-story window, or enter the back door to progress through the main level of the house. A second outer ladder leads up to the office roof, a hole in the tiles providing access to the room below. The front of the house features several entrances, all leading to the first story, with some additional entry points along the sides.
Within the Main Building, the kitchen, office, and living room wrap around a central staircase leading up to a loft and two bedrooms, each with a single window providing a view of the grounds below. The underground cellar, bar, and laundry room are more tightly confined, though laid out in a way that offers a quick path under the house with minimal exposure to the upper floors.
Docks
A shipwreck just off the coast is a fitting metaphor for the intense battles that will occur here. Where the Main Building offers multiple levels with plenty of right angles, the Docks present a more fluid, open environment. With paths from the south, west, and north leading to the area, there’s bound to be a good amount of foot traffic here. Head into the toolshed to conceal yourself from view, or risk it all as the king of the hill by mantling up onto the large wooden crates, blasting anyone who crosses your path.
Helipad
Fronted by the Old Shed and the Workshop, the Helipad covers the northern portion of the map; hop on top of the helicopter’s main rotor for a good view of the area, including the dirt path leading toward Docks, the stone steps of the Boat Launch, and the main thoroughfare leading to the front of the Main Building. The sloping angle and rocky outcrops here provide cover opportunities even in the open, so try getting up high for a more sweeping view of incoming danger.
Recruit Tactics
Ready for Anything
The map’s rocky elevation and its dispersed buildings create less-defined lanes than in more traditional Multiplayer maps. One moment you may be squeezed between towering outcrops and the next you’ll be in full view of the Docks. Be ready for any situation by combining the Overkill Base Perk with the Fast Hands Bonus Perk, allowing you to rapidly swap to the best weapon for the situation and to top up fast when engaged in lengthier battles.
Toss a Drill Charge
With tightly enclosed power positions like Water Storage, Antenna, Old Shed, and the Workshop, there’s plenty of opportunities to toss out a Drill Charge to eliminate the enemy within. Whether the blast gets them or you get them as they attempt to evade the incoming explosion, the end result is the same.
Veteran Tactics
Get Out the Spotter Scope
Consider the Spotter Scope Tactical Equipment to aid your teammates in tracking down enemy Operators by marking them for all to see (so long as they’re not running the Cold-Blooded Perk). In the storm-stricken, uneven terrain of this map, the added marker is a welcome asset.
Hit ’Em from the Ground
Though most of the space here is open to the skies, players are never very far from interior cover, making it slightly more difficult to get eliminations with aerial streaks. If you’re struggling to land eliminations from the air, consider focusing on recon and ground-based streaks instead. Set up traps in the Main Building with the Cluster Mine, deploy a Sentry Gun on a high elevation, or call in a Bomb Drone to navigate inside of buildings.
Prestige Tactics
Go for a Swim
While some Operators will stick to the island’s outer path for a lower profile, those looking to really throw their opponents off guard might prefer to jump into the raging waters to swim around their enemies. It’s slower going, but when timed correctly, you can get behind the enemy lines without them ever suspecting a thing.
Birdseye
The map’s narrow layout funnels much of the fighting into a north/south orientation. For greater insight into the enemy’s movements, consider the Birdseye Ultimate Perk, not only for the larger minimap but also for its ability to reveal the enemy’s direction with UAV and Radar pings, letting you know whether you’re about to collide with an Operator or if there’s an opportunity to take them out from behind.
Objective Routes and Rotations
Mode Intel: Domination
It’s all about the battle for the B flag.
On this map, the A and C flag sit back near the initial spawn points, and while throughout the match their ownership may switch hands, they’re generally too far apart to hold on to both for long, plus you risk spreading your team too thin in doing so. That focuses the action on the Main Building, where the B flag sits in the first-story living room.
The most direct path to B is mantling through the western windows. Of course, this opens you up to fire from all corners of the building, but a strong push can help solidify your position. If the enemy keeps succeeding in taking and holding the B flag, then consider skipping it for their spawn flag. This is a sure way to pull enemies off the central location, so you can renew your efforts against B.
Mode Intel: Search & Destroy
Search & Destroy is a lot of fun on this map, as Operators seek one another out in the pouring rain, one life per round. The A Bomb Site is located in Docks next to the trailered motorboat, and the B Bomb Site is located in the rear office of the Main Building. The attacking team starts in the north at the Helipad, while the defending team starts outside the southern Bunker.
Each site caters to a distinct playstyle, with the Docks Bomb Site favoring long-ranged combat as Operators trade shots across the coastline and the Main Building Bomb Site favoring close-quarters combat. When approaching the Docks, try splitting the team and approaching from two angles for a pincer attack. For the Main Building, consider tossing a Snapshot Grenade on your way in to help pinpoint the enemies within.
Mode Intel: Hardpoint
Break for the Main Building at the start of the match to storm the first Hardpoint set in the first-floor living room. Because of the ease of jumping directly onto the point from the western windows, expect traffic in the area and exploit it to land some eliminations before moving up to the objective.
The remaining four points appear in the following order: Docks (up against the low stone wall by the waterline), Helipad (encircling the helicopter), inside the southern Bunker, and lastly in a shipwreck off the western coast just outside the Main Building. Let’s hope you’re a good swimmer.
Note the power position in the Ruins south of Docks where Operators can take aim at a good portion of the objective. Stay behind the stacked fishing gear in Hardpoint to cut off the sightline altogether, so you can focus on enemies coming in from the north and west. Also be mindful of timing when battling for the Helipad Hardpoint. You don’t want to fight your way there only to realize you’ve got to turn around and head to the other end of the island for the next Hardpoint.
Top Tips
1. So much power. This map is teeming with power positions, from the second-story windows in the Main Building to the surrounding buildings and other vantage points throughout. In your first deployments here, pay close attention to the deadliest points on the map and how other Operators utilize the environment to overcome them.
2. Double Time it. The extended Tactical Sprint duration provided by Double Time is invaluable here, allowing you to get into position fast. Once you get a handle on the various power positions around the map, you’ll want to move quickly between them, and Double Time gets the job done.
3. Smoke and rain. Keep getting cut down on your way to the Main Building and the Docks? Try using the Smoke Airdrop Field Upgrade to deploy an obscuring wall that will help conceal your movements. It’s got a slow recharge, so save it for your most crucial plays.
4. No recon here. The map’s long layout and uneven terrain makes it easy to find a safe spot for breaking out a Launcher and swatting enemy UAVs and Counter-UAVs out of the sky. Do your team a favor and keep the air clear of enemy support.
5. Stock up with Resupply. The Main Building is just asking to be inundated with thrown equipment as Operators rush in from every side. If you’re eager to lead with grenades, consider the Resupply Bonus Perk to spawn with an additional lethal and recharge your equipment stock over time.
6. West coast flank. Of the two coastal paths, the western route offers greater concealment when compared to moving through the eastern Docks. Consider traversing this side of the island when you want to get across without being exposed to the map’s key hot spots.
7. Mortar Strike incoming. Because of the many elevated positions here, there’s often a chance to call in a devastating Mortar Strike against your opponents. From the Main Building, rain destruction on enemies around the Helipad; from the Ruins, call in a strike over the Docks.
8. Attic with a view. Looking for a more discreet power position to cover the northern part of the map? Head into the Workshop near the Helipad and climb up into the attic. This provides a great view of the terrain leading up to the front of the Main Building.
9. Try the Season 03 Battle Rifle. Battle Rifles make for a solid weapon choice on this map, especially if you’re more focused on fighting outside than within the island’s interior spaces. Keep an eye on the Cronen Squall Battle Rifle in the Season 03 Battle Pass and give it a try once you’ve unlocked it.
10. Ride out the storm. The dramatic evening rainfall over Pelayo’s Lighthouse gives Operators an epic battleground in which to duke it out. Get out your rain gear, focus on the mission ahead, and prepare to sally forth against the island time and again.
Stay frosty.