MW II Season 04 Reloaded — Vondel Waterfront Map Intel
Vondel Waterfront
Day 229, 13:30
Factions Deployed: SpecGru / KorTac
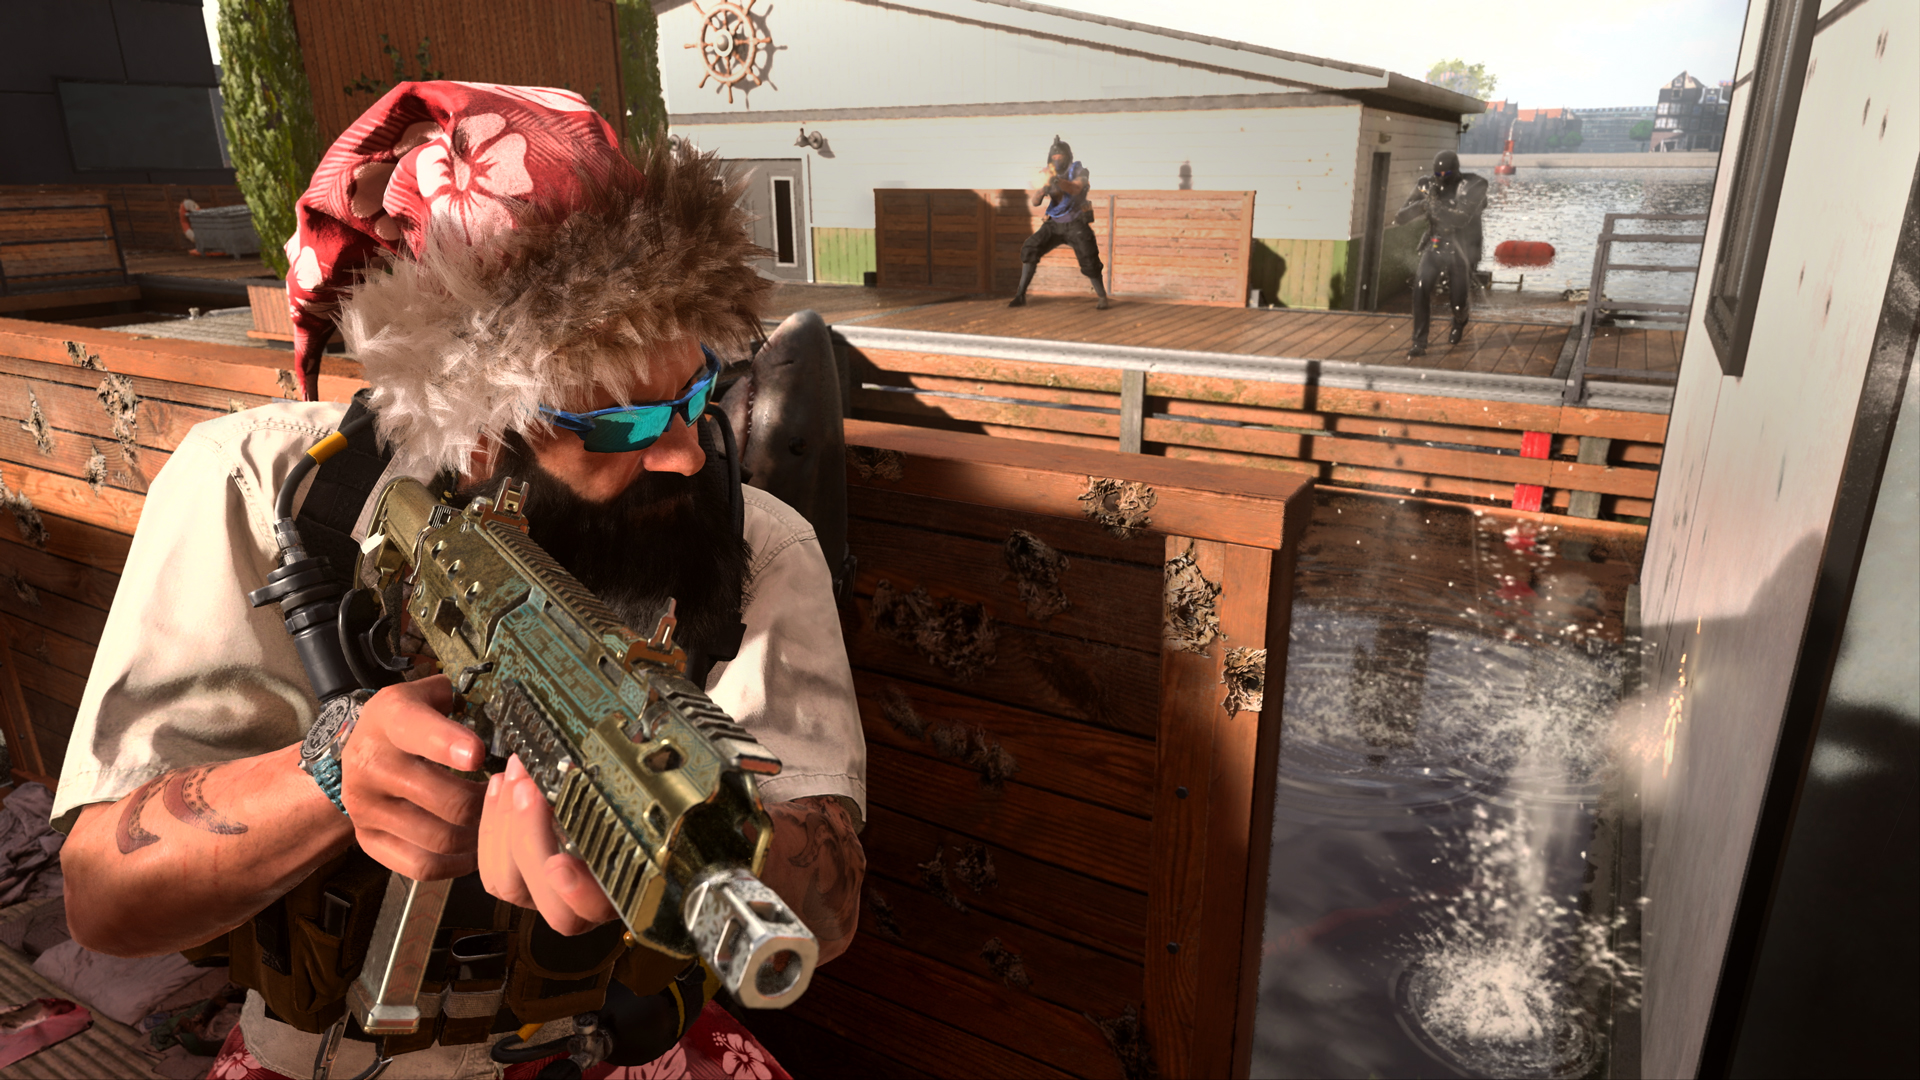
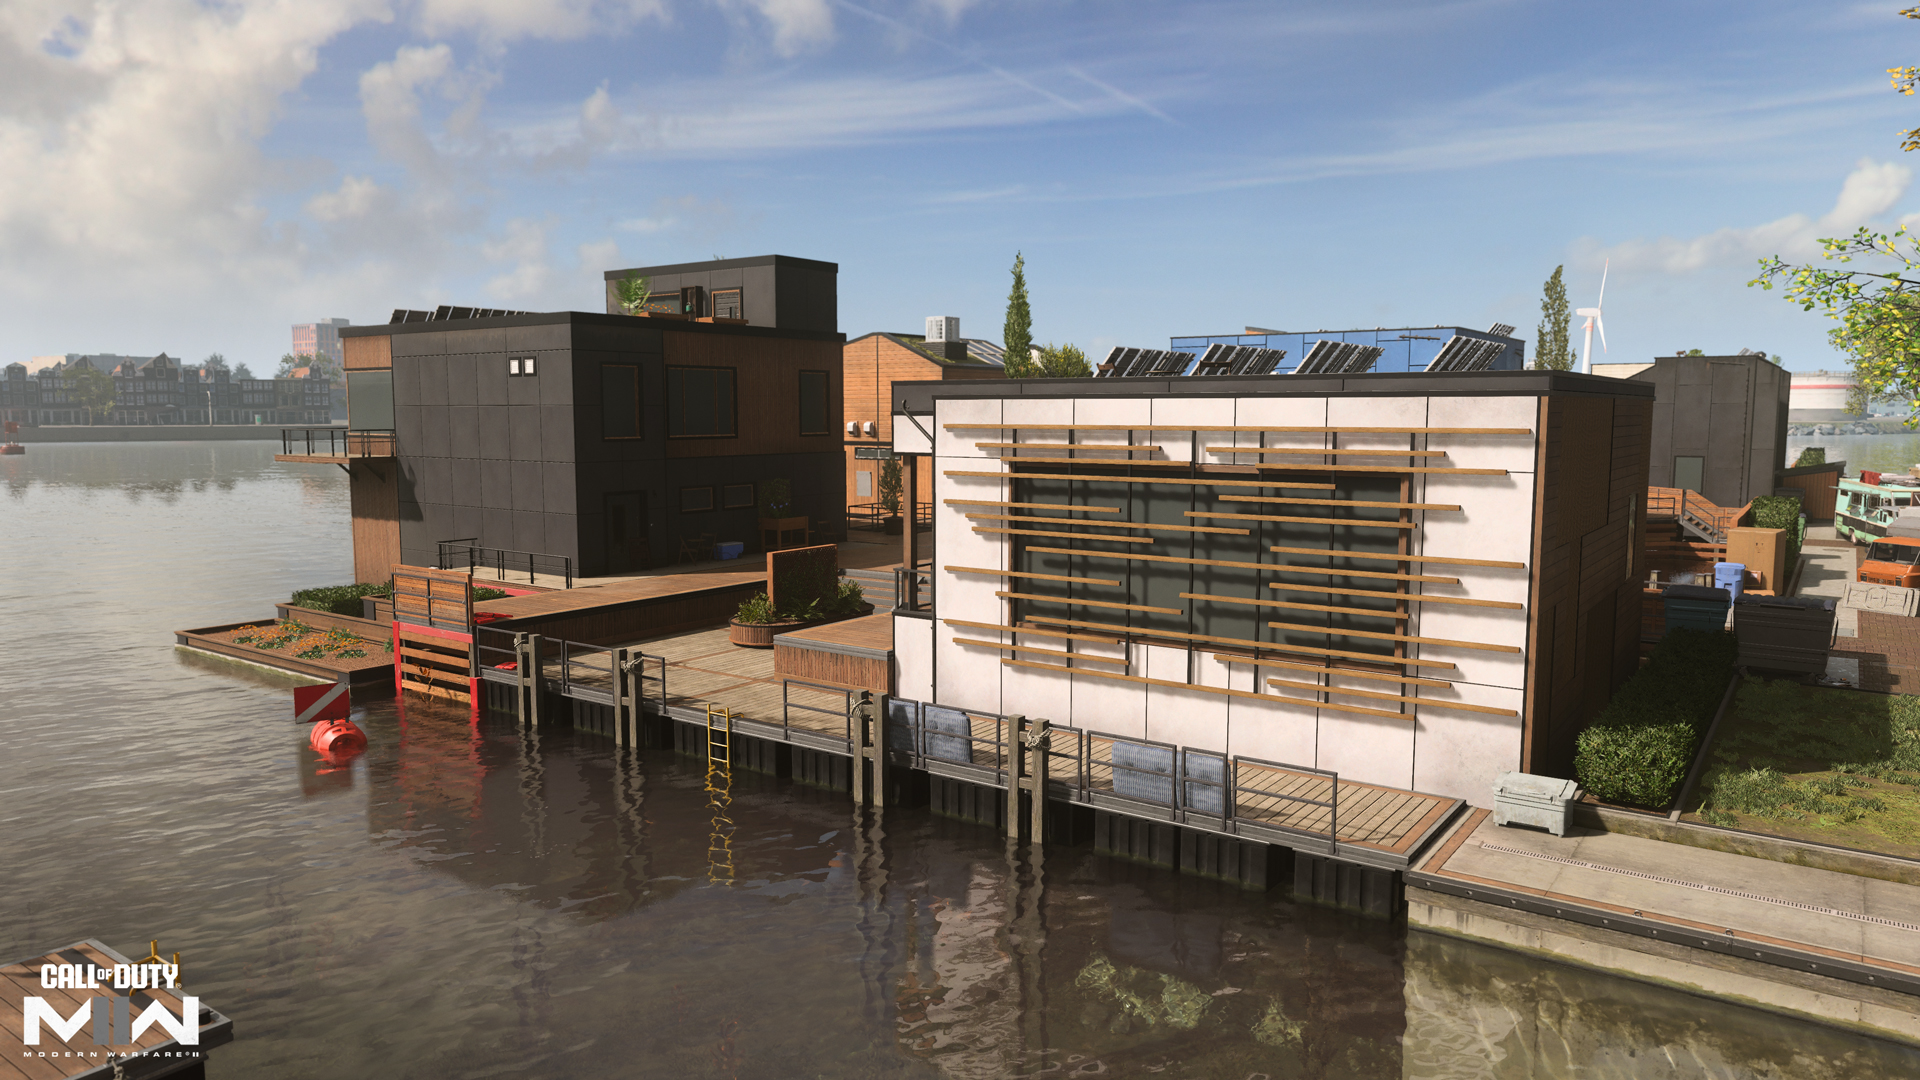
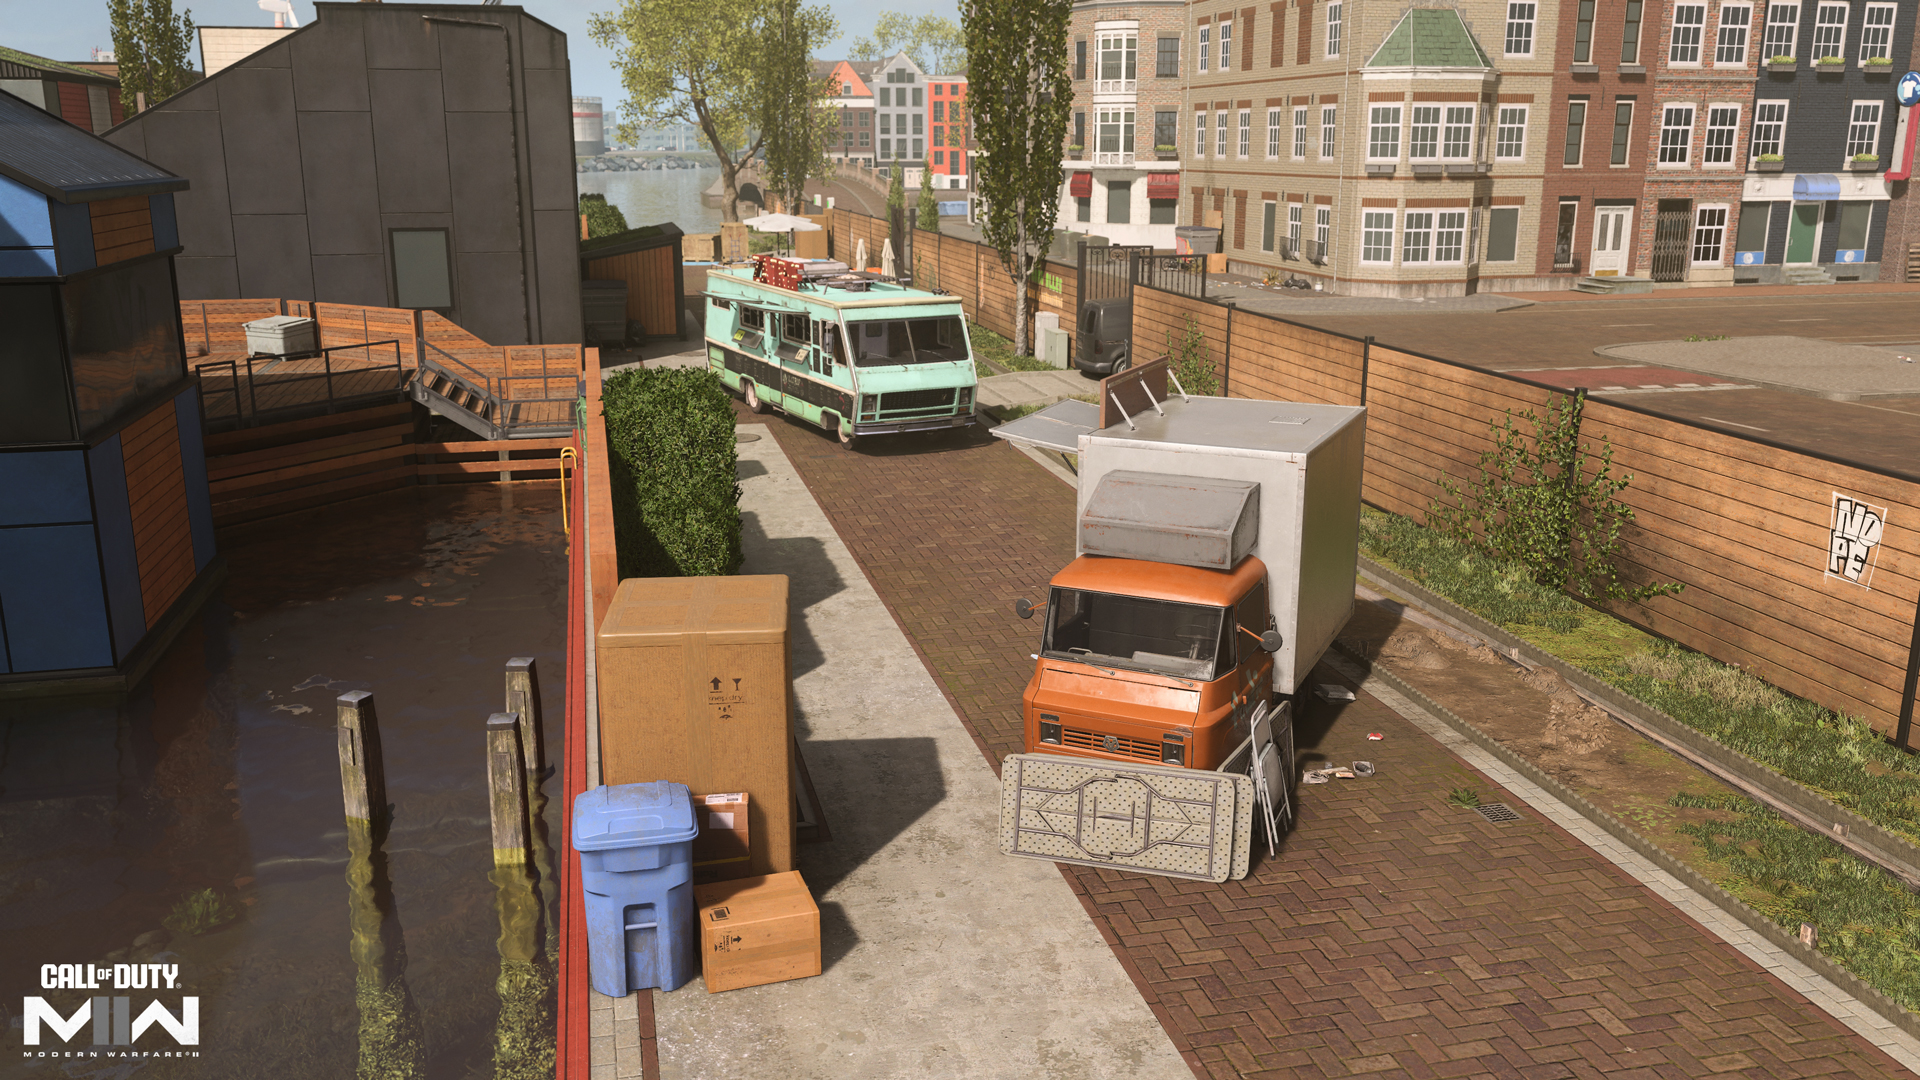
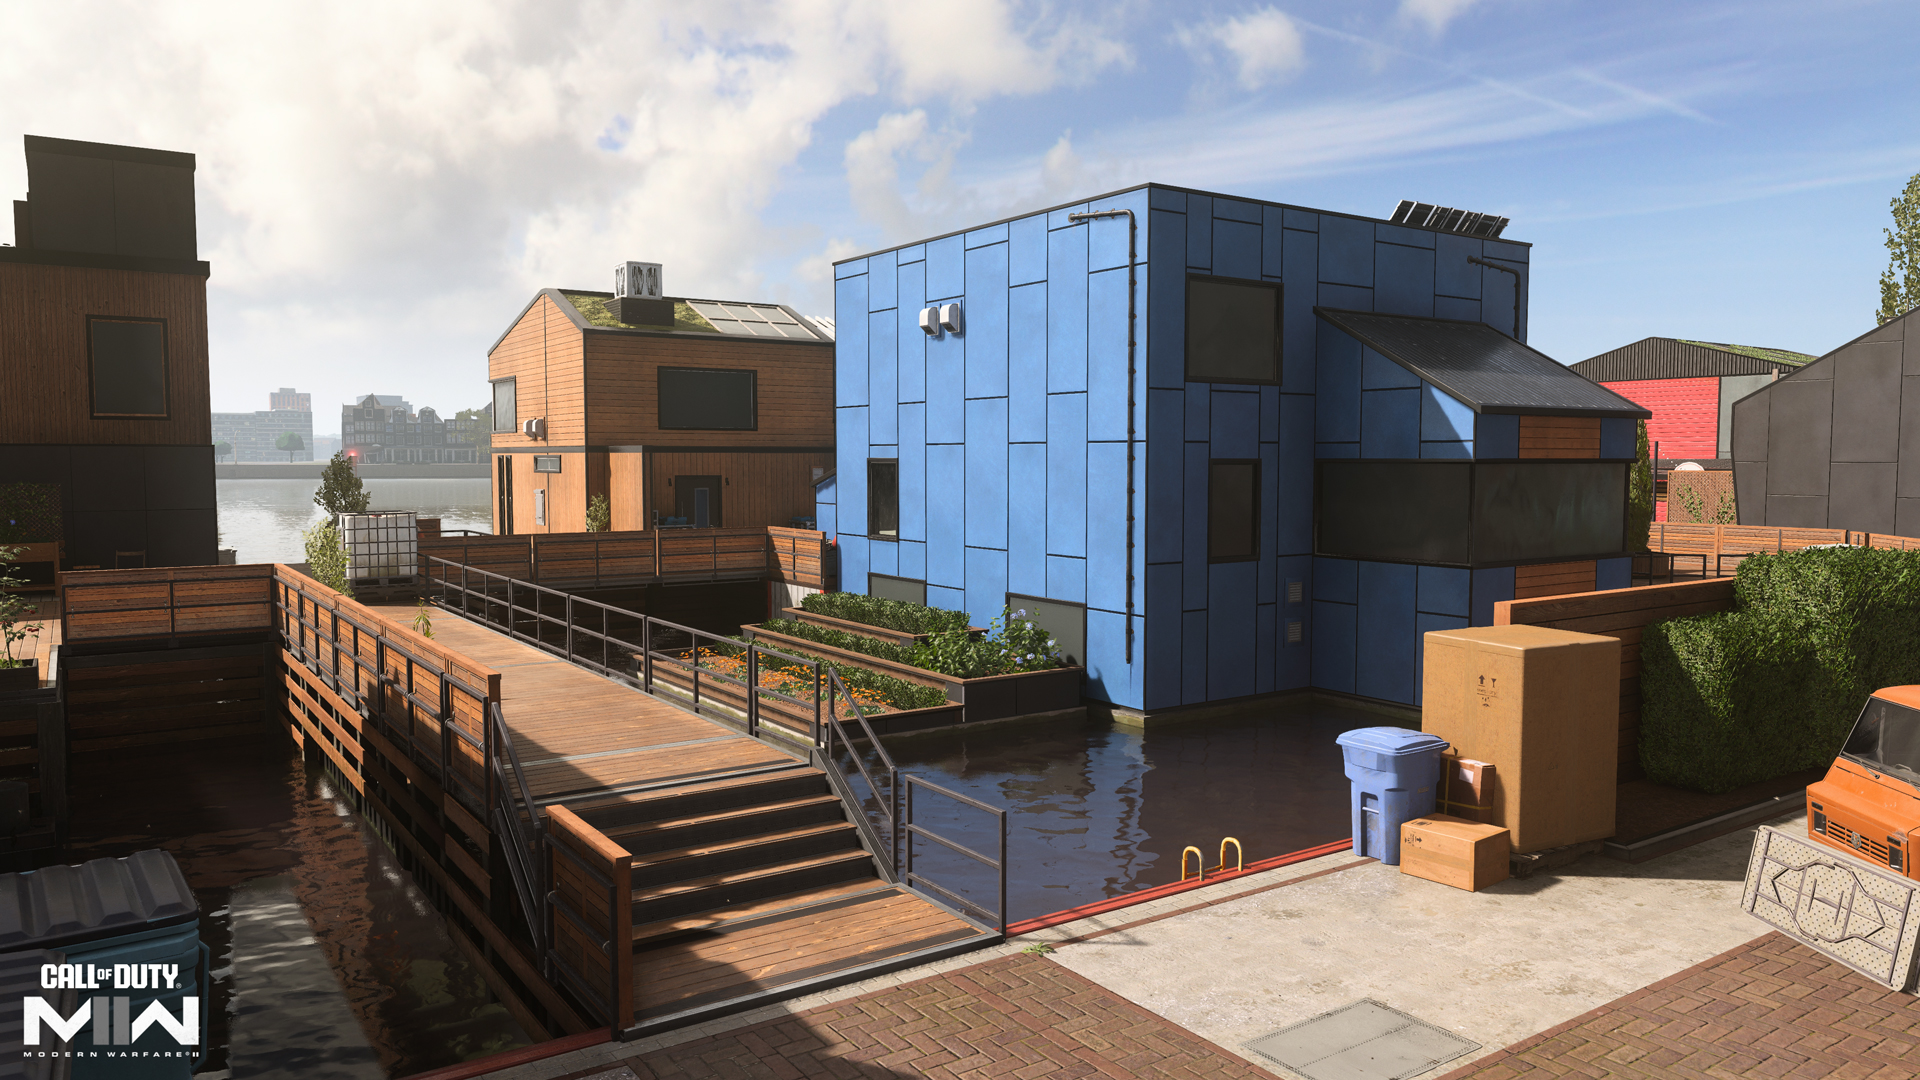
The battle is hot in Vondel — the new Season 04 Call of Duty®: Warzone™ map — with an intensified focus on the Floating District, here labeled as the Vondel Waterfront and adjusted for an optimized Multiplayer experience in Call of Duty®: Modern Warfare® II.
Surrounded by navigable water, this small map joins Season 04 Reloaded as a Core 6v6 Multiplayer experience. The floating homes and waterways present multiple flanking paths, with the map’s two main power positions looming over the center. A successful team will need to balance control over these positions with smart use of all available routes to keep up the pressure.
Key Differences: Vondel Waterfront vs. Floating District
There are some key differences between the Vondel Waterfront Multiplayer map and the Floating District POI within Vondel. The most noticeable of these changes include the following:
- The Waterfront District features four buildings that Operators can move within compared to the ten traversable buildings in the Floating District.
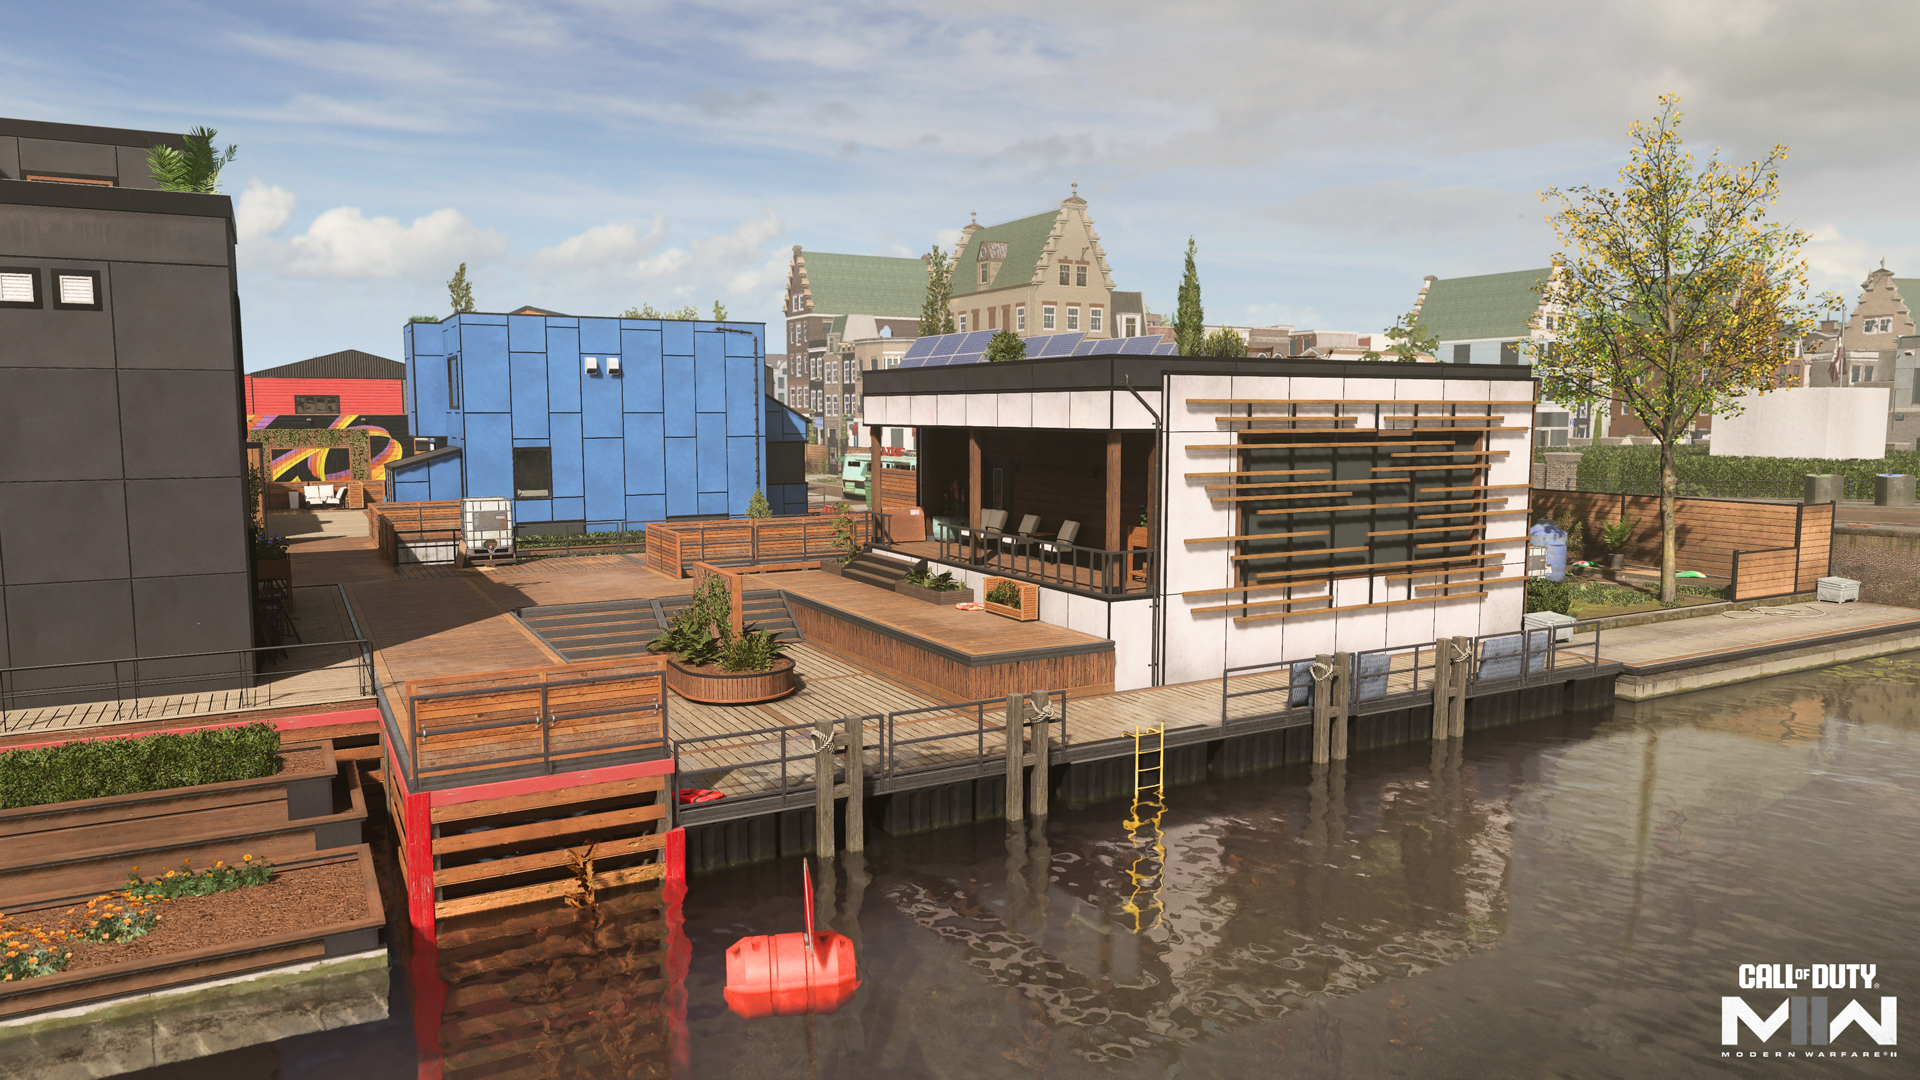
- Two of these traversable buildings have new coats of paint: The Red and Blue Houses are the Multiplayer map’s two most prominent power positions.
- The navigable waterways throughout the Multiplayer version have been streamlined for a more predictable flow.
- Some architectural changes have been made (i.e. deck adjustments in some places, additional borders around the map’s edges).
Spawn Point: KorTac
KorTac Spawn Zone (East) — Upper Deck
Arriving from the east, KorTac forces have a direct route to the Blue House; hop over the low metal railing and onto the planter boxes for quick access through the back window. You can also move up toward the large Mural in front of the Blue House when taking the middle path, obstructing the view of enemies pouring into the opposite Red House.
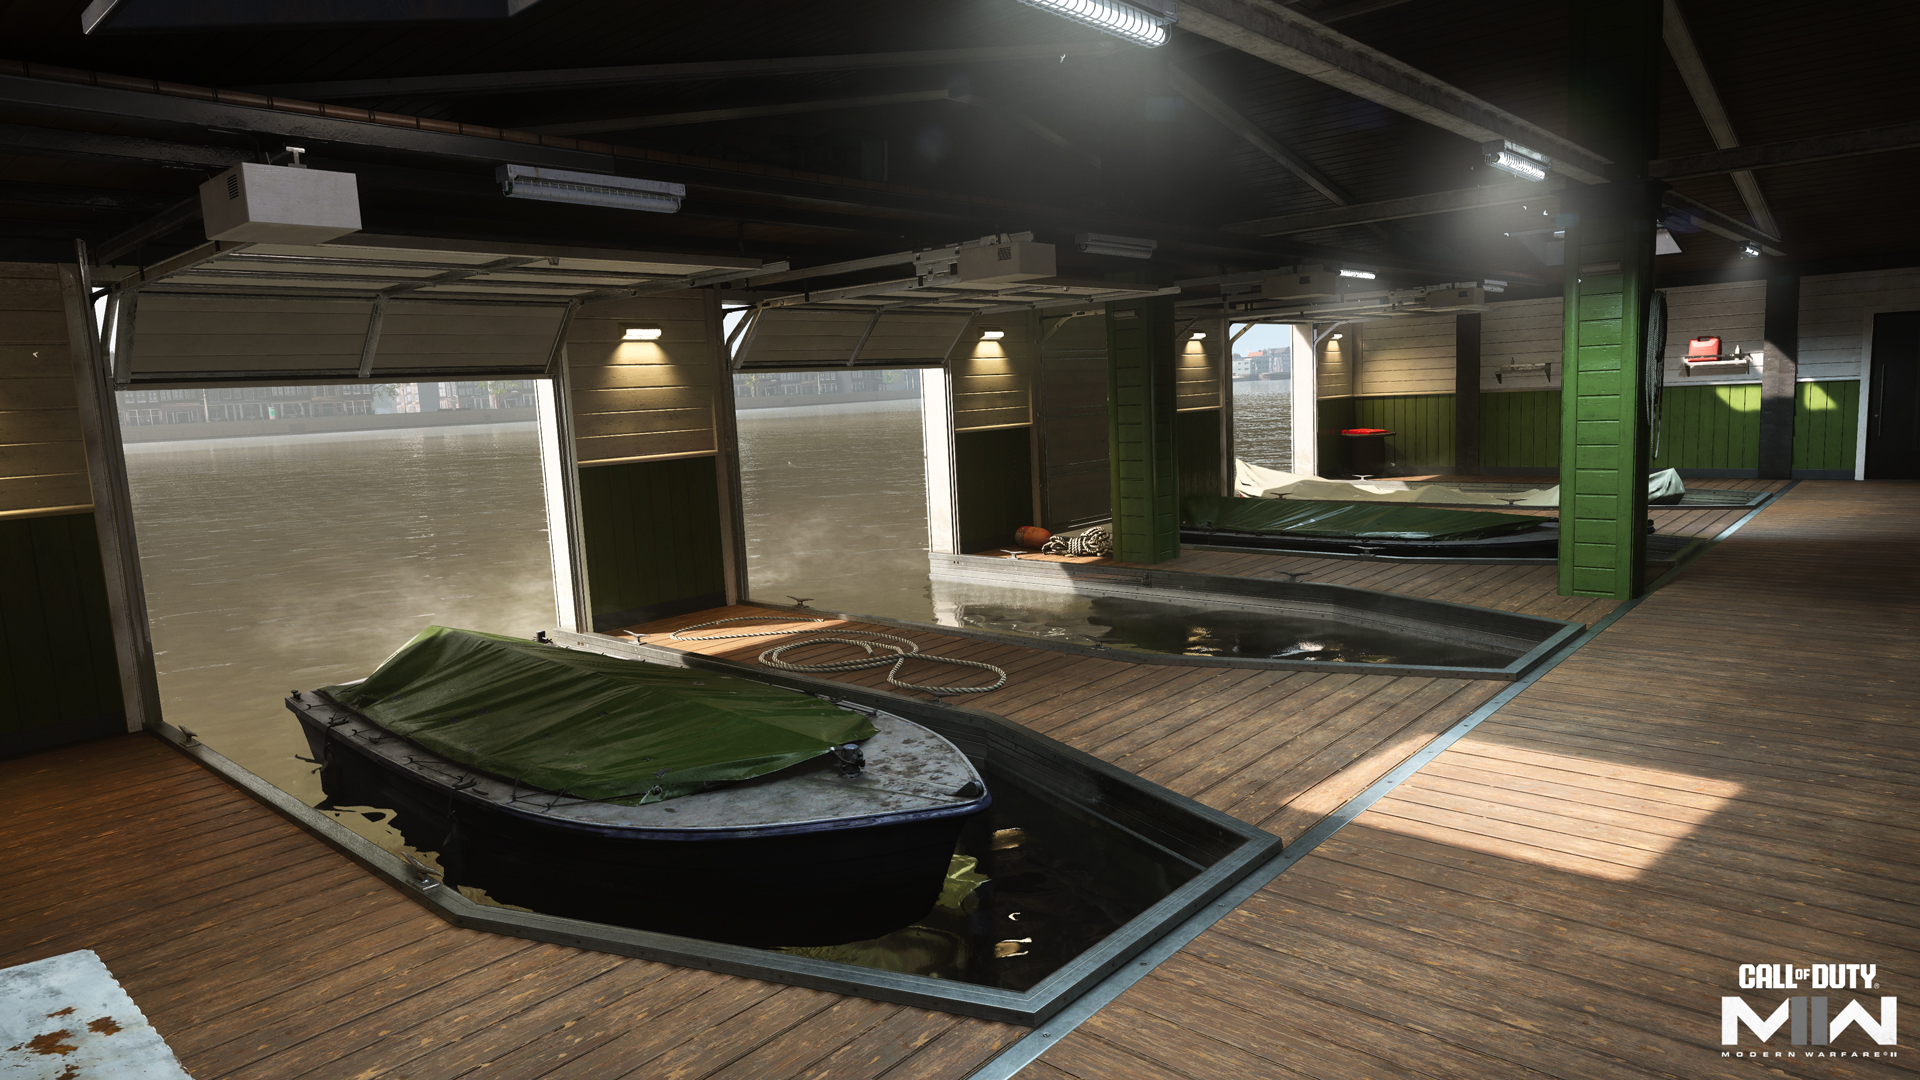
Flank right through Park up to the Food Trucks if you’d rather avoid the center. The vehicle cover here is more substantial compared to the opposite side, granting a defensive advantage. Operators with close-ranged Loadouts may prefer taking the southern Lower Deck toward Boathouse, a small interior space that caters to Shotguns and SMGs.
Spawn Point: SpecGru
SpecGru Spawn Zone (West) — Back Deck
While there’s no rear entry into the Red House, SpecGru Operators can easily break in from either side, with the north entrance via the window leading directly to the upper level. If you’d rather move past the house, consider heading toward the central Bar, which is less exposed to the upper Blue House window.
Swing left to approach the North Path by the stacked Boxes; long-ranged Loadouts tend to perform best here, as there’s little substantial cover in the area. With some light platforming, you can also take the southern approach through the Kitchen and toward the Boathouse.
Map Maneuvers: Route Planning
For the purposes of this guide, we’re breaking up Vondel Waterfront into six main sections:
- North Path
- Yellow House
- Red House
- Center Deck
- Blue House
- Upper Deck
North Path
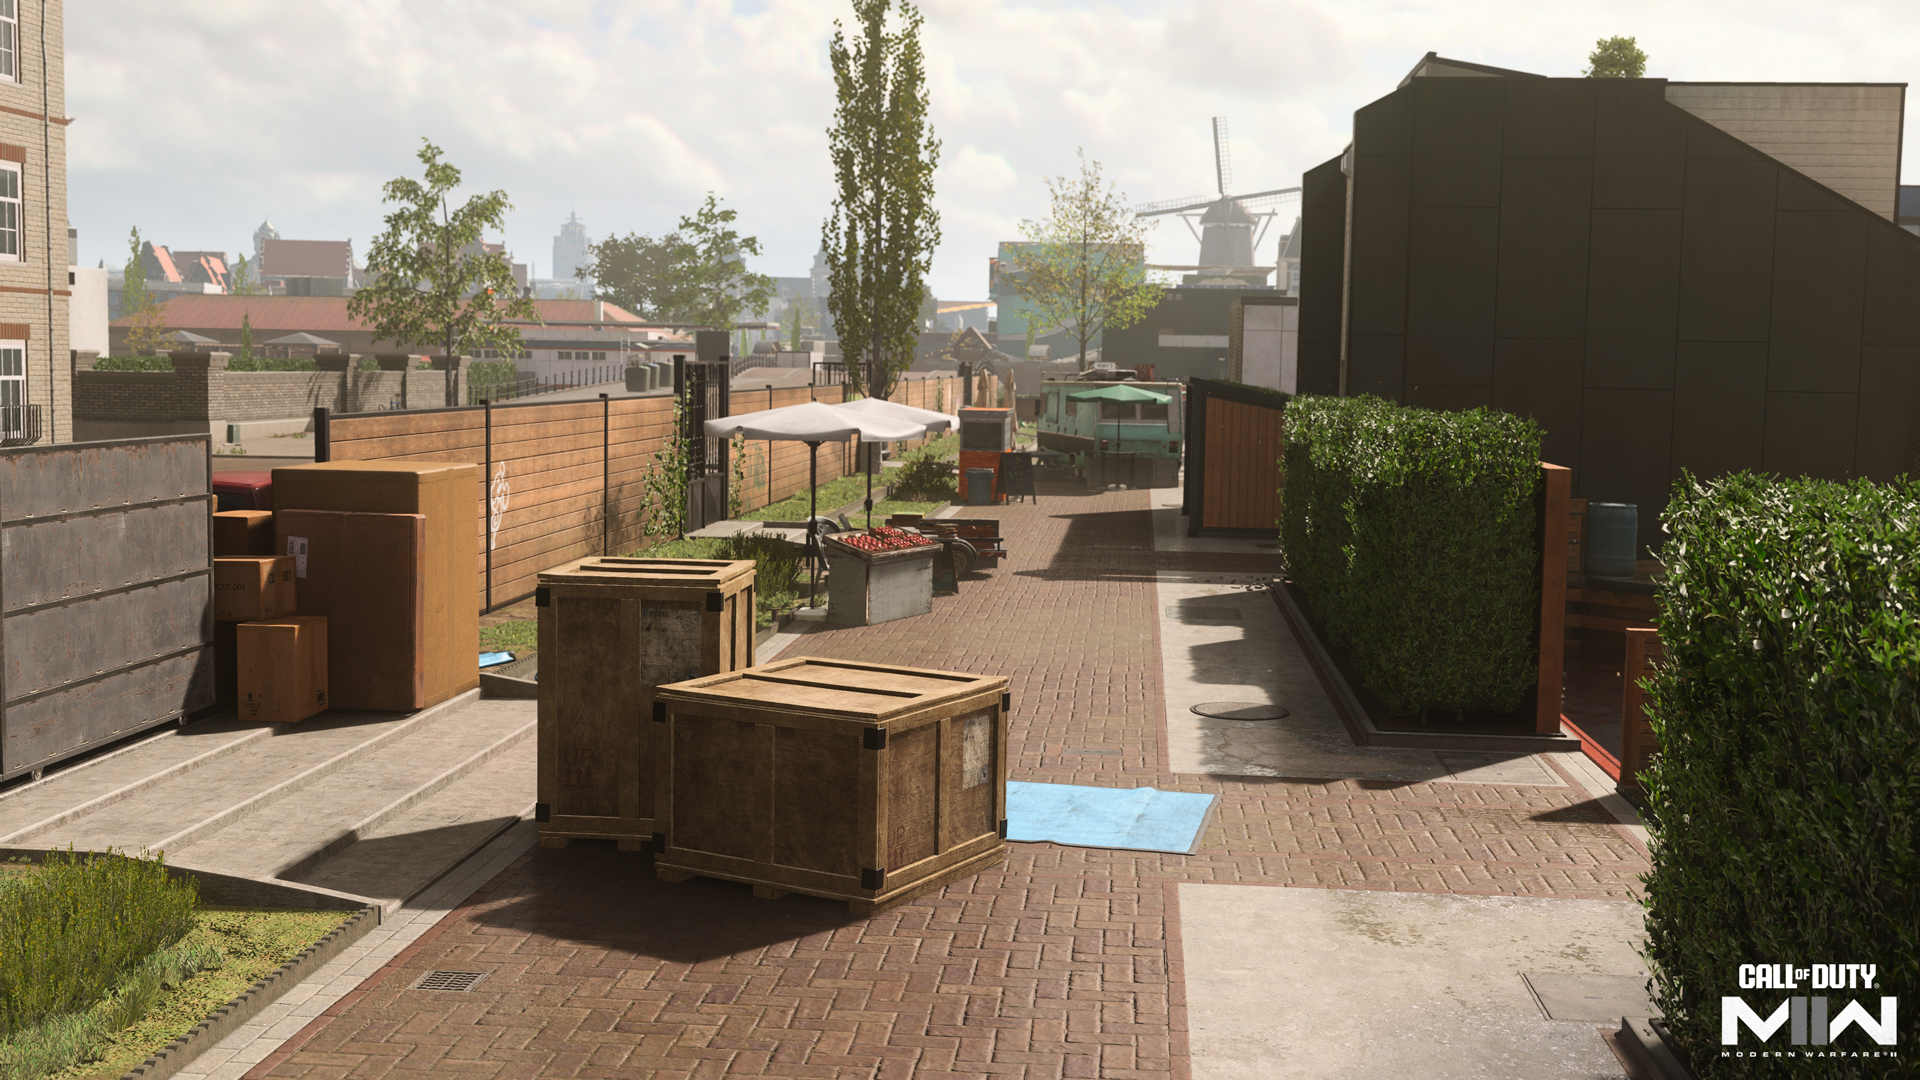
A straight route across the map, the North Path consists of the Boxes, Food Truck, and Park areas. The western Boxes are geared toward long-ranged Loadouts, at least when engaging enemies down the same path. When attacking enemies in the middle, midranged Loadouts gain some traction.
The east half of the North Path is more defensible due to the large vehicles. Neither of them are destructible, removing the fear of elimination via explosion. Climb on top of them and other food stands along the path for greater, though more exposed, views over the southern portion of the map.
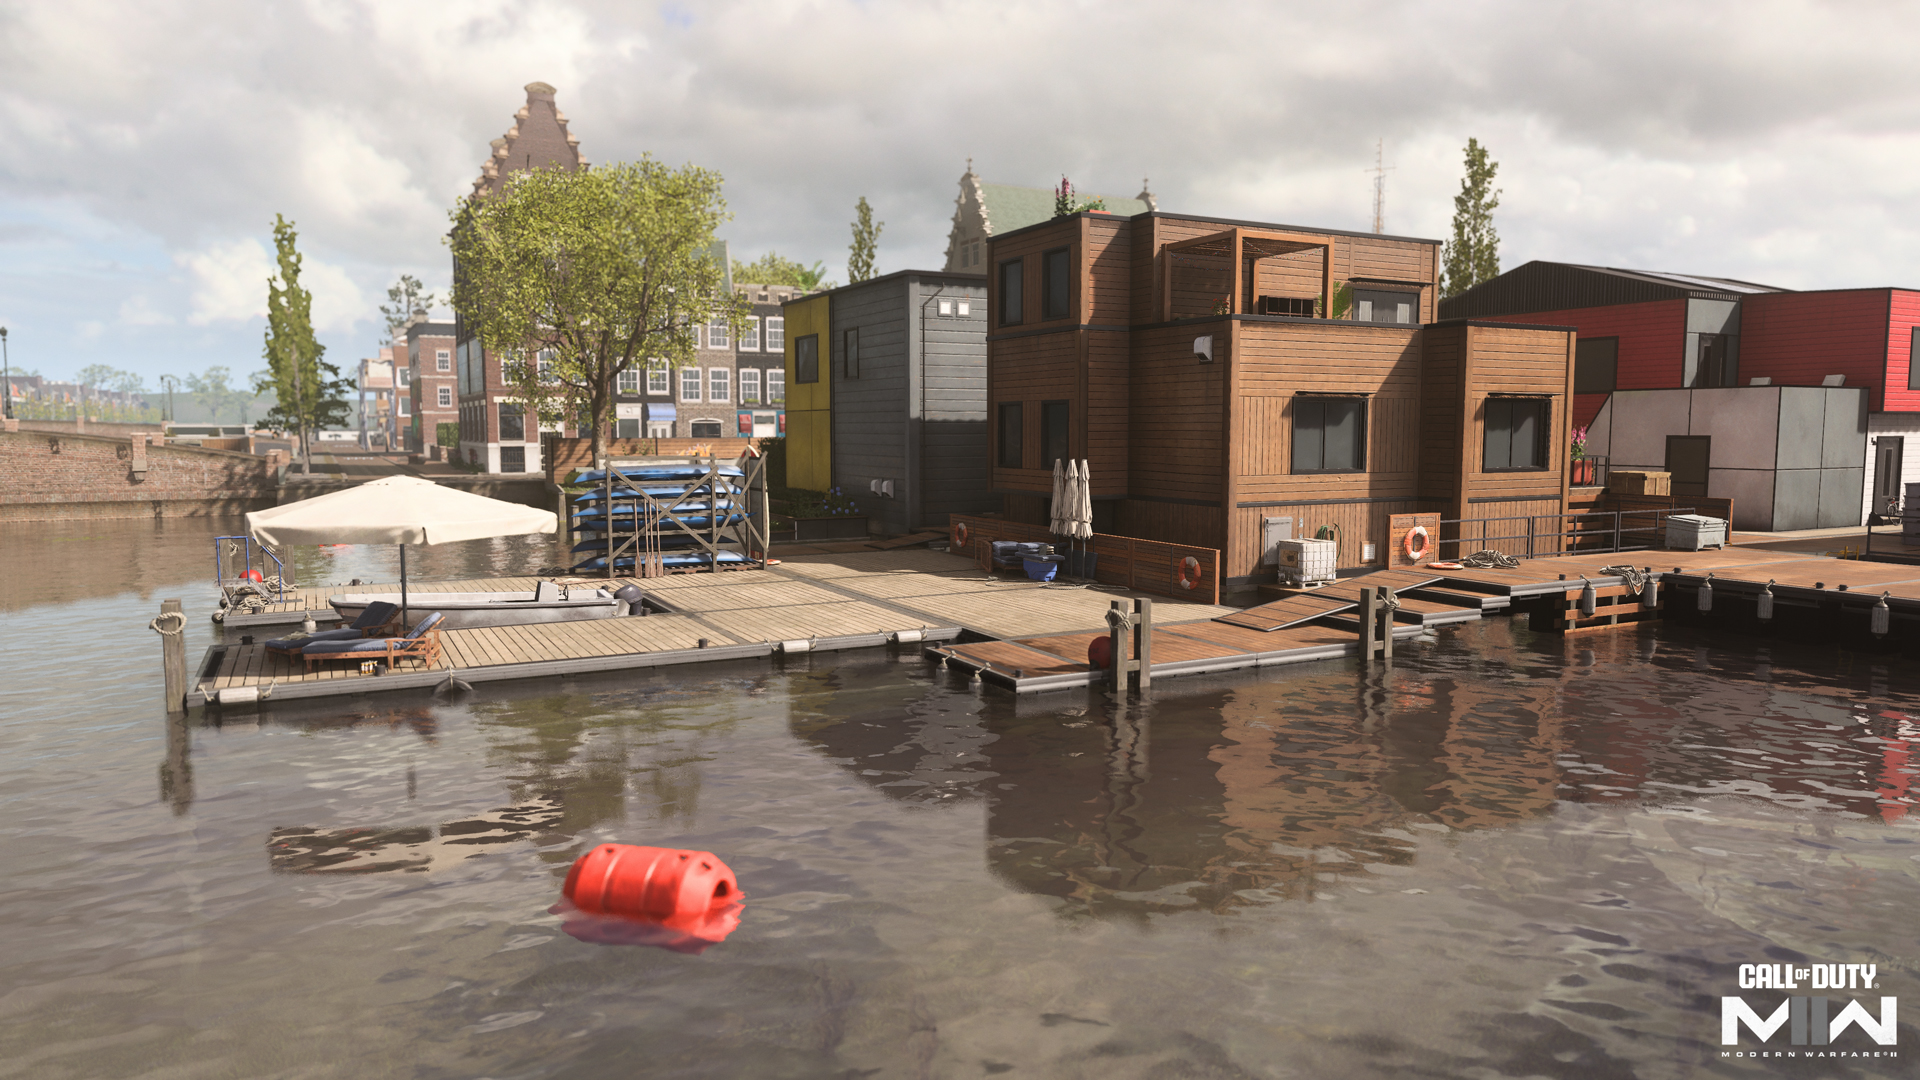
Yellow House
Capturing both the Yellow House and the Back Deck behind it, this area focuses on exterior combat, as both buildings here are closed off to entry. Along the Back Deck, combat takes place on flat ground, with only the stacked canoes acting as cover. Be aware of the waterways; there’s always the threat of danger — and the possibility of escape — from below.
When approaching the Red House, be on the lookout for enemies moving up from the middle as well as through the Kitchen and North Path. Avoid standing around the north-south path here, where you’re exposed to movement from all paths into the area.
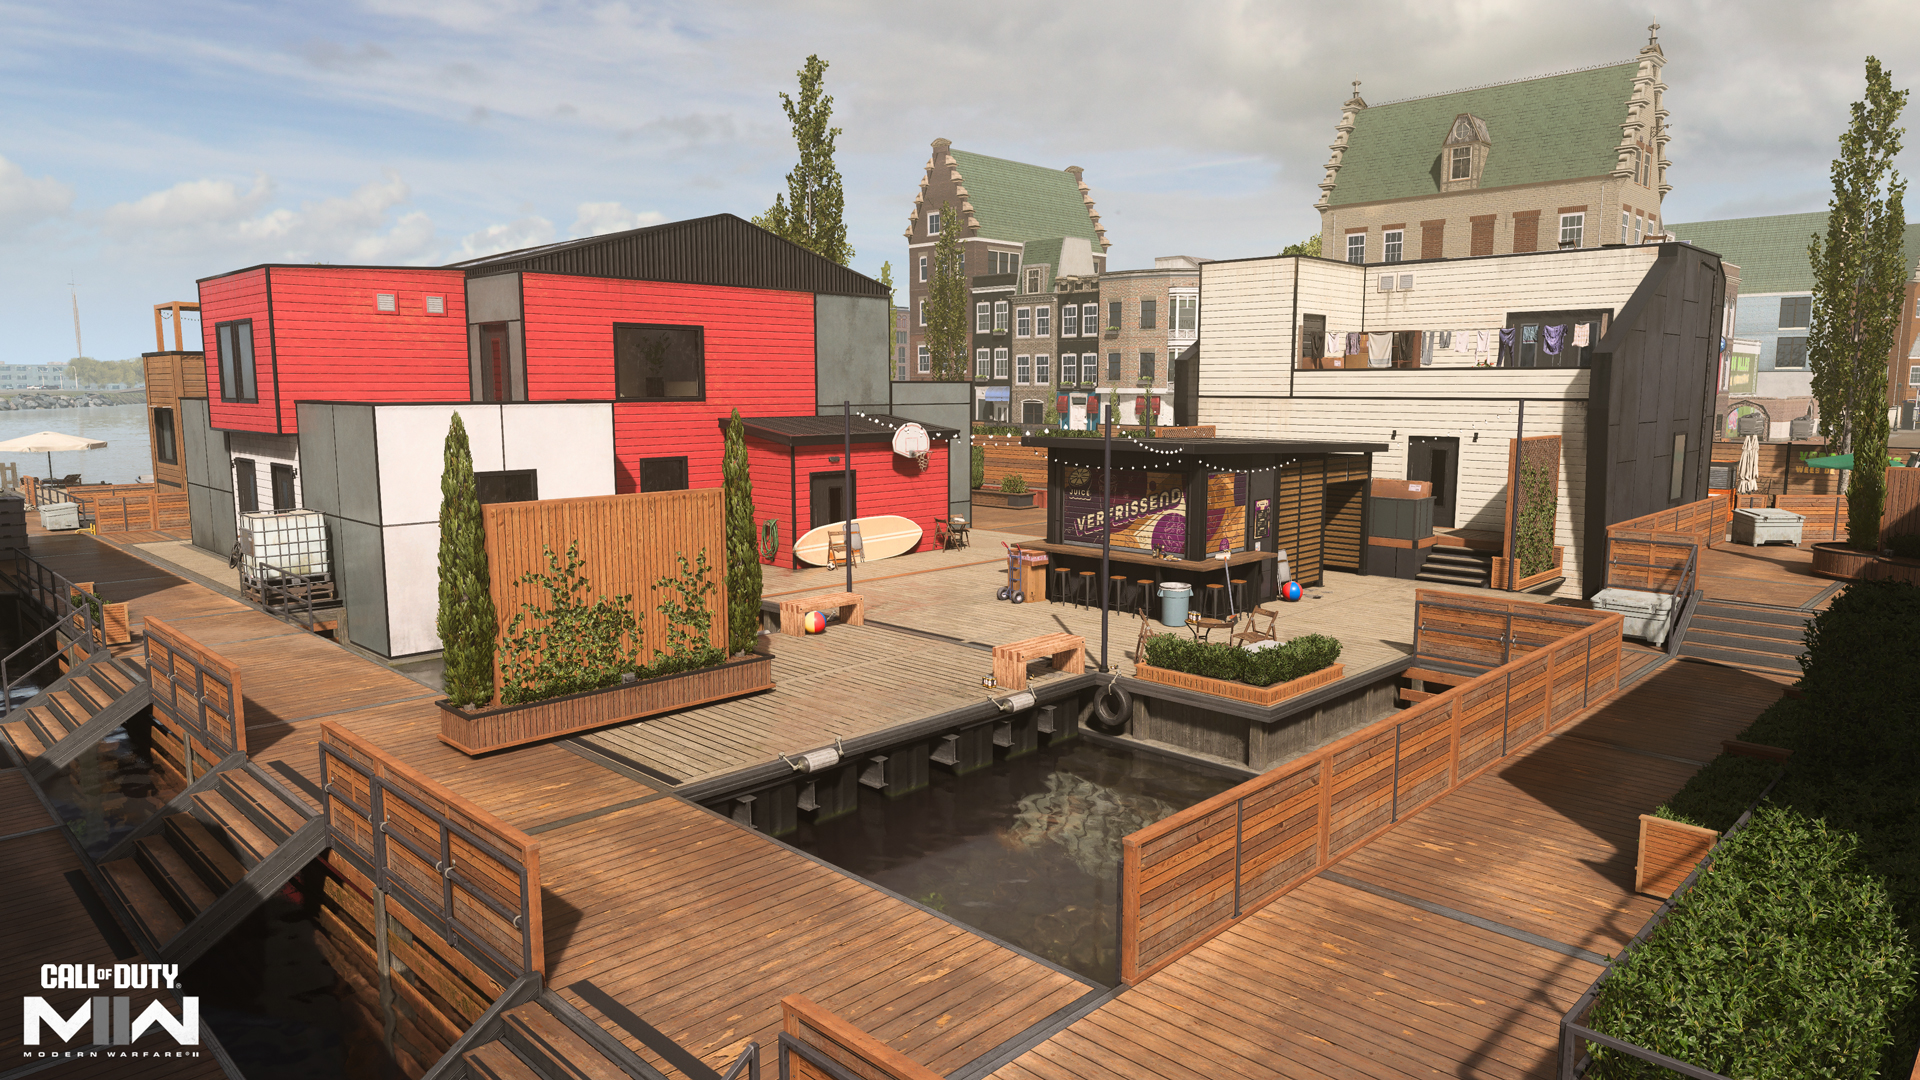
Red House
Red House and the adjacent Kitchen offer some respite against deck combat, with the Red House being a prime power position. On the upper floor, step back to avoid being spotted through the north window and watch your exposure when moving out to the deck. The lower level is equally worth defending, with two east-facing windows that generally draw less attention than the upstairs.
The adjacent Kitchen offers easy access to the Boathouse and provides its own lines of attack against the upper Blue House window and the Back and Center Decks. With a short-ranged weapon in hand, hold down the building against intruders when the area gets hot.
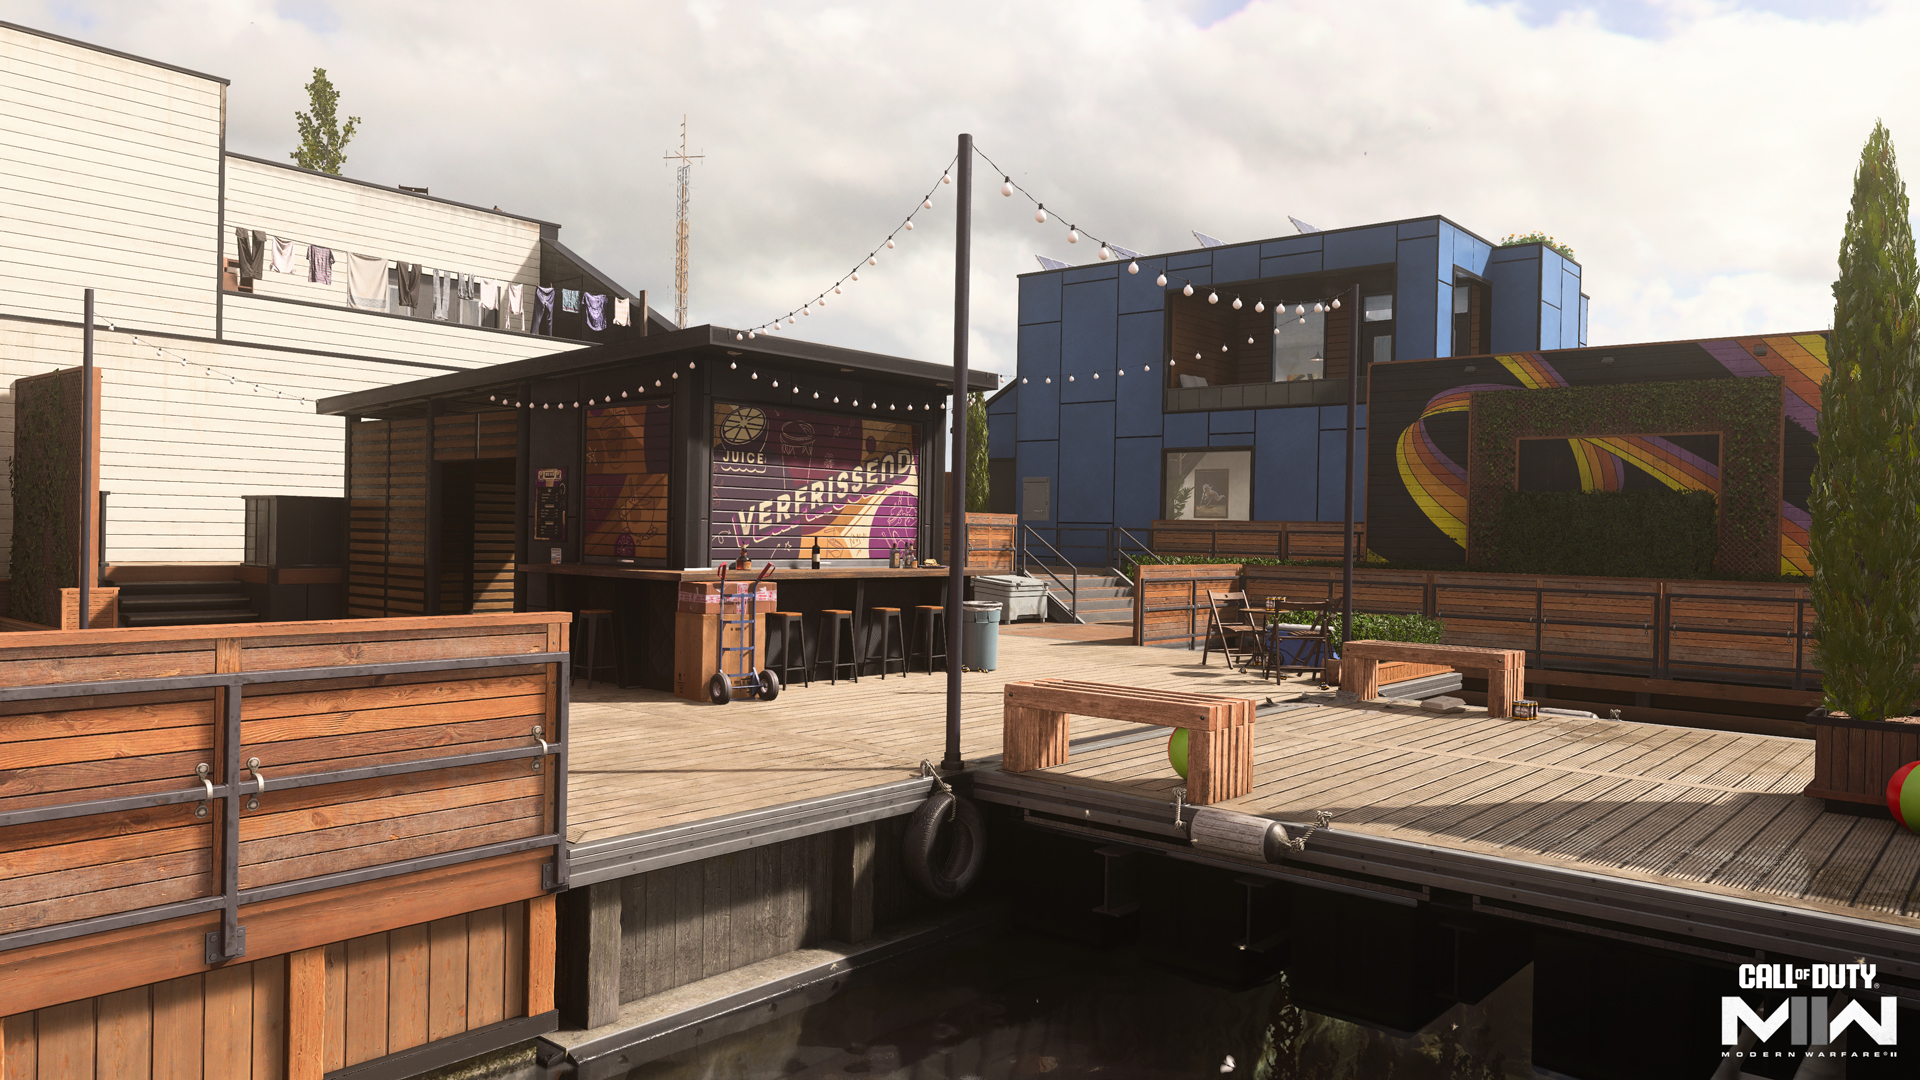
Center Deck
By exerting control over the Center Deck, Operators can create a stranglehold on enemy movement. The Bar and the adjacent white house offer a great point of defense, especially when your team has possession of either the Blue or Red House, allowing you to better focus your attacks. Get out of sight from the Deck in the Boathouse — remember to close the doors behind you. Use the window to get a strong angle on enemies in the upper Blue House.
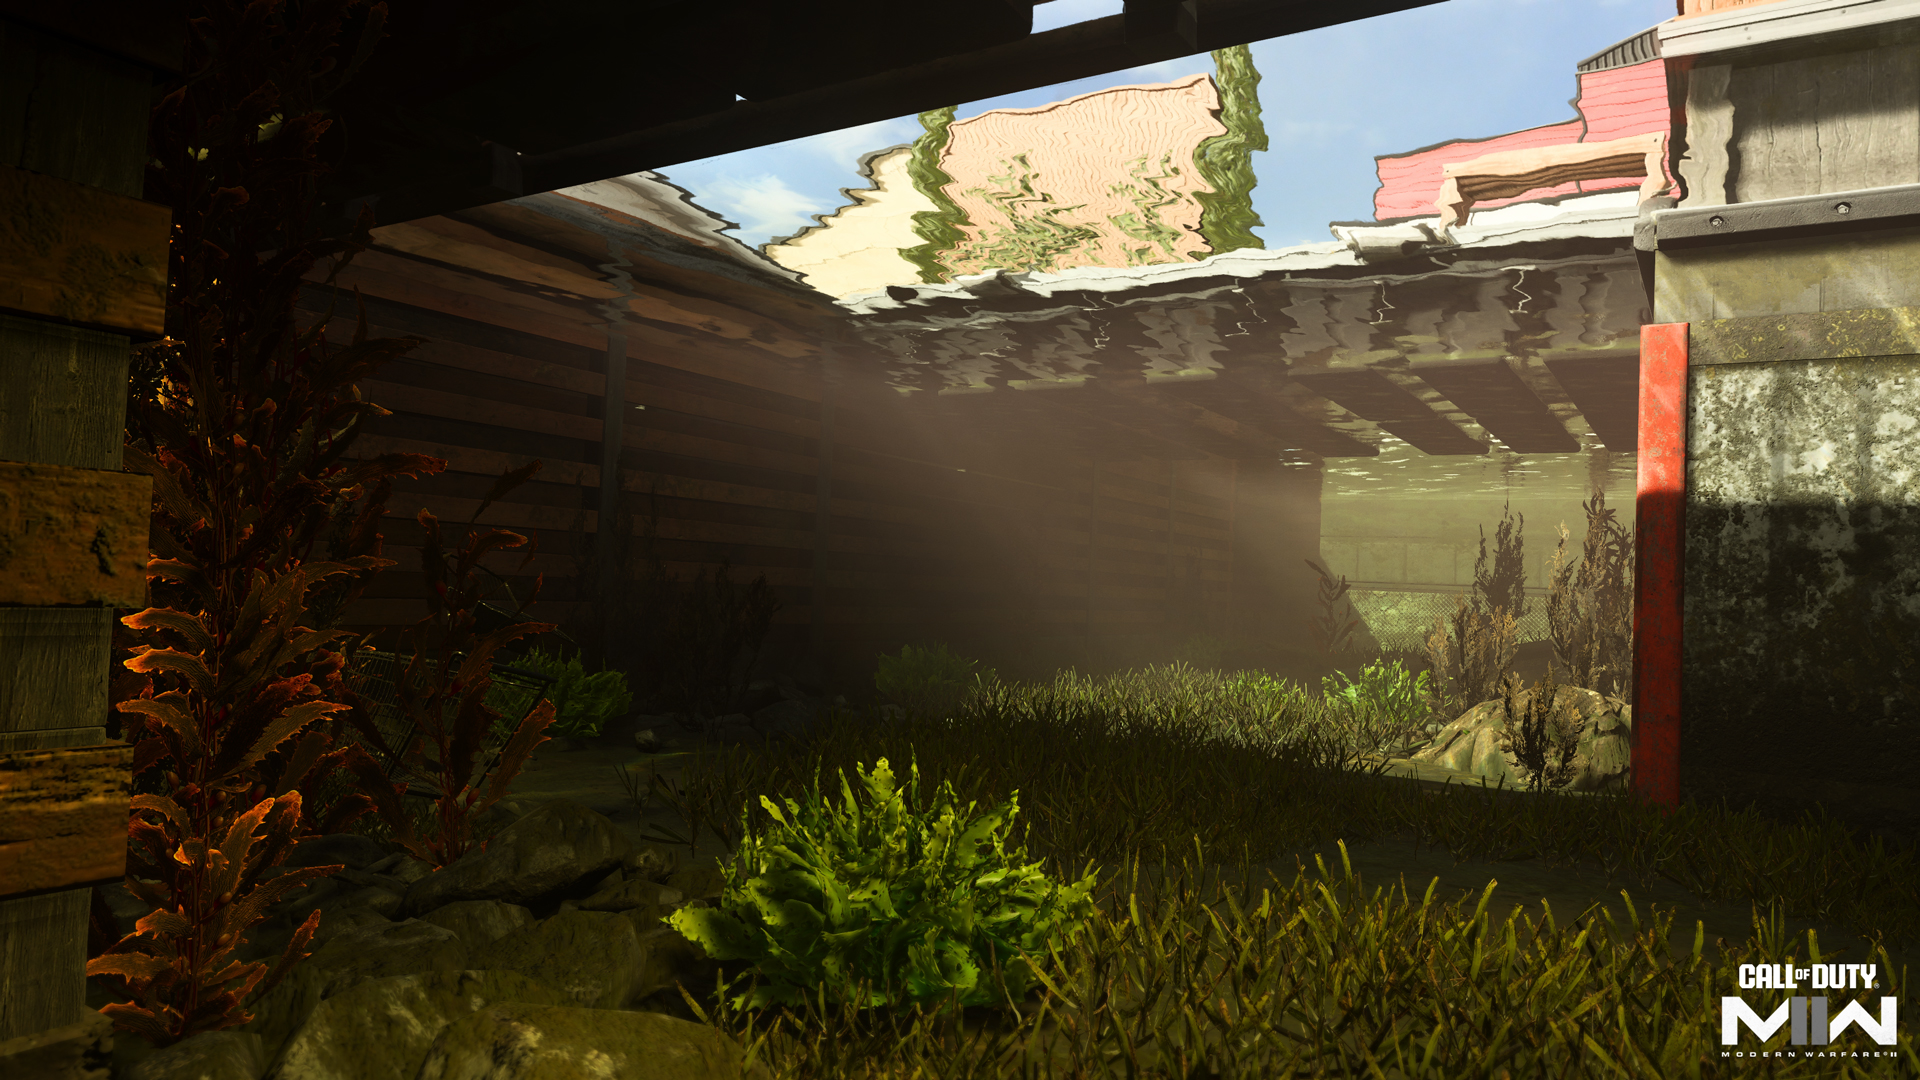
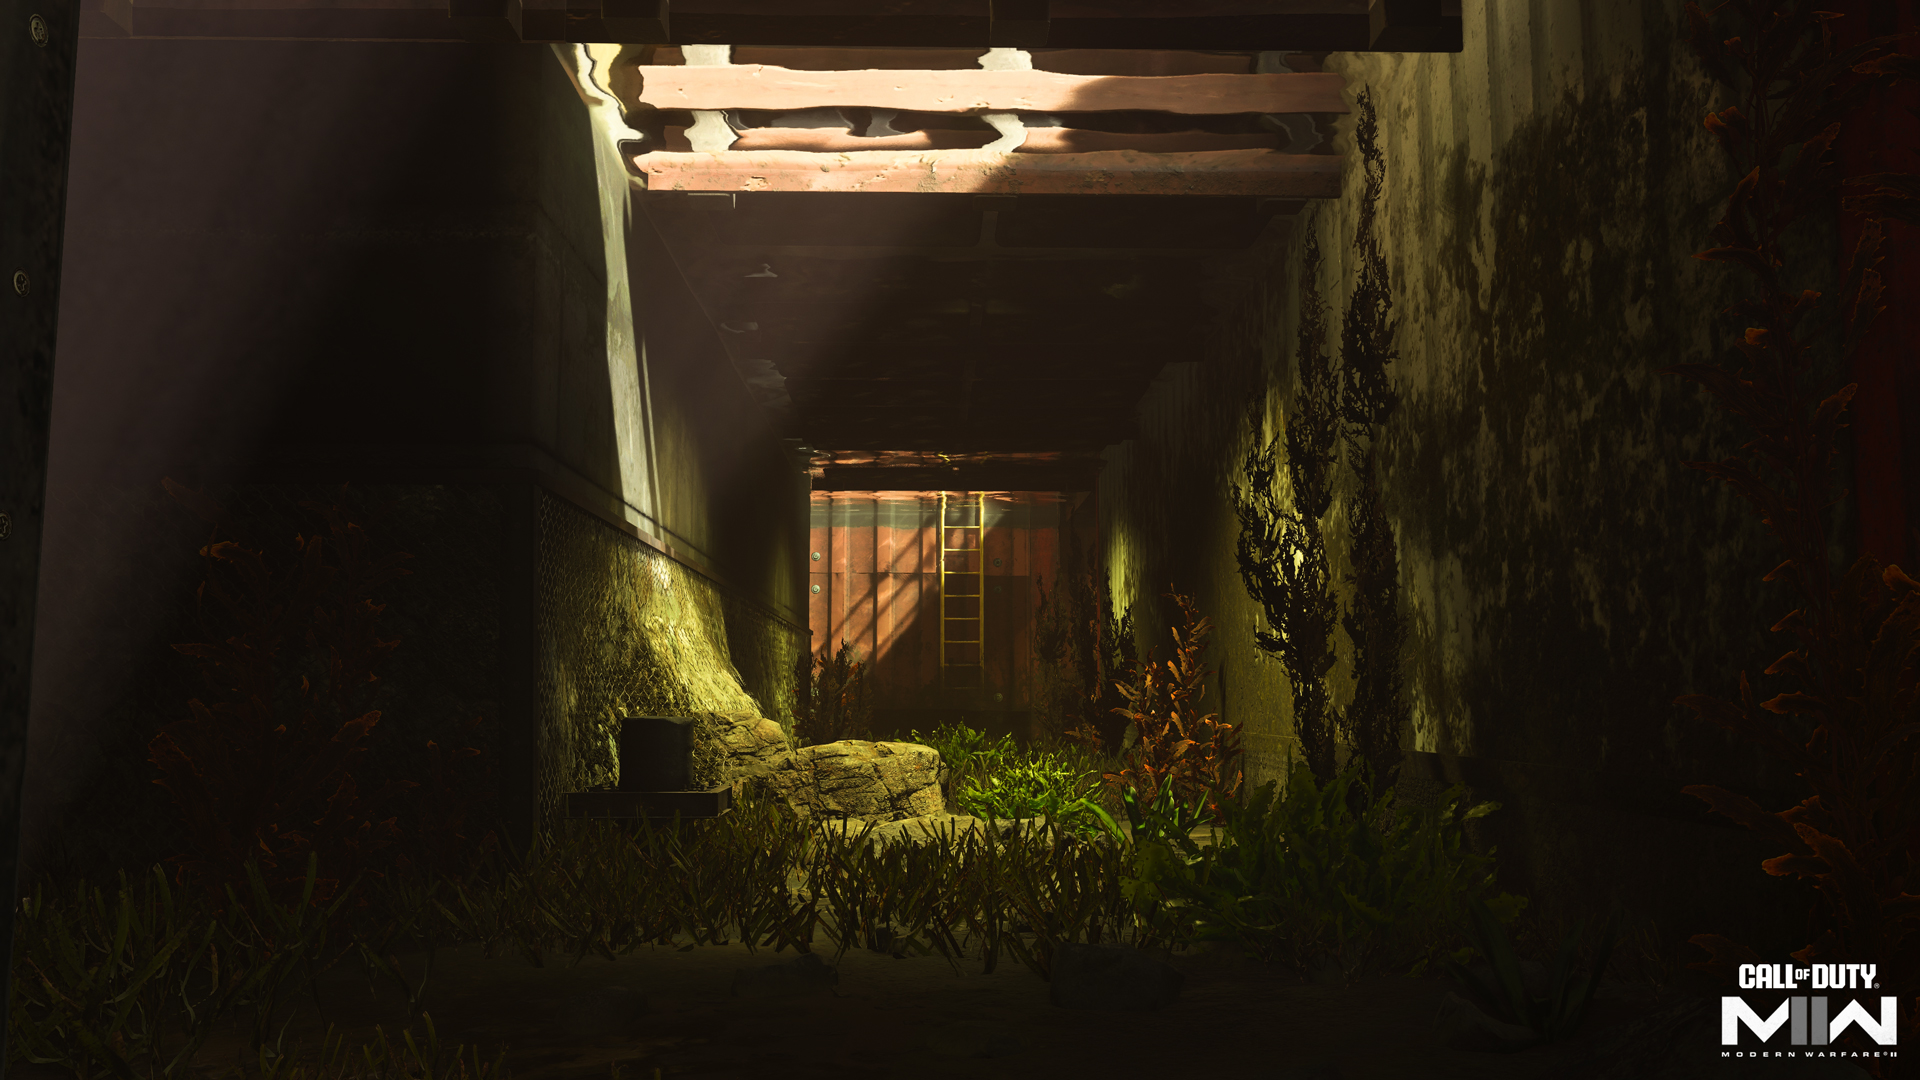
The large pools of water around the Center Deck offer an easy means of diving into the water, providing submerged access to the map’s other side. Get your Handgun ready if you’ve got one.
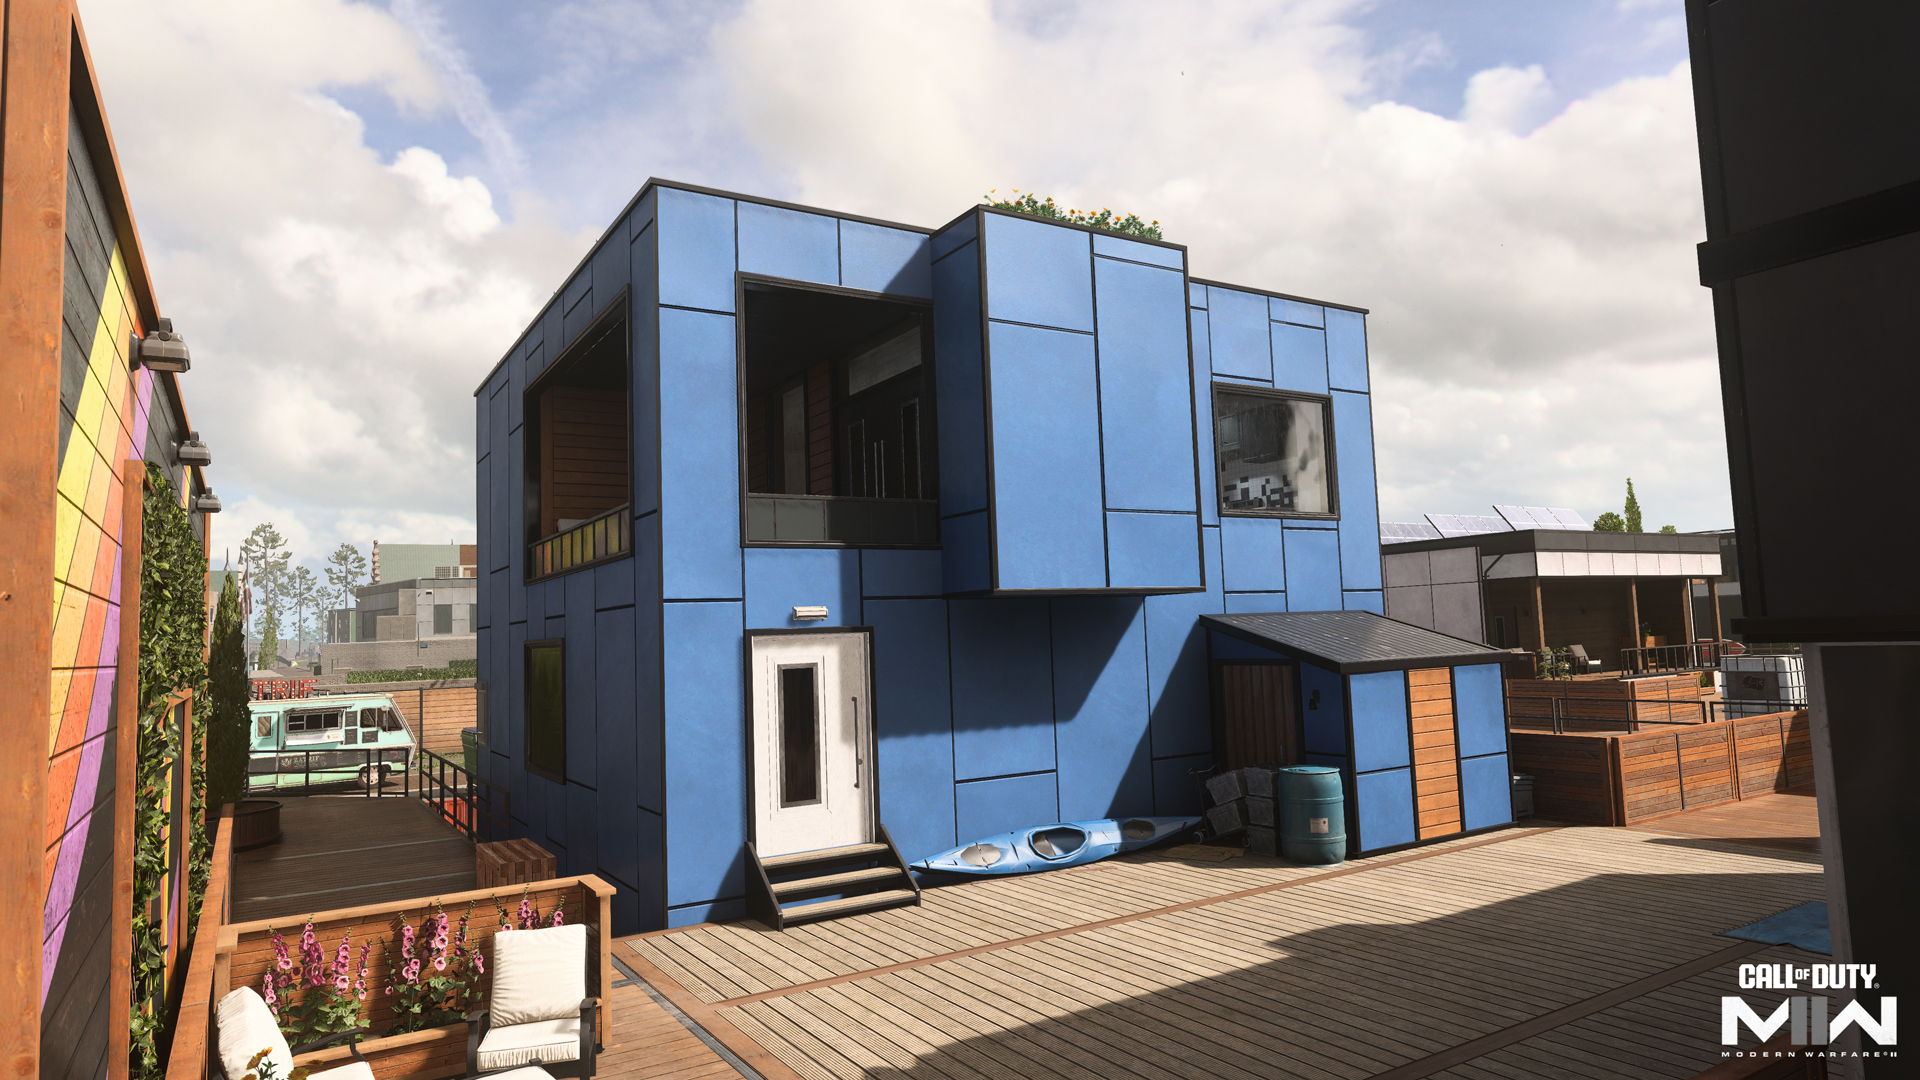
Blue House
Like the opposite Red House, the Blue House consists of two stories with front-facing windows on both levels, plus a deck and a side window.
In front of the house, mount your weapon on the wooden fence for better aim against enemies on the Center Deck; stay behind the nearby trellis to keep out of view of the upper Red House window. On the other side, the Mural offers vital protection against being sighted by the Red House, allowing you to focus on the lanes surrounding it.
Upper Deck
The Upper Deck is a mostly open area, though the two buildings here provide cover when moving between different lanes. Long-ranged weapons can do well in the back as well; crouch behind the raised platform for solid body coverage as you engage the enemy.
The Lower Deck path to the south is also worth exploring, granting an angled view over the Center Deck and easy access to the Boathouse.
Objective Routes and Rotations
Mode Intel: Domination
While cross fire between the Red and Blue Houses is always a threat, the B flag’s central location by the Bar makes it a near constant one in Domination matches. Though these power positions are prime locations, don’t get lulled into thinking they’re a strategic be-all and end-all. The North Path offers a great means of attacking from the top of the map, while the waterways provide myriad ways of flanking your opponents.
When everything’s being thrown at the B flag, you can always take a swim to capture A or C, even if it’s just to take the heat off the Center Deck. Once you’ve got the middle flag, spread out to places like the Boathouse, the Mural, and the Bar, thus expanding your lines of sight against enemy attackers.
Mode Intel: Search & Destroy
Starting on the western Back Deck, the attacking team can gung-ho it toward the A flag bomb site positioned just south of the Bar or they can take the North Path toward the B bomb site located between the two Food Trucks. Taking A is likely the more aggressive approach, as you’ll need to quickly establish control over the area for a safe planting.
The defending team has a cover advantage along the North Path, making it easy for a lone Operator or two to spot incoming enemies on that route so you can send the bulk of your squad to defend A.
On either side, sending a sniper up to the North Path can help land an early elimination. Heading south toward the Boathouse can also be lucrative for close- to midranged Operators; use a mixture of the two tactics to squeeze enemies caught in the middle.
Mode Intel: Hardpoint
Hardpoint sends teams all over the map, de-emphasizing the Red and Blue House power positions compared to other modes. They’re still prominent at the match start, though, with the first Hardpoint activating in and around the central Bar. After that, you’ll move to the southeast portion of the Upper Deck near the traversable docked boats; then head north of the Red House, within the entirety of the Boathouse, and finally to the northeast Park over the grass.
Switch up your Loadout as needed for each Hardpoint. Remember to have your Handgun equipped when swimming in case you encounter enemy Operators. With all positions but the Boathouse open to the skies, you might also want to utilize air-to-ground streaks to dislodge opponents positioned within the objective.
Top Tips
1. Water warrior. Remember: Underwater combat is limited to your Handgun, melee weapons, and certain Equipment and Field Upgrades. For ultimate control, combine the Throwing Knives and Shock Stick with the Resupply Bonus Perk for recharging Equipment, paired with the Inflatable Decoy Field Upgrade to throw them off your trail.
2. Mind the buoys. While the minimap’s red borders delineate the outer edges of the navigable water, it can be difficult to keep track during combat. If you need to keep your eyes on what’s in front of you, just stay within the floating red buoys.
3. The front door is for suckers. Both the Red and Blue House feature entry points directly to the upper level on their south-facing walls. For the Red House, climb the white container and up onto the deck; for the Blue House, climb on top of the blue storage unit and up through the kitchen window.
4. Out the kitchen, in the bedroom. If you’re in the Red House and caught in a stalemate with an enemy in the Blue House, try jumping out the kitchen window and into the water. If you’re fast enough, you can swim all the way behind the Blue House and break in from the rear bedroom.
5. Food fight. The North Path offers a great means for attacking enemies lodged in the upper Blue and Red House. At the Blue House, hop onto the large Zatrif Food Truck or the orange stand next to it. For the Red House, climb onto Gerrie’s Food Truck if you’ve got a long-ranged weapon, and for a closer view, climb onto one of the white umbrellas and fire through the side window.
6. Give me a second. While the transition from water to land is fairly quick, it still takes a moment to pull yourself out of the water and back onto the deck. Try to avoid getting out in direct sight of the enemy, instead positioning yourself out of view for a flank attack.
7. Behind the Boathouse. Getting blasted the second you open a door into the Boathouse? Try coming up from behind in the water, especially if the enemy is preoccupied with the north-facing window.
8. Don’t neglect your Launcher. While equipping a Handgun as your secondary improves your chances for survival in the water, don’t hesitate to switch to a Launcher Loadout when it’s time to down enemy aerial streaks.
9. Tower defense. The blocky buildings here are all a relatively small size; utilize them for cover as you move between different lines of sight. Pick a house in a hot location and defend its turf.
10. Home security. Consider bringing along the Portable Radar or Tactical Camera Field Upgrade when holing up within the Red or Blue Houses, the Kitchen, or the Boathouse. With multiple entry points into each location, the additional intel is vital.
Stay frosty.