Black Ops Cold War: How to Complete Season Four’s Final 10 Zombies Seasonal Challenges
As we near the end of Season Four, it’s time to close out those final Zombies Seasonal Challenges and earn their rewards. Plus, breaking down the “Mothership” Ultra sniper rifle Mastercraft.
The undead invasion of Berlin continues to run amok in “Mauer Der Toten,” and only the most stalwart Requiem agents can hope to turn back the tide. With Season Four Reloaded well underway, you’d better save Raptor-1 before it’s too late.
To get you in top fighting form, we’re going over the final ten Season Four Zombies Seasonal Challenges, as well as our featured Operators and the unmatched “Mothership” Ultra Mastercraft.
Here’s the full briefing:

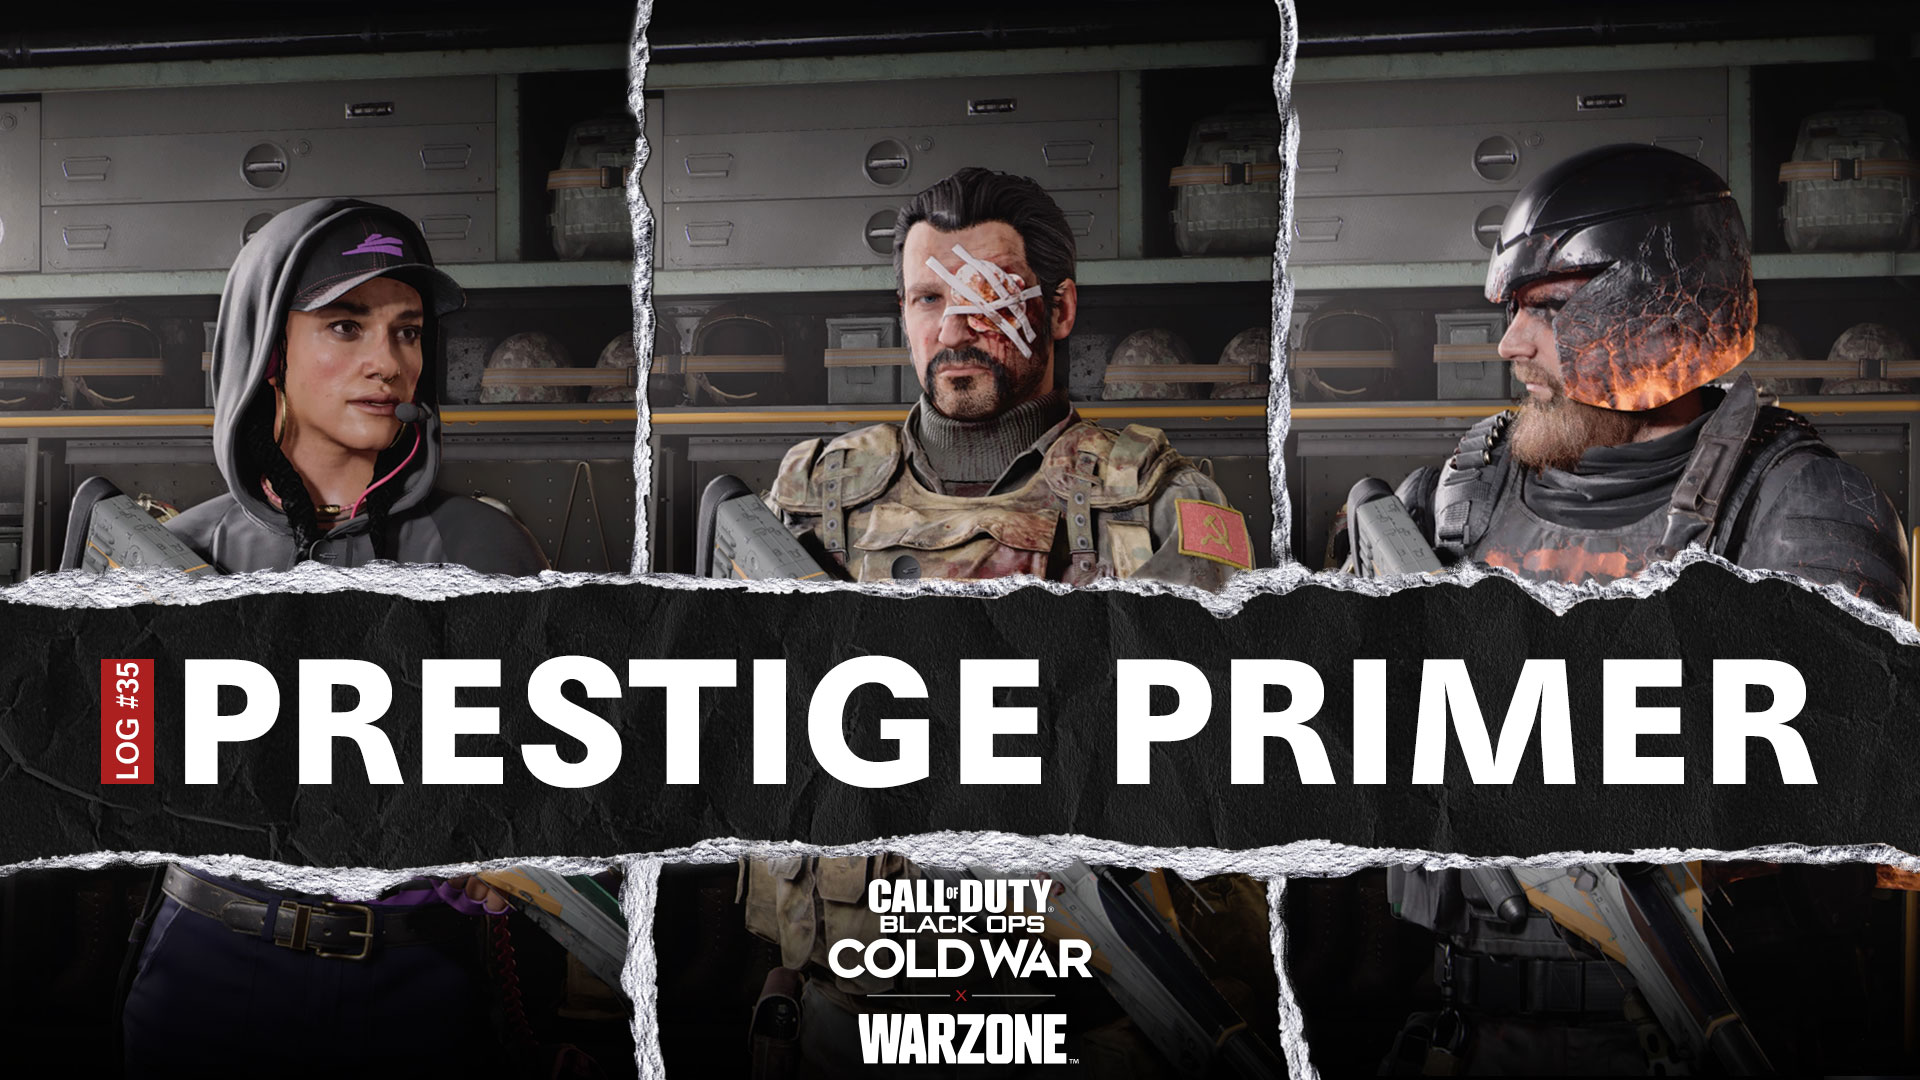
To celebrate this weekend’s Call of Duty League Major V tournament, our first featured Operator is “The Boss” Operator Skin for Rivas. You can find it in the Call of Duty League’s bold Midseason Pack, available in the Franchise section of the Store.
Whether you already own yours or need to pick one up for Rivas in the Store, be sure to don that Call of Duty League hoodie and tune in today, tomorrow, and Sunday and find out who wins the final Major tournament of the season. To watch all the games live and see the match schedule, visit the Call of Duty League’s official website.
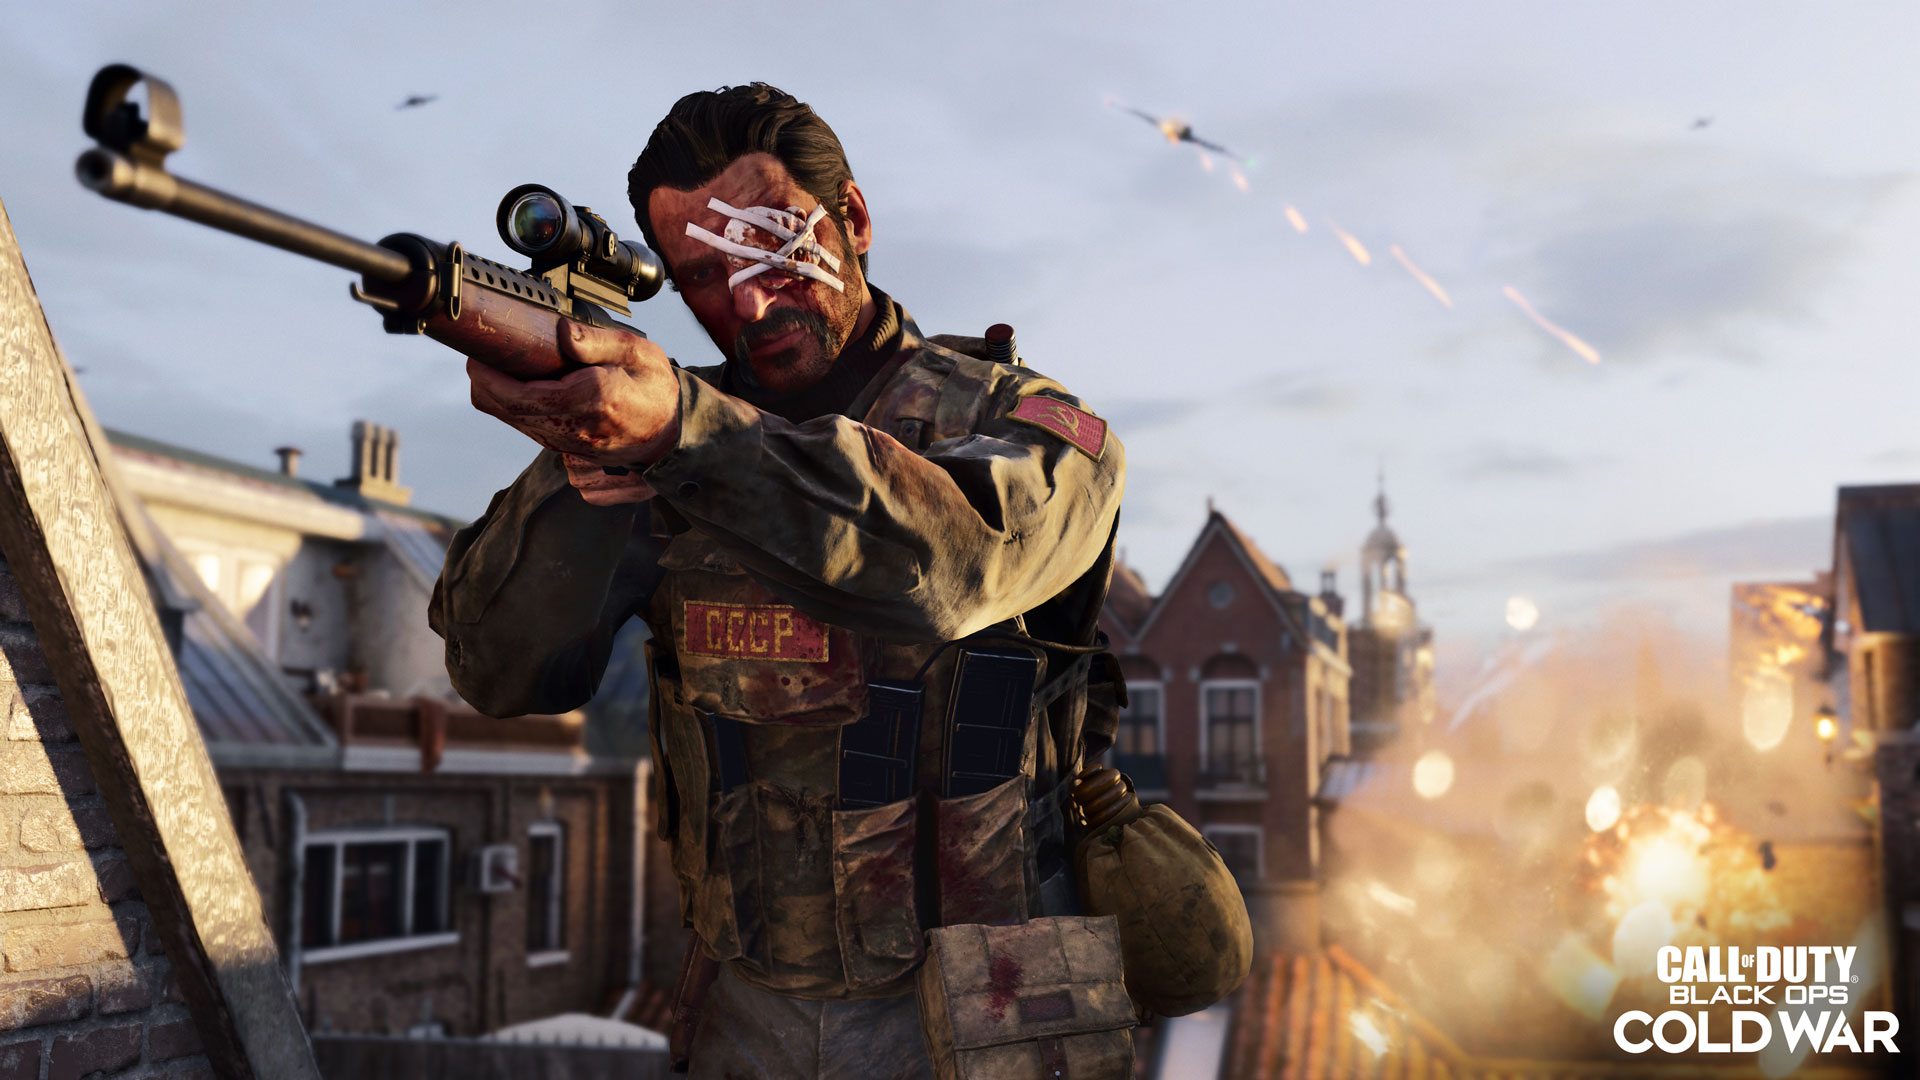
Next up we’ve got Weaver’s “Kremlin’s Eye” Operator Skin, now available via the Tracer Pack: Weaver Operator Bundle. This is an homage to the original Call of Duty®: Black Ops incarnation of Weaver as a playable Operator, and his Bundle comes loaded with three Legendary Weapon Blueprints and a zombie-based Finishing Move among other menacing cosmetics.
And if you didn’t know about this Bundle by now, get a closer look in our Weaver biographical blog.

When it comes time to set the competition ablaze, the Tracer Pack: Firestorm Maxis Mastercraft Bundle is your bet. This new collection includes the “Heat Seeker” Operator Skin for Maxis, along with the new Ultra “Phoenix Inferno” Assault Rifle Mastercraft and the Legendary “Firebrand” Pistol, both featuring Gold and Red Tracer Fire and Fire Elemental Damage in Zombies. You’ll also get the “Immolated Souls” Kill Tracker Wrist Accessory, “Combustion” Dirt Bike Vehicle Skin, “From Flames” Animated Calling Card, “Firestorm” Animated Emblem, and “Phoenix Gem” Charm.
Top Tip – Season Four’s Final 10 Seasonal Challenges
Time’s ticking, and the end of Season Four approaches. This week, we’re looking at the final ten Zombies Seasonal Challenges, which rewards you with a massive XP boost and the coveted Master Calling Card upon completion.
Let’s get right to it:
On a Budget (Level 100): Kill 100 enemies distracted by a Decoy Tactical Equipment using a Frag or Semtex. — 8,500 Total XP
This one’s straightforward, and the two-tiered opening area for “Mauer der Toten” is a great spot to work on it in early rounds, though any round-based map works just fine. Eliminate zombies, collect Salvage, and use the nearby Crafting Table to make Decoy and Semtex grenades. Equip your starting weapon with attachments like the Mounted Flashlight to improve Salvage drop rates.
Once the power is on and you’ve got access to the Mule Kick machine, we recommend slurping it down… if you have it upgraded. You should at least have your Mule Kick Skill up to Tier I (1 Raw Aetherium) and preferably Tier IV (6 Raw Aetherium, 4 Refined Aetherium), as your Equipment can be doubled when crafted or even has a chance not being expended on first use.
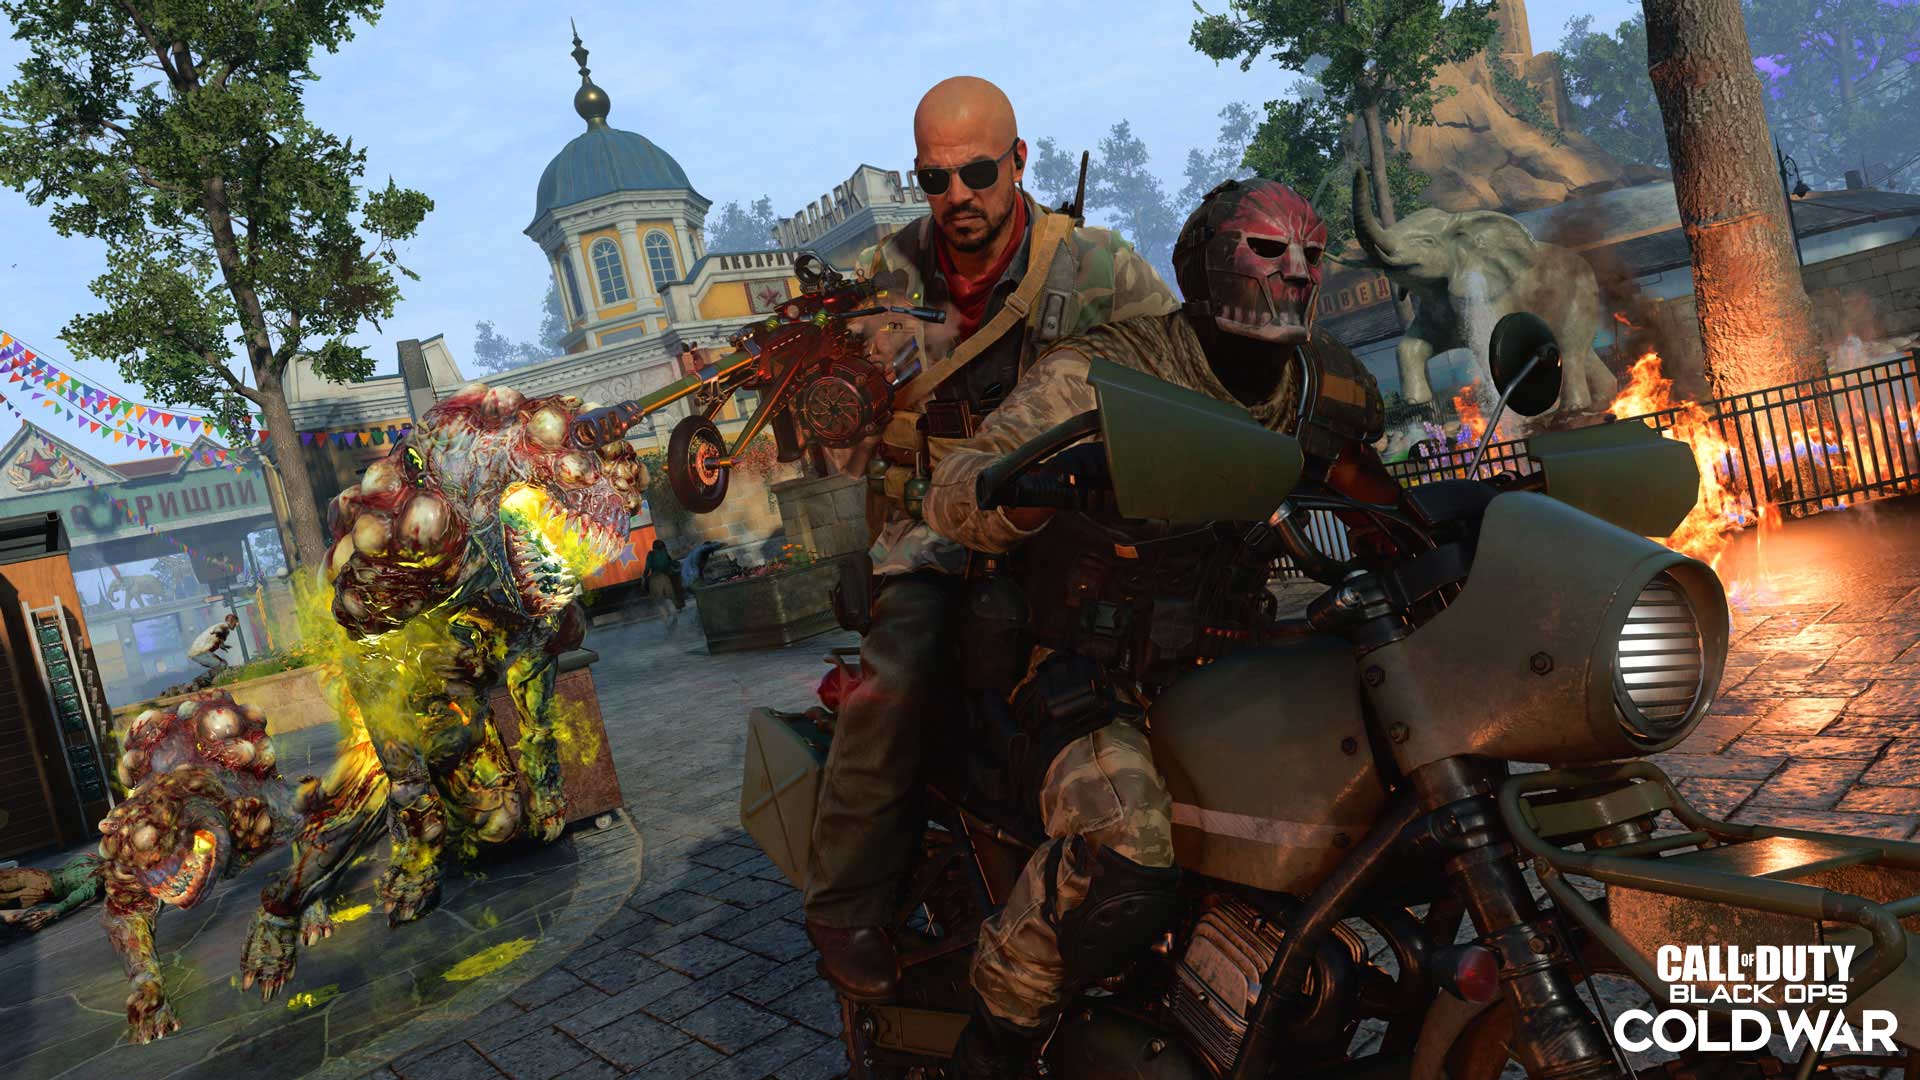
Pit Stop (Level 110): Earn 100 Freelancer medals (Killed 3 enemies rapidly with an equipped weapon on a vehicle). — 8,500 Total XP
This one’s for Outbreak and it’s best completed with a friend, though it’s entirely possible solo as well if you swap into the passenger seat.
Grab something quick and maneuverable like the Dirt Bike, Snowmobile, or the FAV and drive around in search of clustered zombies. Earlier waves are best, when zombie health is at its lowest.
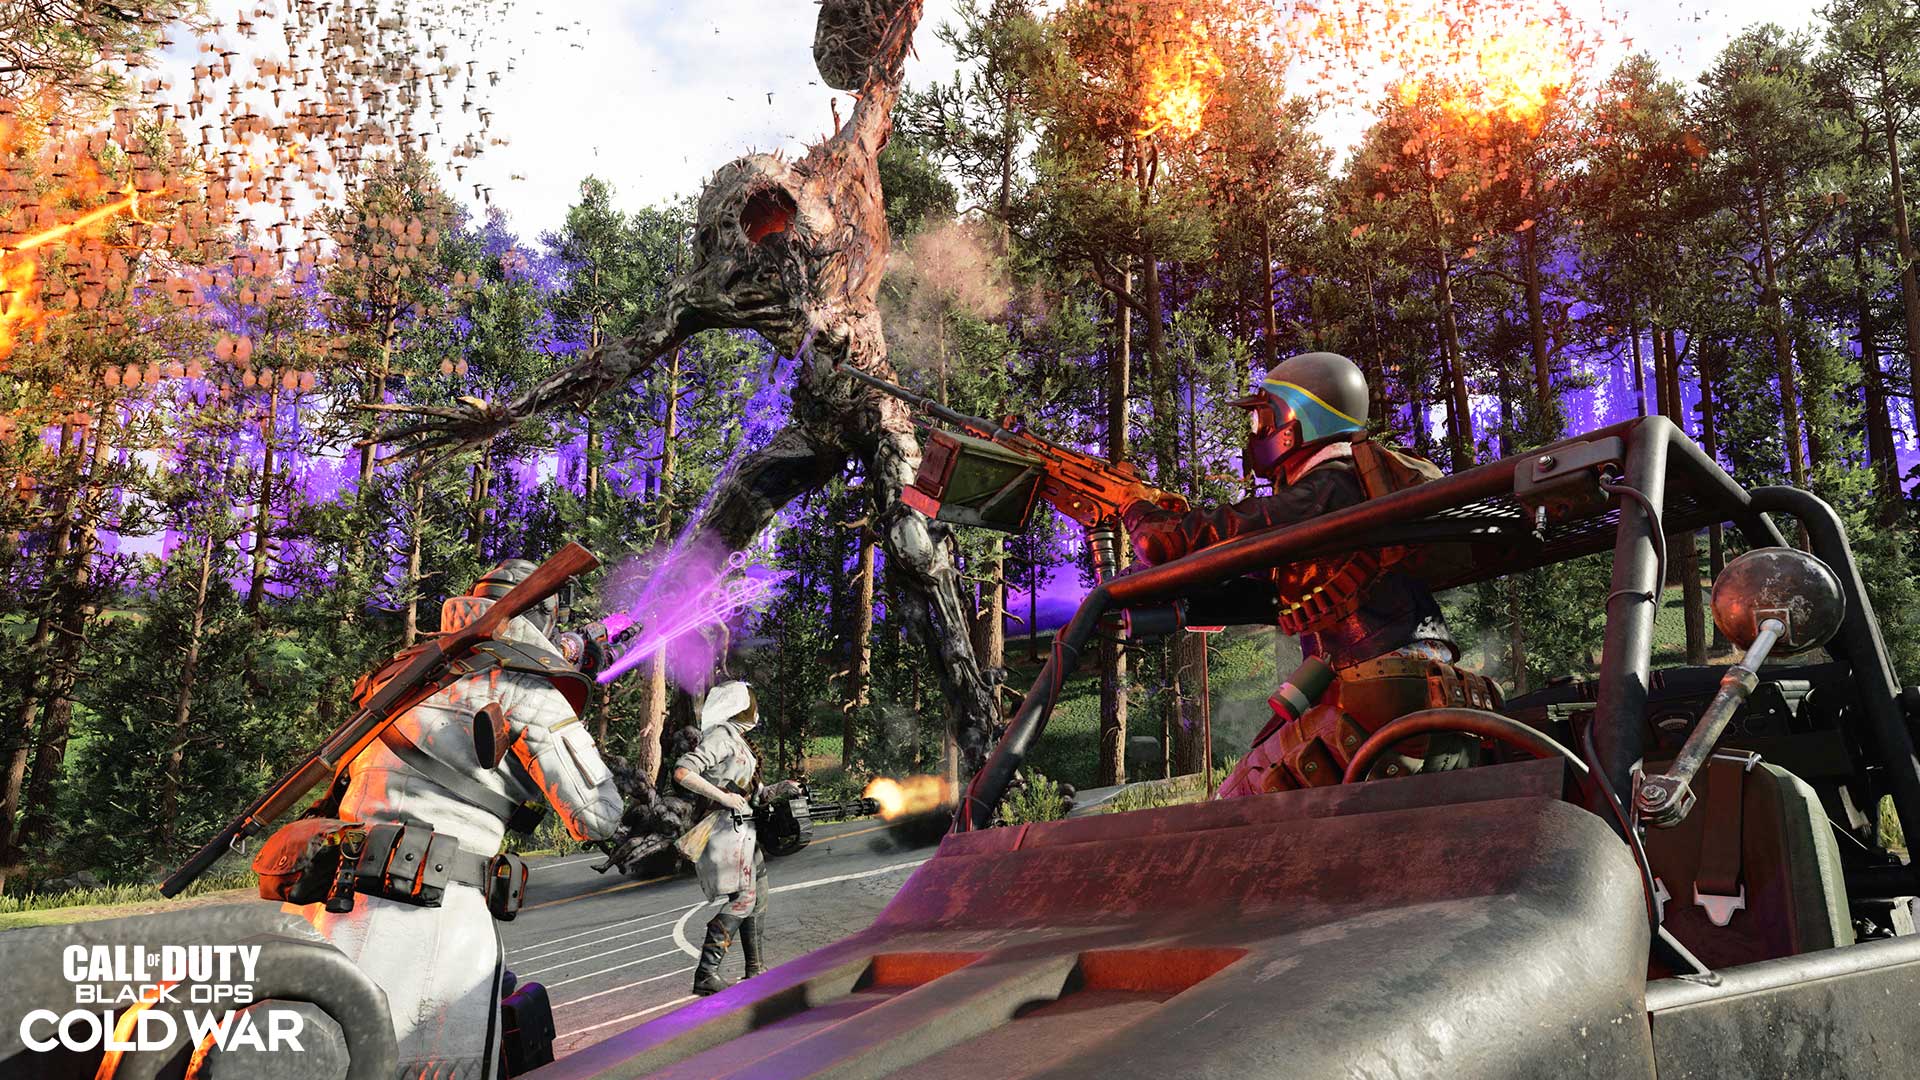
Root Canal (Level 120): In Outbreak, complete 5 Fury Crystal World Events. — 8,500 Total XP
Whenever you reach a new Outbreak region, check the overhead map for the crystal icon, indicating the Fury Crystal world event. Head to the location and break the glowing crystal to set off the timed event. As a horde of zombies rushes in, quickly find and destroy the other nearby glowing crystals before the event ends.
Not only will you get one step closer to completing this challenge, you’ll also be awarded the Aether Tool, upgrading the rarity level of whatever weapon you’re holding when you pick it up.
Growth Spurt (Level 130): Upgrade a base weapon to Pack-a-Punch Level III in one purchase menu session. — 2,500 Total XP
Easy in theory, difficult in practice. Upgrading a base weapon to Pack-a-Punch Level III in one go requires a total of 50,000 Essence. Do you have the discipline to hold onto so much without spending it?
This challenge might be best completed in Outbreak with a vehicle on hand, allowing you to drive around and take out groups at leisure. In round-based maps, consider Pack-a-Punching your main weapon once and then using that to earn the needed Essence through tougher and tougher rounds.
Once you’ve got the required 50K Essence, take your secondary weapon and Pack-a-Punch it to Level III all at once. Do not back out of the menu until you do to get credit for the challenge.
A Good Compromise (Level 140): Get 500 Eliminations with Tactical Rifles. — 15,000 XP Total XP
Here’s an easy one. Choose a Tactical Rifle as your base weapon and get shooting. The more Aetherium Crystals you’ve invested in the Tactical Rifle Skill, the better. We recommend at least Tier III (6 Raw Aetherium), but any level will suffice. If you’re still working on the earlier “Infradead” challenge, throw on a thermal scope attachment and tackle both together.
He Had to Split (Level 150): Kill 10 Specials or Elites with the Tomahawk Lethal Equipment. — 8,500 XP Total XP
The Tomahawk is the lowest cost Lethal Equipment you can make at the Crafting Table, so it’s easy to get your hands on. Whenever a Special or Elite enemy appears, use your weapon to take them down to low health and then finish the job with the Tomahawk. Pick it up afterward so you’re ready for the next one. “Firebase Z” is a solid choice here, as Mimics spawn fairly often.
Not sure if an enemy is Special or Elite? Check the mini-map. These enemies are marked with a skull during radar sweeps.

Like Butter (Level 160): Kill 100 enemies with their elemental damage weakness. — 8,500 XP Total XP
There are a few different ways to do this, but this Outbreak-based tip may be the most reliable:
Equip Frost Blast as your Field Upgrade and purchase a Molotov at the Crafting Table, plus the Napalm Burst Ammo Mod on your weapon if you’ve got the funds. Then, scout the map to find Hellhounds and Plague Hounds phasing into this dimension; the former are weak to Frost Blast, the latter are hurt most by Molotovs and Napalm Burst.
To the Bitter End (Level 170): Earn 5 Loot Piñata Medals (Destroy the Aether Orb in Outbreak). — 8,500 Total XP
Watch that mini-map, Requiem agents. When you see an orb icon in Outbreak, you’re on your way to an Aether Orb. Note that these orbs do not show up on the main overhead map, so you’ll have to do some scouting. You’ll know you’ve found it when you come across a glowing purple orb accompanied by the sound of eerie laughter.
Shoot it until it expands to its maximum diameter, and it will float away. Do this two more times – on the last time, if done correctly, it will explode instead of fly away – and you’ll earn one Loot Piñata Medal. Since you’ll need multiple orb encounters under your belt, this challenge may best be completed while attempting other challenges on subsequent runs.
Staycation (Level 180): In Round-Based Maps, reach Round 20 without leaving the starting area. — 2,500 XP Total XP
You may think that “Die Maschine” is the best map for this challenge considering its large starting area, but “Firebase Z” on Solo is our recommended choice.
With access to Quick Revive, you can improve your health regeneration for those dire moments when you need health fast. Better yet, those with Tier V Quick Revive can revive themselves by eliminating an enemy while down… just make sure you remember to re-purchase it.
Make liberal use of the Crafting Table for extra Support and don’t let dropped Equipment go to waste. Above all, note this: You cannot leave the Courtyard section of “Firebase Z.” Enter the Atrium by Ravenov and you’ve left the starting area.
My Way (Level 190): Get 1,000 Eliminations with a found Legendary rarity weapon that you applied a Blueprint to. — 15,000 XP Total XP
The hardest part about this challenge is finding the Legendary rarity weapon in the first place, but Treyarch made it easier in this update through a new feature: Dynamic Wall Buys in round-based experiences.
Every fifth round, every single weapon that can be bought on wall of the map (via chalk outline) can increase in rarity. So, if you have an Uncommon Shotgun Wall Buy in front of you during round four, it could turn into a Rare one on round five. Then again, on round 10, it can upgrade to Epic, and then again, on round 15, you could have yourself a Legendary Shotgun. And in that case, you’d be very lucky, so only expect to find a handful of Legendary Wall Buy Weapons around the map once round 20 or 25 kicks in.
Once you get a Legendary rarity weapon, use the Apply Blueprint feature right away and get back to fending off the hordes.
Gunsmith Weapon Blueprint of the Week
Explore deep space with the Tracer Pack: Mothership Mastercraft Bundle, featuring the warp speed-defying “Mothership” Ultra sniper rifle Mastercraft. With a built-in spacecraft design and an absolutely deadly attachment spread, this is a sniper rifle for the rapid-aiming Operator who zeroes in on one target after another.
With such a great design, we’re keeping the attachments as they are. Here’s what you get:

Muzzle – Infantry Stabilizer: With +50% Idle Sway Control, you can zero in on targets without losing sight of them. If the Aim Down Sight (ADS) speed penalty is too severe for your tastes, switch it out for a grip attachment without affecting the look too much.
Barrel – 28.2” Tiger Team: An absolute monster of an attachment, the 28.2” Tiger Team increases the weapon’s damage, fire rate, and bullet velocity at the cost of some ammo capacity. Missing some ammo won’t matter much when your shots hit like a truck.
Magazine – 7 Round: More rounds, minor penalties to reload speed. A no-brainer.
Stock – Marathon Pad: Offering massive Sprint to Fire Time buffs, this attachment gives you the ability to respond to threats fast while racing around the map.
Handle – Serpent Wrap: The fastest boost to ADS speed out of all Handles on this weapon, its only downside is a minor penalty to Sprint to Fire Time, which the Marathon Pad more than makes up for. Ergo, you’re getting a quicker scoping-in weapon without too much affecting your moving and shooting abilities.
Whether you’re clearing out objective points in Multiplayer or leading your squad in WarzoneTM as a fast-handling, heavy-hitting sniper, the “Mothercraft” Mastercraft is sure to carry you through to a successful conclusion.