Black Ops Cold War: How to Complete Season Four’s Final 10 Multiplayer Seasonal Challenges
Season Four is ending – time to finish off the last of its Multiplayer Seasonal Challenges. Read on for our tips on completing them, a look at our featured Operators, and a breakdown of the first two Prestige Shop Blueprints
Season Five is fast approaching for Call of Duty: Black Ops Cold War and Warzone, so it’s time finish up all your Seasonal Challenges.
In last week’s Primer, we closed out the final ten Zombies challenges. This week, we prepare for the battle ahead by focusing on Multiplayer and looking at two Weapon Blueprints from the Prestige Shop that may help you do it.
If that wasn’t enough to hype you up for the weekend, Double XP and Double Battle XP are now live until August 9th at 10 a.m. PT! That should give you enough time to hit Prestige Master and Tier 100 of the Battle Pass… so long as you clear your schedule for a bit of Black Ops Cold War and Warzone.
With that said, there is no time to waste – let’s level up:
This Week’s Featured Operators
We’ve got two great Operators to show off in the lobbies this weekend, starting with the official CDL Operator skin.
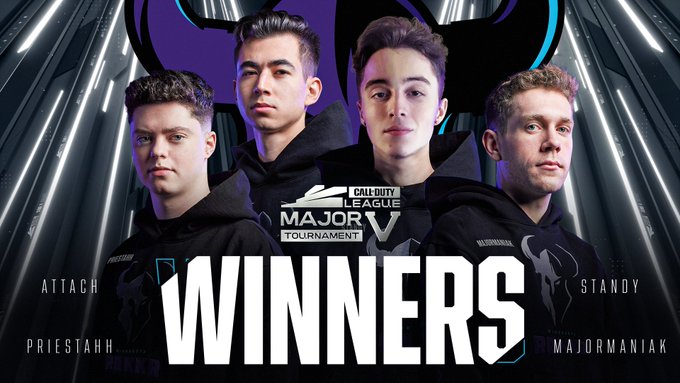
In the greatest reverse sweep in Call of Duty League history, the Minnesota RØKKR went from 0-4 against Toronto Ultra to winning five straight maps in a Grand Finals to remember. If you haven’t seen the epic conclusion to Call of Duty League Major V, then get comfortable with your favorite snacks, sit back, and click here to watch it all unfold.
To celebrate their victory, we’re featuring the “Minnesota RØKKR 2021” Operator Skin found in the Call of Duty League™ – Minnesota RØKKR Pack 2021 Bundle; in addition to that Skin and an alternate “Away” one, the pack also includes cosmetic items like the Minnesota RØKKR Weapon Camo, Charm, Calling Card, and Emblem.
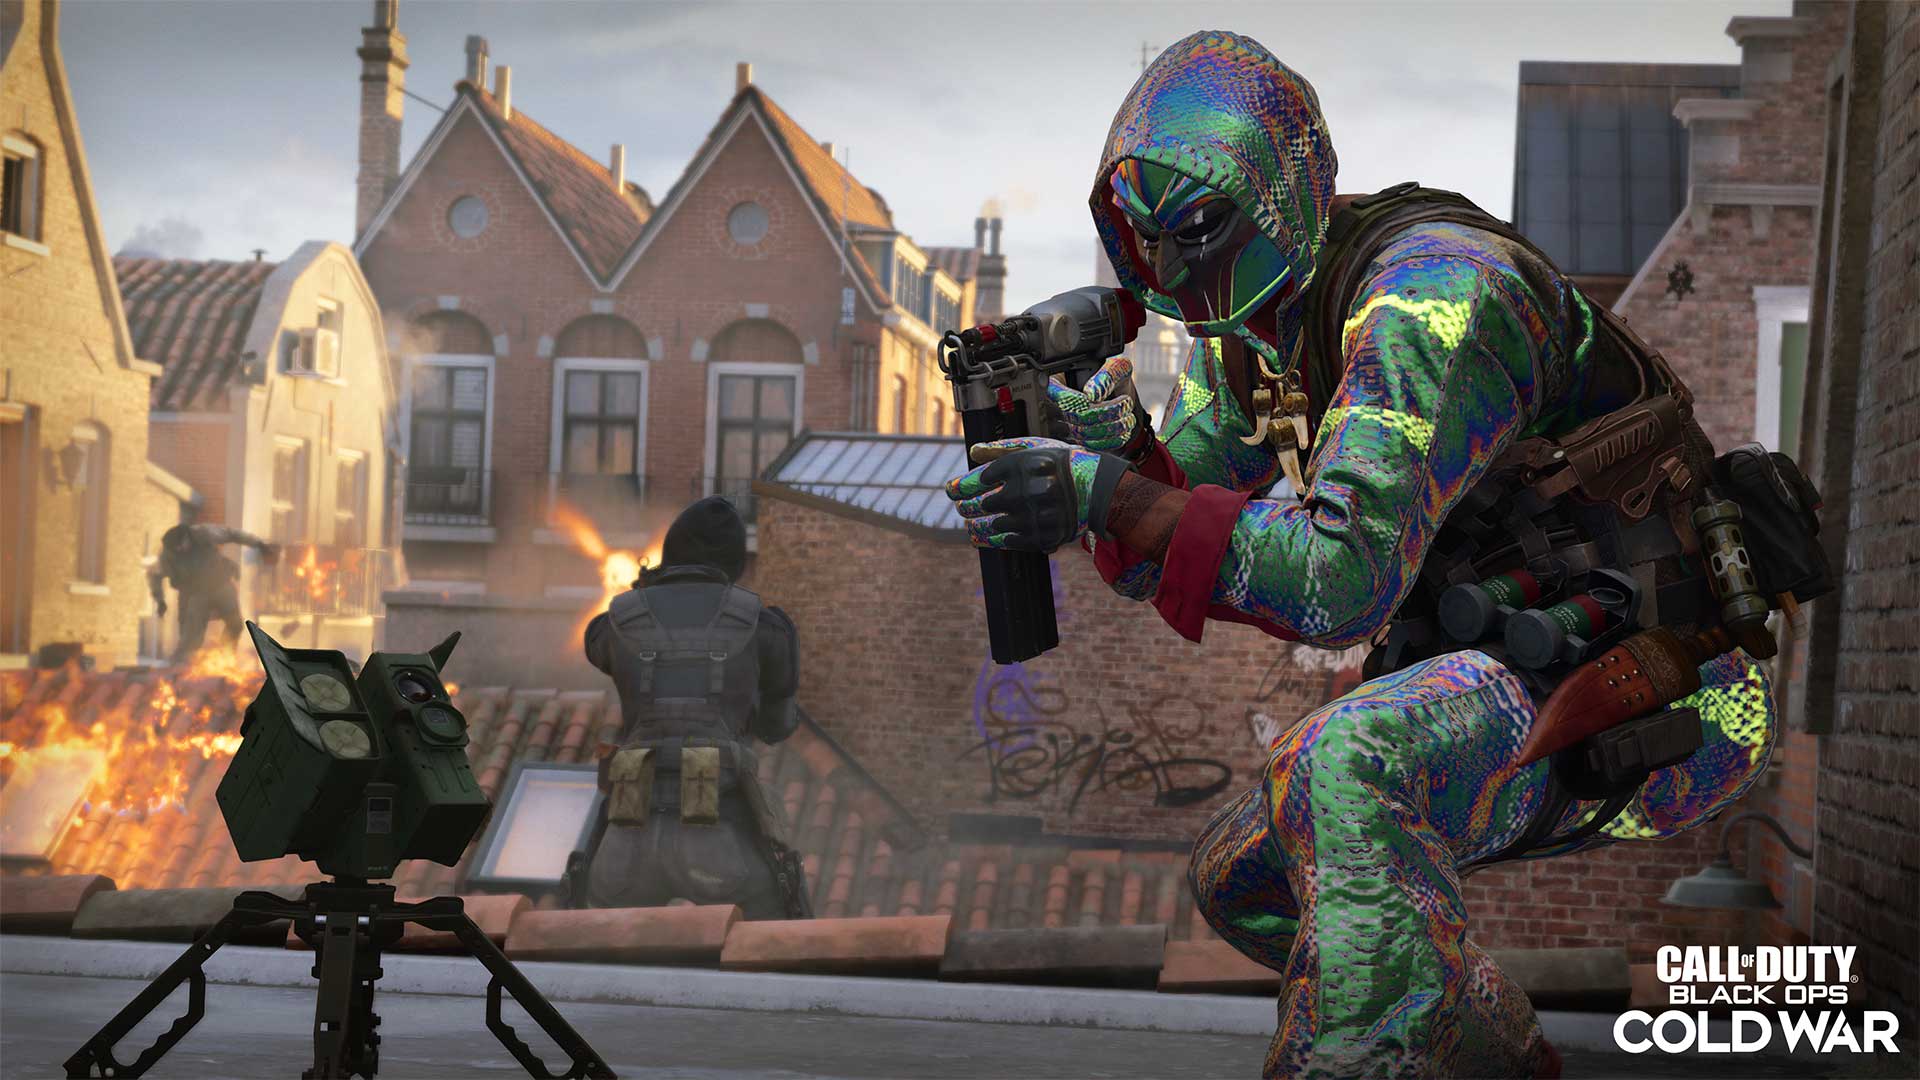
For our second featured Operator, we’ve got Jackal in his Ultra-rarity “Iridescent” Operator Skin, unlocked at Tier 100 in the Season Four Battle Pass. It’s worth making it to the end for this badass look, reptilian in design with green lights pulsing through Jackal’s mask and suit.
Haven’t earned it yet? Then take advantage of Double Battle Pass XP this weekend to make it to Tier 100.
Top Tip – Season Four’s Final 10 Seasonal Challenges
These challenges aren’t going to complete themselves, and there’s a whole lot of XP to be earned for finishing them off. Not to mention, it’s a great way to get through those last Season Four Battle Pass Tiers.
If you followed our Prestige Primers so far, you should have the mythical Season Four Master Animated Calling Card after completing these ten challenges, plus the ten that precede it. Be sure to show it off on your Player Identity either as your main Calling Card or in the Calling Card Showcase after you earn it.
Without further ado, here are our tips:
Nothing but the Hits (Level 100): Using a Sniper Rifle, fire 3 consecutive shots that deal damage to enemies 5 times. — 8,500 Total XP + Calling Card
Personally, this is our favorite challenge out of the 20 for the season, as it requires you to make every shot count.
Traditional snipers will want to cover objectives and chokepoints where you’re more likely to find multiple enemies. Remember that you only need to cause damage with your three shots, so don’t be too picky about where you hit them – just make sure those shots land.
If you struggle with long-distance sniping, have no fear; try the “Wind Rider” Weapon Blueprint unlocked at Tier 51 in the Season Four Battle Pass. It’s fast and flexible, featuring Iron Sights for greater versatility, Fast Loader for rapid reloads, and the Airborne Elastic Wrap for snappy aiming. So, with that weapon in your loadout, jump into a small map playlist and show them who’s sheriff in town.
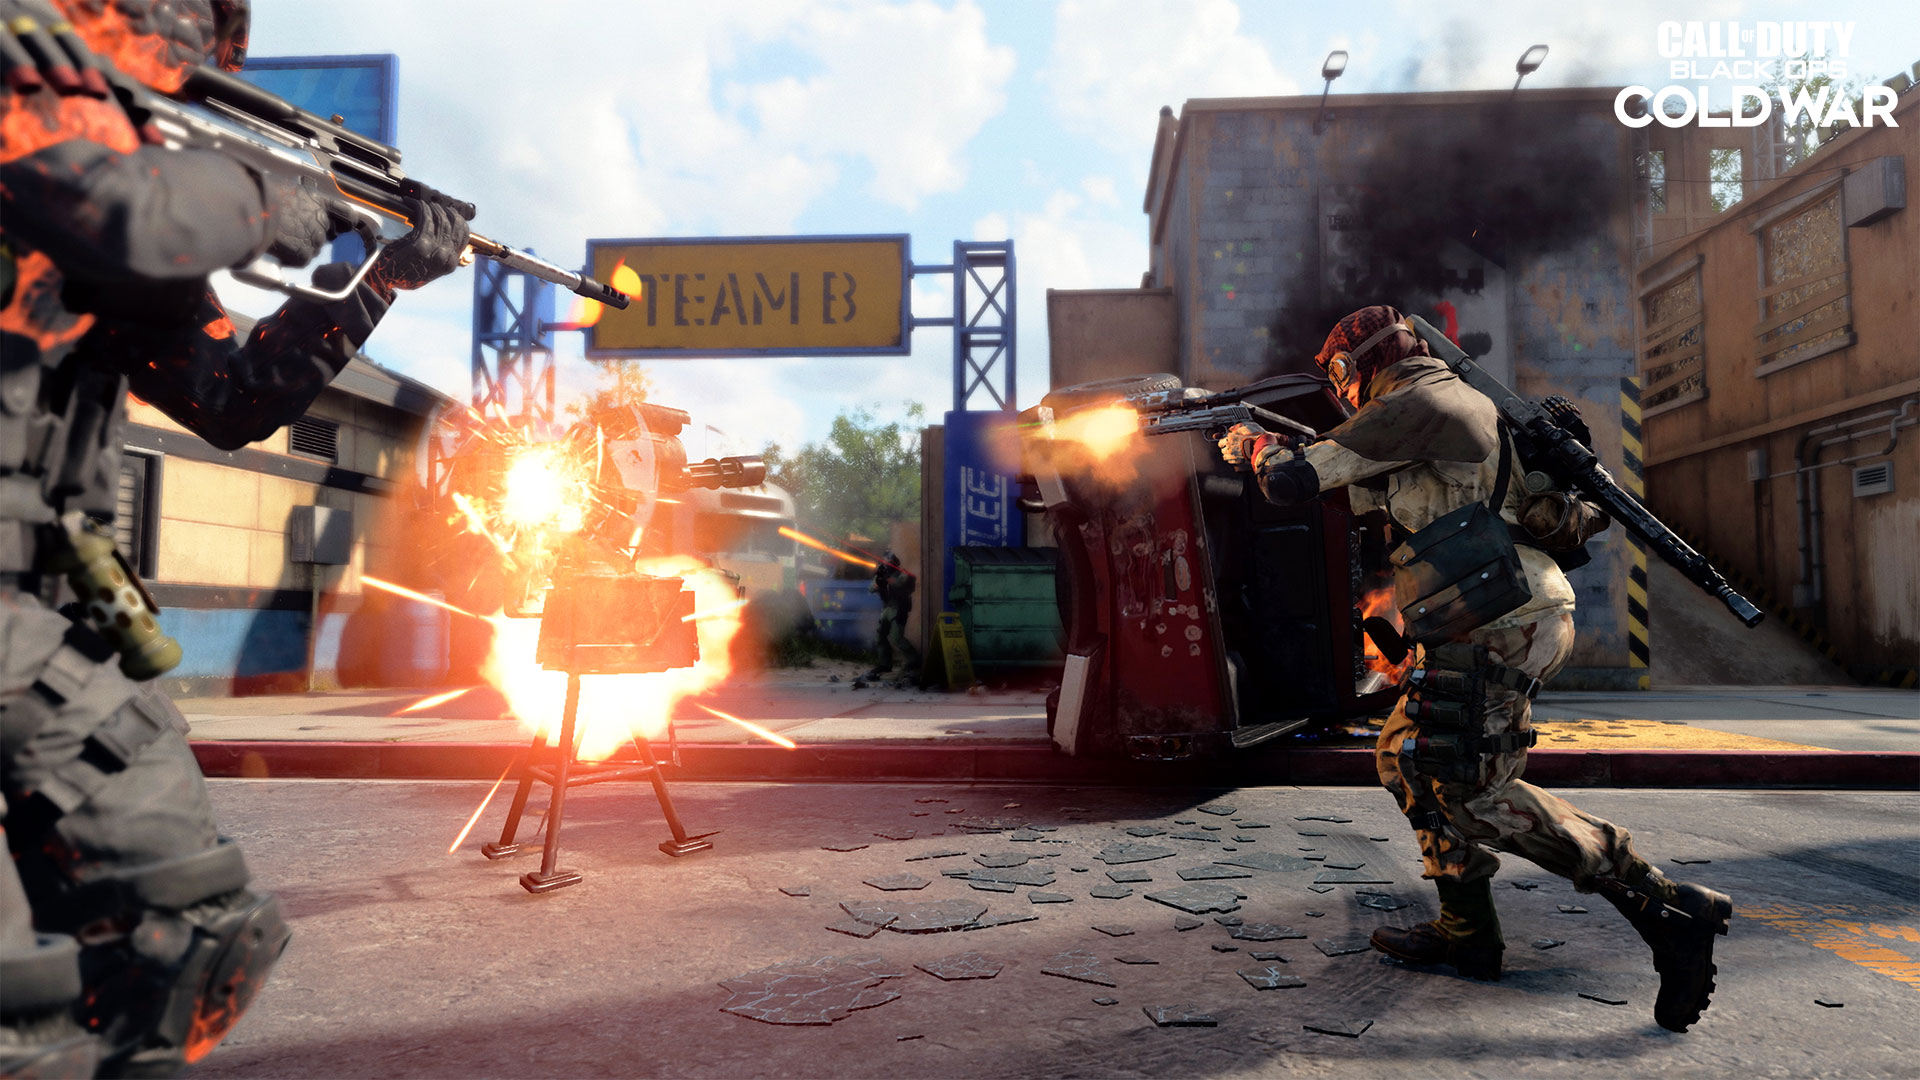
Write Off (Level 110): Destroy 50 enemy Scorestreaks or vehicles. — 8,500 Total XP + Calling Card
Enemy Scorestreaks and vehicles, beware.
Against aerial vehicles and Scorestreaks, take a lock-on launcher in your loadout and max out starting ammo using the Danger Close Wildcard. Add on Engineer to more easily detect enemy Scorestreaks, and Scavenger to refill your rockets from fallen enemies. You can also pair up Gearhead and the SAM Turret for a more hands-off approach to destroying enemy aircraft.
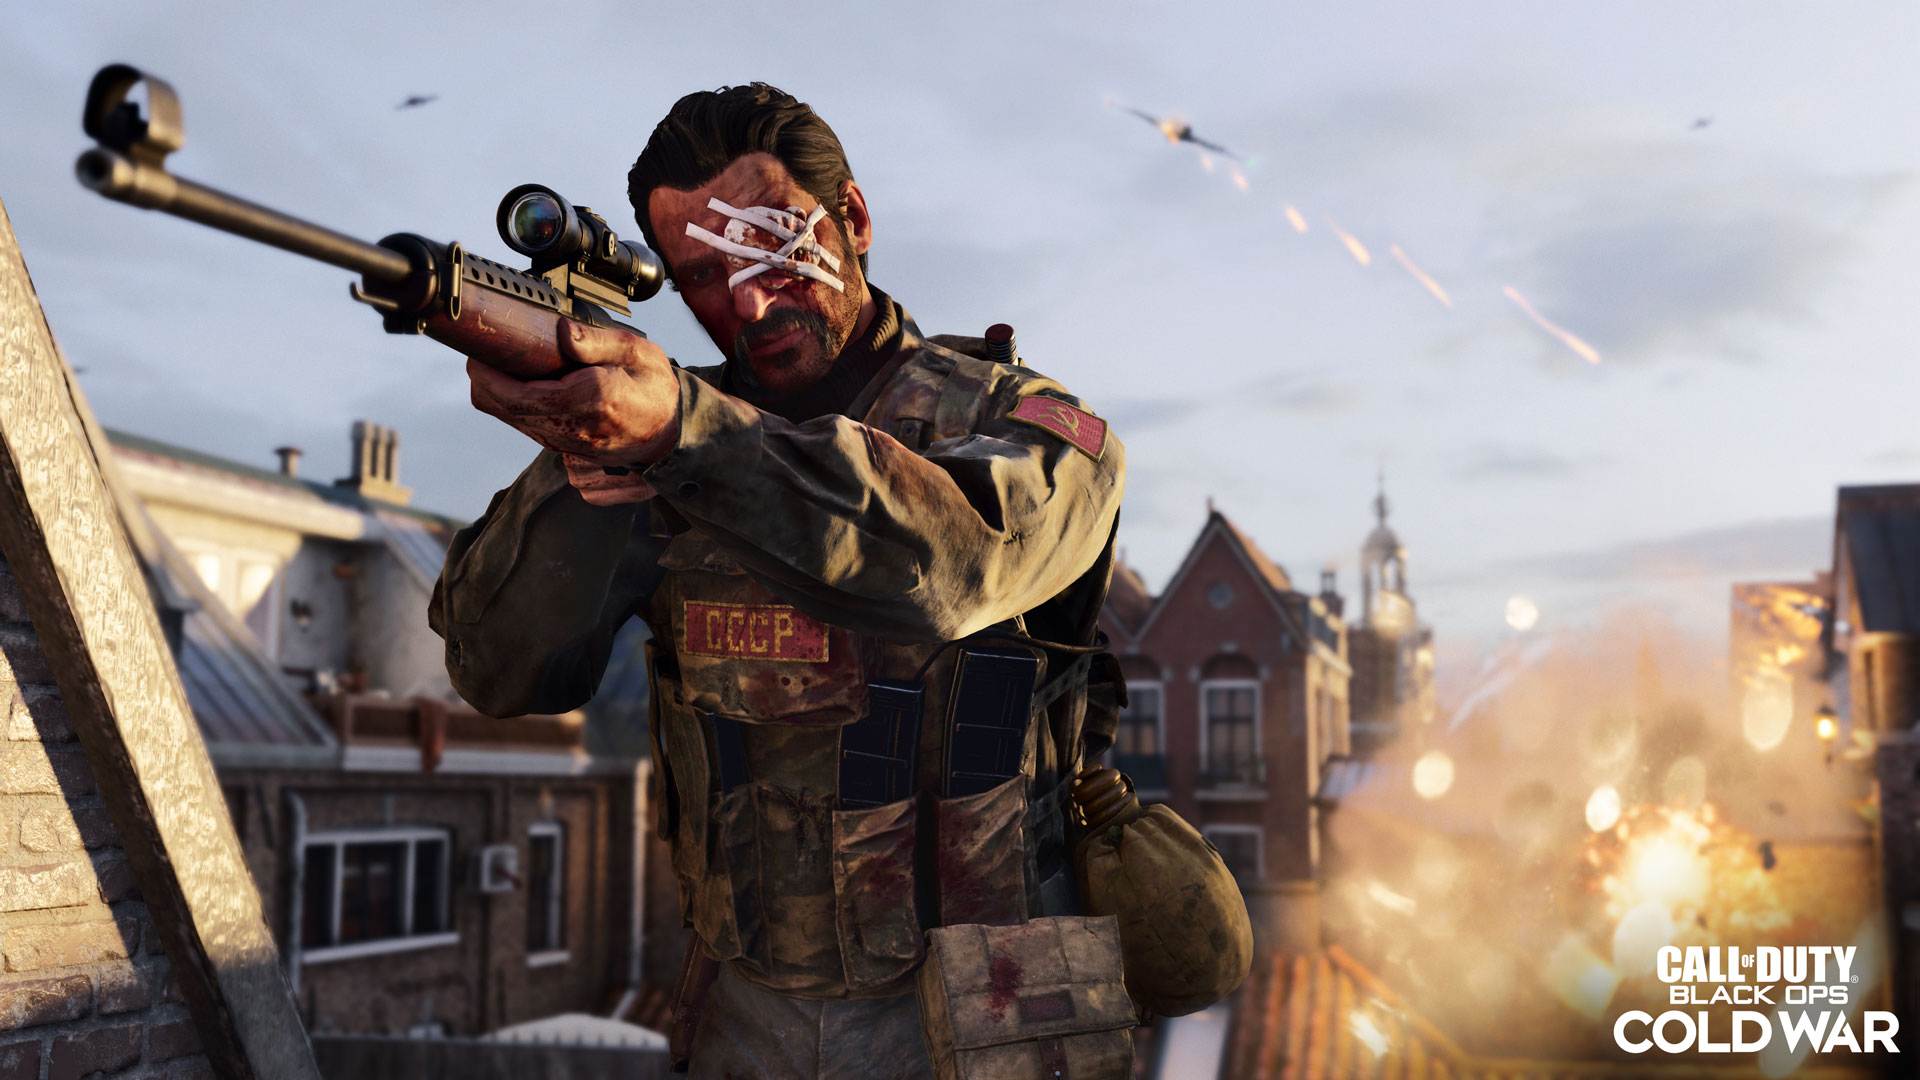
As for ground-based Scorestreaks and vehicles, take a hint from Maxis in the image above and try out the Hand Cannon, which deals just as much damage to enemy tech as it does to infantry. It can also rip through aerial Scorestreaks, too, but those are a bit harder to hit than a stationary Sentry Gun.
Just a Second (Level 120): Get 250 Eliminations with Secondary Weapons. — 8,500 Total XP + Calling Card
Pick your poison: Pistols, Shotguns, Launchers, Melee, or Special.
We recommend shotguns and your favorite Hardcore playlist for the added damage.
Head to Hardcore under Quick Play and search for matches in 6v6 Face Off and Team Deathmatch. Maximize your ammo supply with magazine attachments and rack up those eliminations.
Strong Support System (Level 130): Earn 200 Support Assists with Scorestreaks, Equipment, or Field Upgrades. — 8,500 Total XP + Calling Card
The Spy Plane and Counter Spy Plane are your best bet here, offering Support Assists for all enemies taken out while they patrol the skies. Do not deploy them at the same time or you’ll cut into your efficiency. The H.A.R.P. is highly recommended, too, though more difficult to obtain.
Take a Closer Look (Level 140): Get 250 kills while aiming down sights using a weapon with an attached 2x magnified scope or greater. — 15,000 Total XP + Calling Card
2x magnification is flexible and can be used to good effect on short-range and long-range weapons, so pick your favorite weapon and equip it with your preferred 2x or greater optic.
Assault rifles, tactical rifles, and LMGs perform particularly well in the 2x mid-range, so consider starting there.
Far and Away (Level 150): Using a Sniper Rifle, kill an enemy more than 250 meters away. — 2,500 Total XP + Calling Card
Hitting a target at more than 250 meters is no mean feat. Head into Combined Arms or Multi-Team modes to deploy onto bigger maps and find the longest sight lines you can. For example: on Alpine, look to the ridges and aim downslope toward the main lodges.
Ping enemies to see how far away they are; you only need to do this once, and this makes sure you get it right. Use a high-powered scope and boost your bullet velocity with barrel attachments like the 25” Extended or Reinforced Heavy. Try not to miss.
Tools of the Trade (Level 160): Get a kill with both a weapon and a piece of Equipment in the same life 50 times. — 8,500 Total XP + Calling Card
Pick your favorite explosive and pair it with Quartermaster to keep it charging throughout the match. Use Danger Close for the extra Lethal Equipment.
Gung-Ho is also recommended, so you can fire your weapon and throw explosives while sprinting. Consider an SMG to retain fast movement as you toss grenades and strafe fire against enemy Operators. Tomahawks work, too, if that’s more your style.

Turn the Tables (Level 170): Kill an enemy that had previously damaged you first 30 times. — 8,500 Total XP + Calling Card
Pack a Stimshot and top off your health when you’re being attacked, then turn the tide and counter their attack. Use Flak Jacket to survive explosives and Paranoia to detect incoming enemies. If you’re near cover, you can even take a hit on purpose and then duck out of sight and ambush them when they come looking for you.
Hardpoint and Domination are great playlists for completing this challenge, where you’ll often take collateral damage near the objective. If you survive the initial attack, heal up and get back to the fight.
Pumping Iron (Level 180): Get 75 Headshot kills using iron sight weapons. — 8,500 Total XP + Calling Card
Each player prefers different iron sights, so pick the one that works for you. Regardless of your taste, throw on the Flash Guard 5.56 or any other muzzle flash concealment attachment; this makes it much easier to retain vision on your target while firing.
Assault rifles and LMGs are good contenders. The more accurate, the better.
Top 10 (Level 190): Complete a public match with a score or placement among the top 10% of players 5 times. — 5,000 Total XP + Calling Card
If there’s a playlist you consistently score high in, head there and compete your heart out. Gunfight and Party Games are good options here, both featuring smaller party sizes so that you have a greater chance of finishing in first.
Weapon Blueprints of the Week – Prestige Shop Weapon Breakdown
As part of Season Four Reloaded, the Prestige Shop added the “Confrontation” assault rifle and “Dark Horse” SMG Weapon Blueprints, which can be unlocked at the cost of two Prestige Keys each.
To go along with this week’s Multiplayer theme, we’ve made a recommended Multiplayer loadout for each, starting with the assault rifle.

Primary Weapon: “Confrontation” Assault Rifle Blueprint
Secondary Weapon: Any
Perk 1: Forward Intel
Perk 2: Gearhead
Perk 3: Cold Blooded
Equipment: Stun Grenade x2, Semtex x2
Field Upgrade: Trophy System
Wildcard: Danger Close
This loadout is built for Domination, Hardpoint, and Capture the Flag, where a combination of a do-it-all assault rifle and plenty of grenades make for a powerful objective-based loadout.
The “Confrontation” Weapon Blueprint is made for fighting right in the thick of things. Its key attachments are the SASR Jungle Grip for a significant boost to aim down sight time and flinch resistance, as well as the SAS Combat Stock providing a dramatic boost to your aim walking movement speed. This means you can snap on targets and maintain good mobility with your sights up.
We went with Danger Close to increase your Equipment usage, offering two Stun Grenades and two Semtex for breaching enemy objectives and choke points. Throw down your Trophy System once you break through for added protection against the counterattack.
For Perks, Forward Intel gives you greater mini-map awareness, while Gearhead reduces your Field Upgrade cooldown for more uses of the Trophy System throughout the match. Finish with Cold Blooded to reduce the number of possible threats against you.
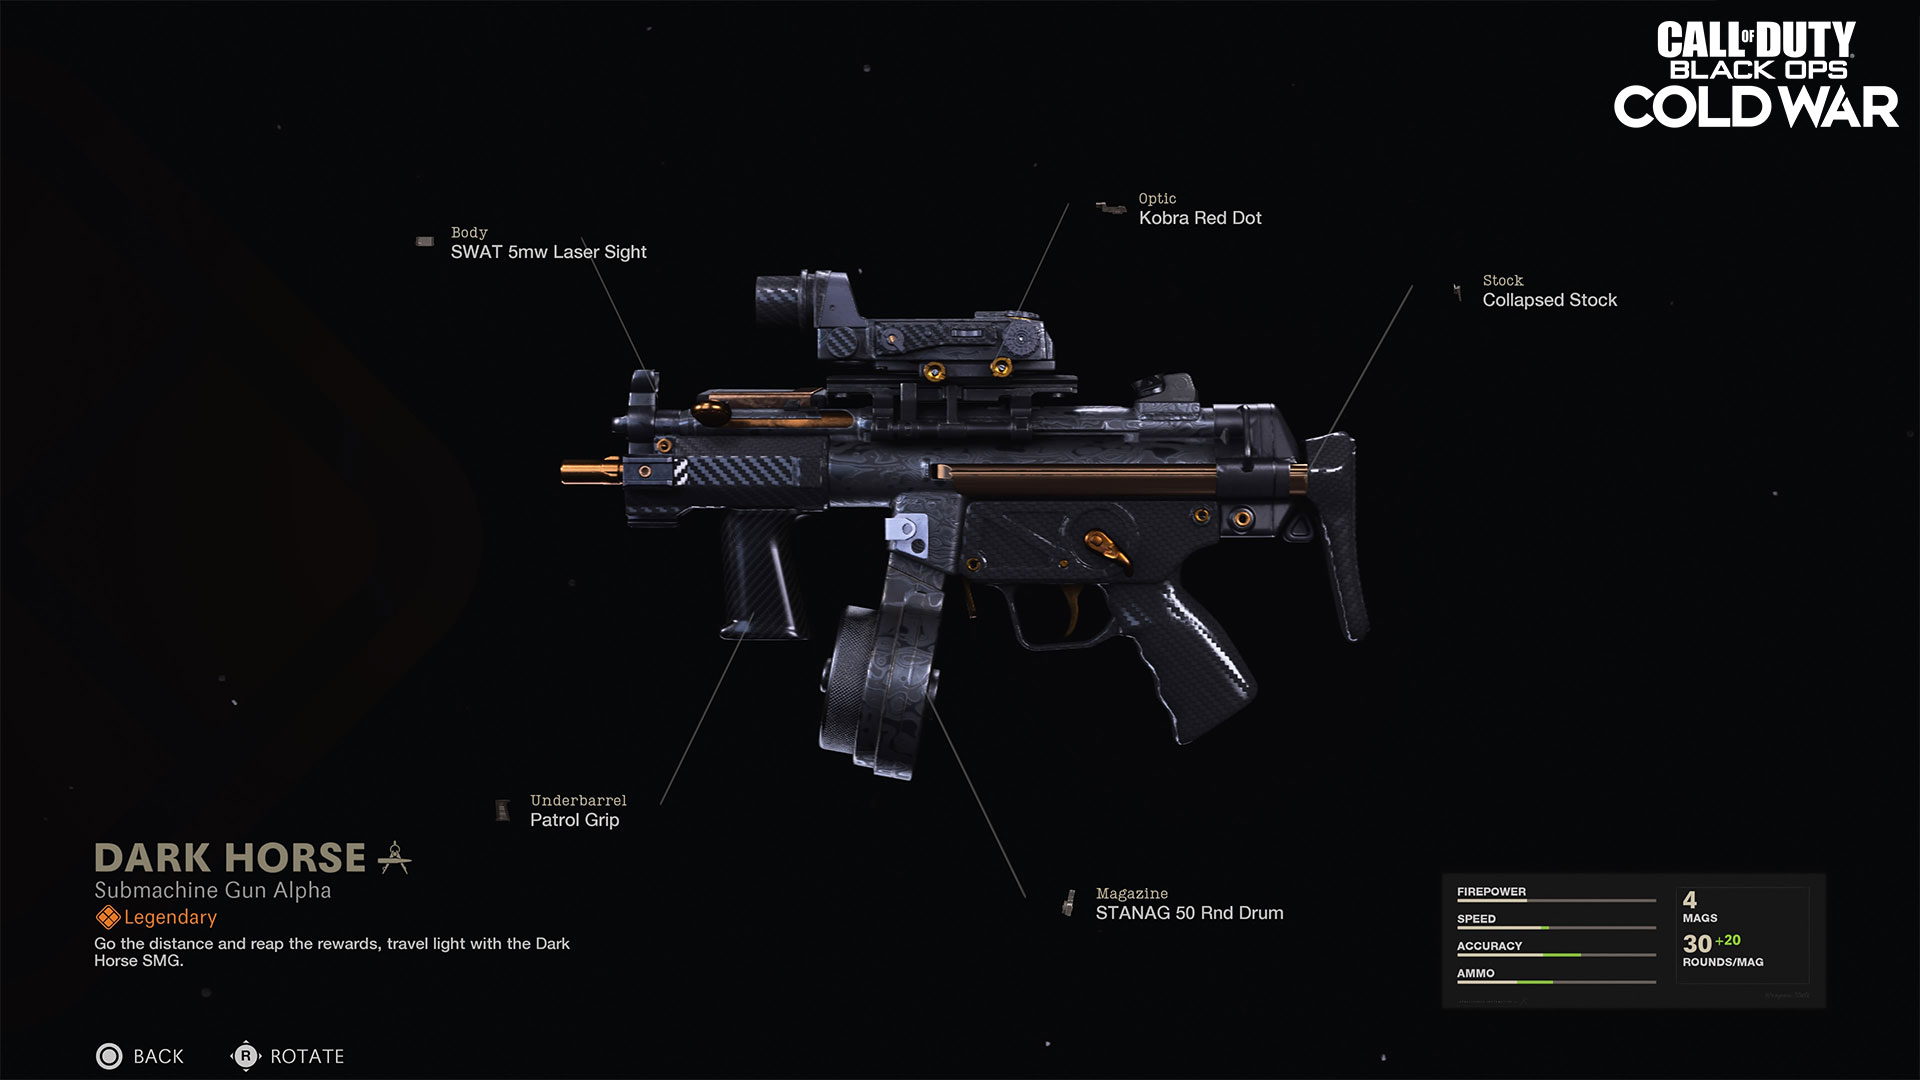
Primary Weapon: “Dark Horse” SMG Blueprint
Secondary Weapon: Preferred Shotgun
Perk 1: Flak Jacket, Tactical Mask
Perk 2: Scavenger, Tracker
Perk 3: Ninja, Spycraft
Equipment: Stimshot, Tomahawk
Field Upgrade: Jammer
Wildcard: Perk Greed
This loadout is ideal for run-and-gun Operators who prefer aggressive tactics over passive play.
Our primary weapon, a veritable bullet hose, is the Weapon Blueprint that features a massive STANAG 50 Round Drum and a SWAT 5mw Laser Sight that come together to provide highly accurate, suppressive hip fire. Add on your favorite shotgun for extra short-range firepower and stick close to your enemies.
With Perk Greed, we’ve got six abilities. Flak Jacket and Tactical Mask are essential for surviving Equipment-based attacks, while Scavenger and Tracker keep you stocked while hunting down enemy footprints. Finish with Ninja so you can get up close without being heard, and Spycraft to avoid interruption by enemy deployables. As for the Field Upgrade, the Jammer comes in handy for disorienting enemies and offering a zone of control for close-quarters battles.
Now get out there and finish off those Multiplayer Seasonal Challenges.