
Call of Duty Warzone: Season Six Update – A Guide to the Fissures, WWII Bunkers, and the Gulag
Fissures have caused mass destruction across Central Verdansk, WWII Bunkers have been uncovered, and the original Gulag is back. Tips and strategies for all those updates as Season Six drops.
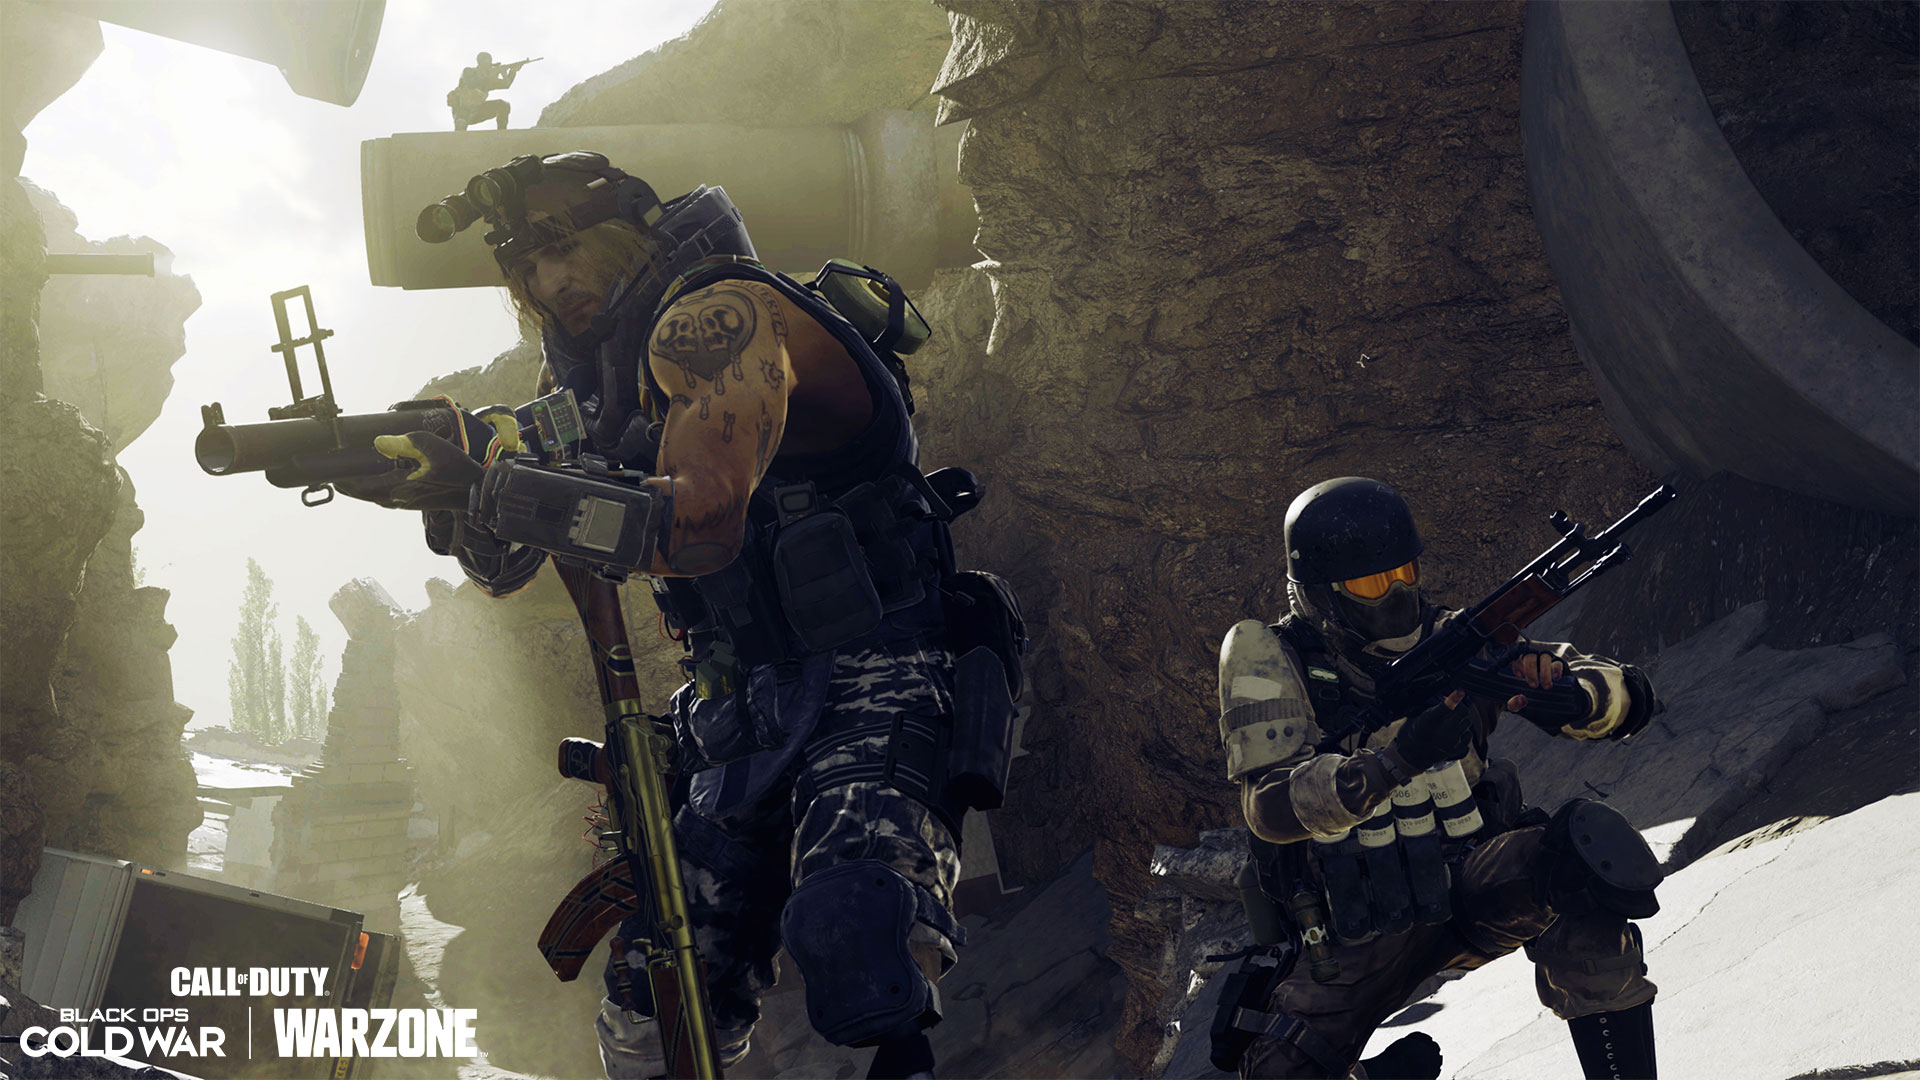
Verdansk is ready for the final showdown between Adler and Stitch, and it’s up to your squad to infiltrate and secure the DZ.
With seismic bombs levelling parts of Verdansk and other areas seeing undiscovered World War II-era bunkers opened, Season Six of Call of Duty: Warzone has plenty of new areas to explore and master as you brush up on your personal meta (most effective tactics available).
Amid all this change, something familiar is returning to Verdansk: the original Gulag, one that veterans know well from Warzone’s initial launch, and newcomers can learn and succeed in quickly.
Here’s what you need to know, including ten overall tips for success during the new season:
Fissures Overview – Shaking Up the Movement Meta Across Central Verdansk
What exactly did Adler do to Verdansk?
The seismic devices he triggered underneath the city caused several points of interest within Verdansk to change drastically, which will affect how players approach them and the meta at large. Here’s what’s changed due to these massive ground fractures:
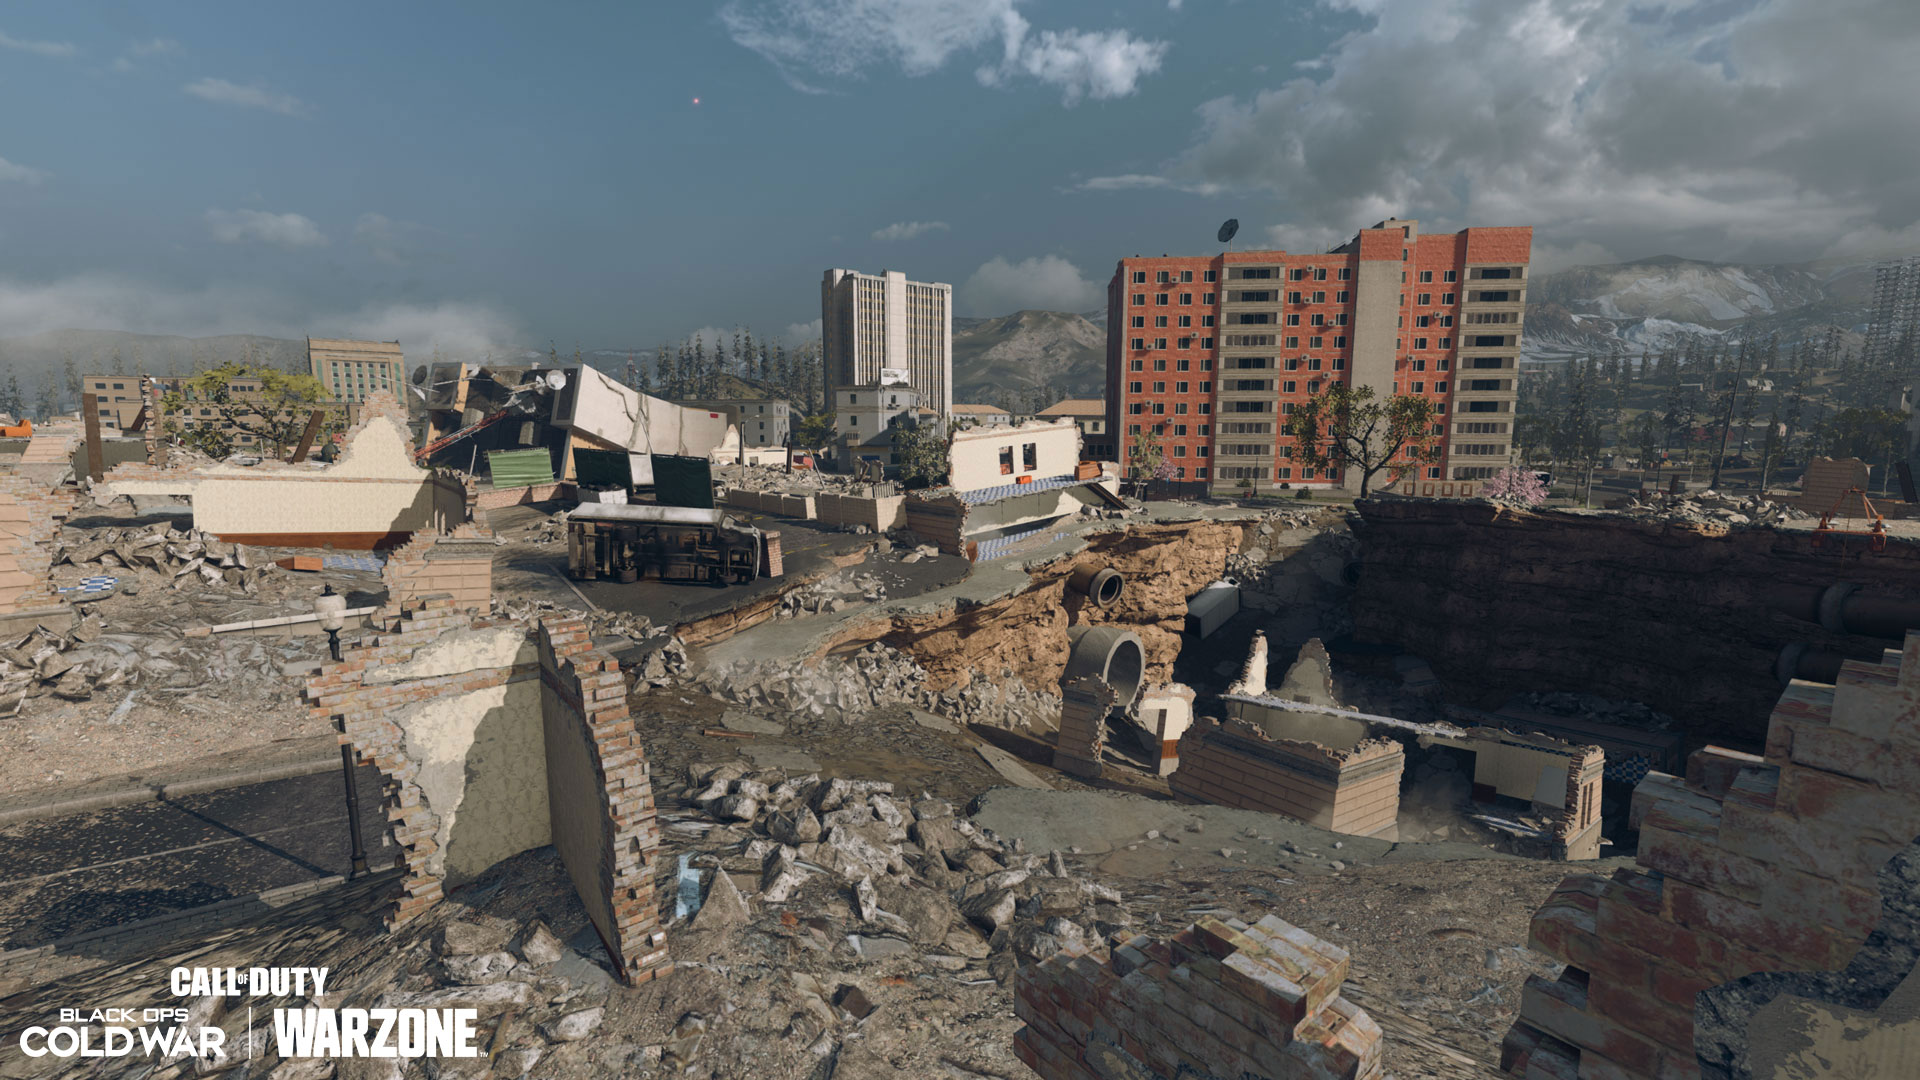
Downtown Verdansk
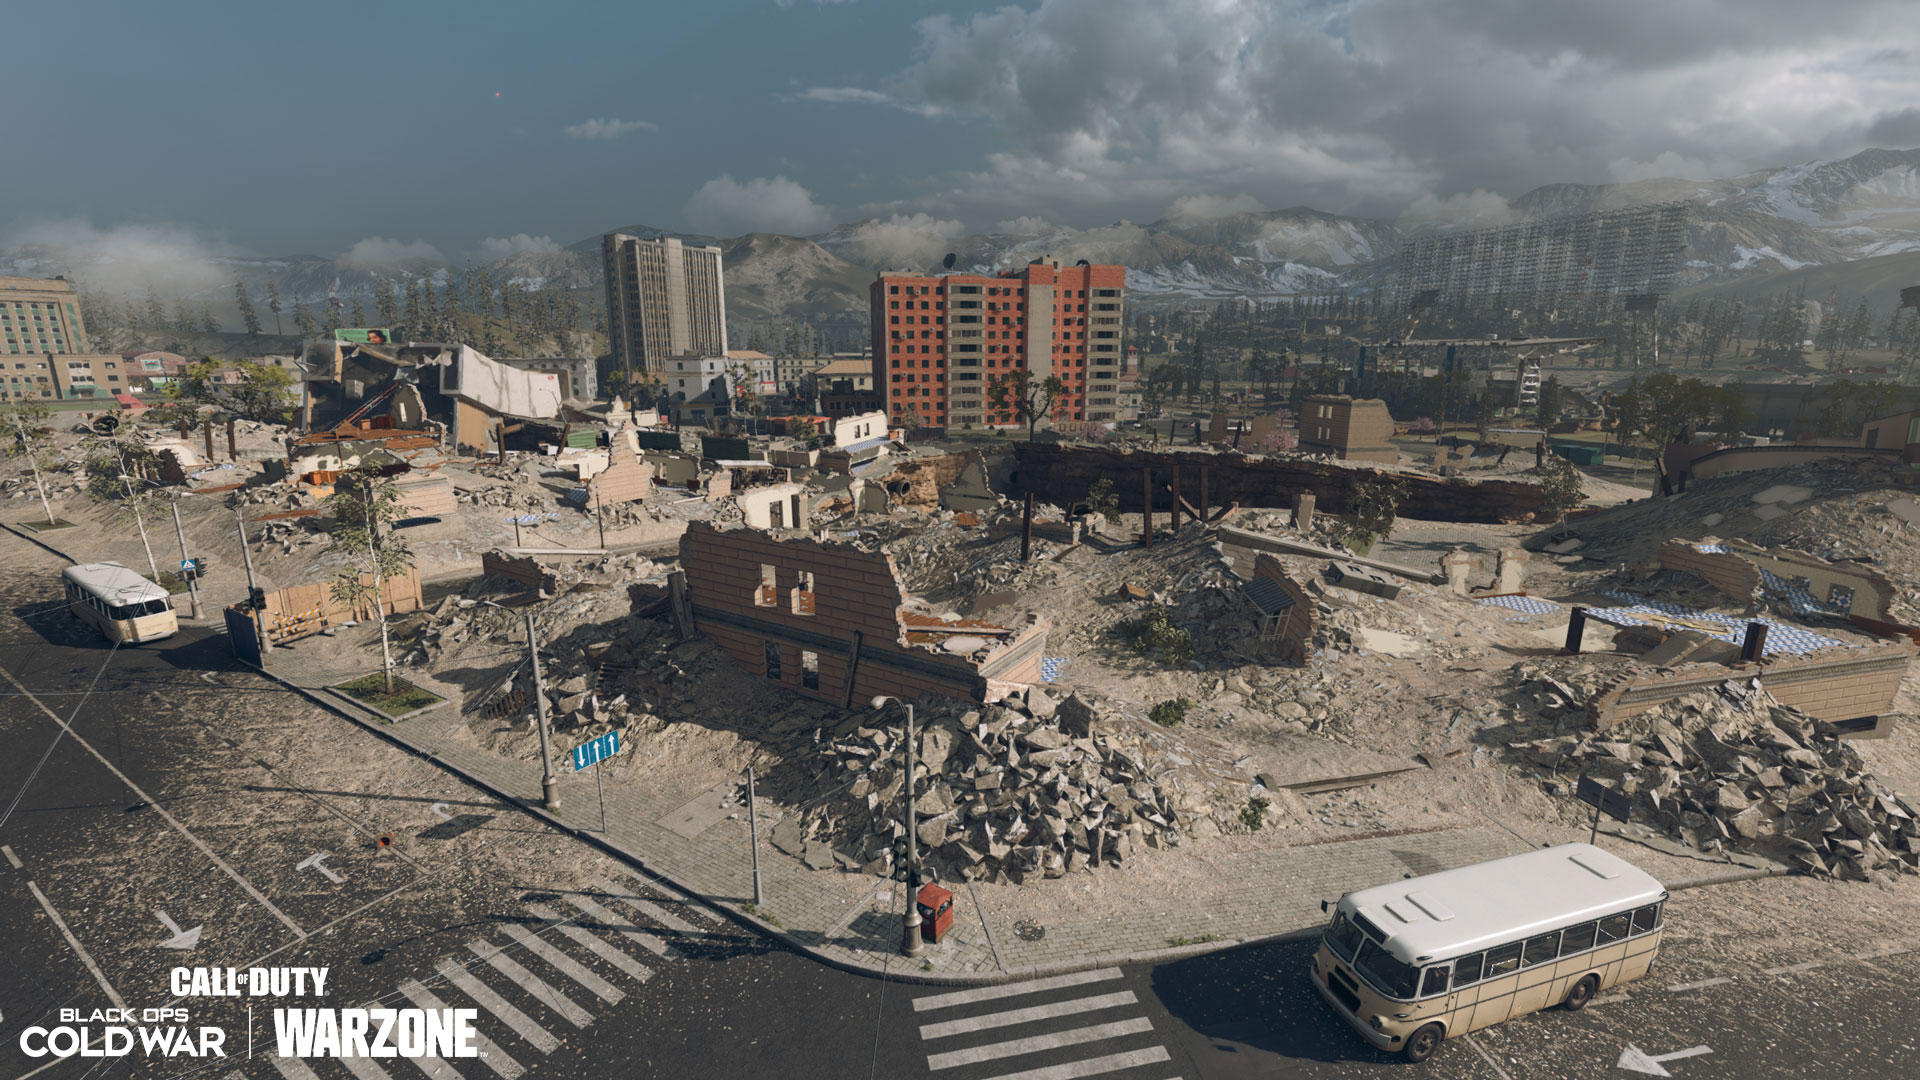
By far the most affected area of Verdansk, the Downtown area saw multiple buildings brought down. Specifically, along the massive fissure running northwest to east, the apartments near the Big Bloc tenements are gone, the Grand Hotel is one with the earth, the entire Verdansk Museum of Art is history, the city’s local BCH4 TV Station toppled, and the modern end of the Rothwynn-Donna Building is wrecked.
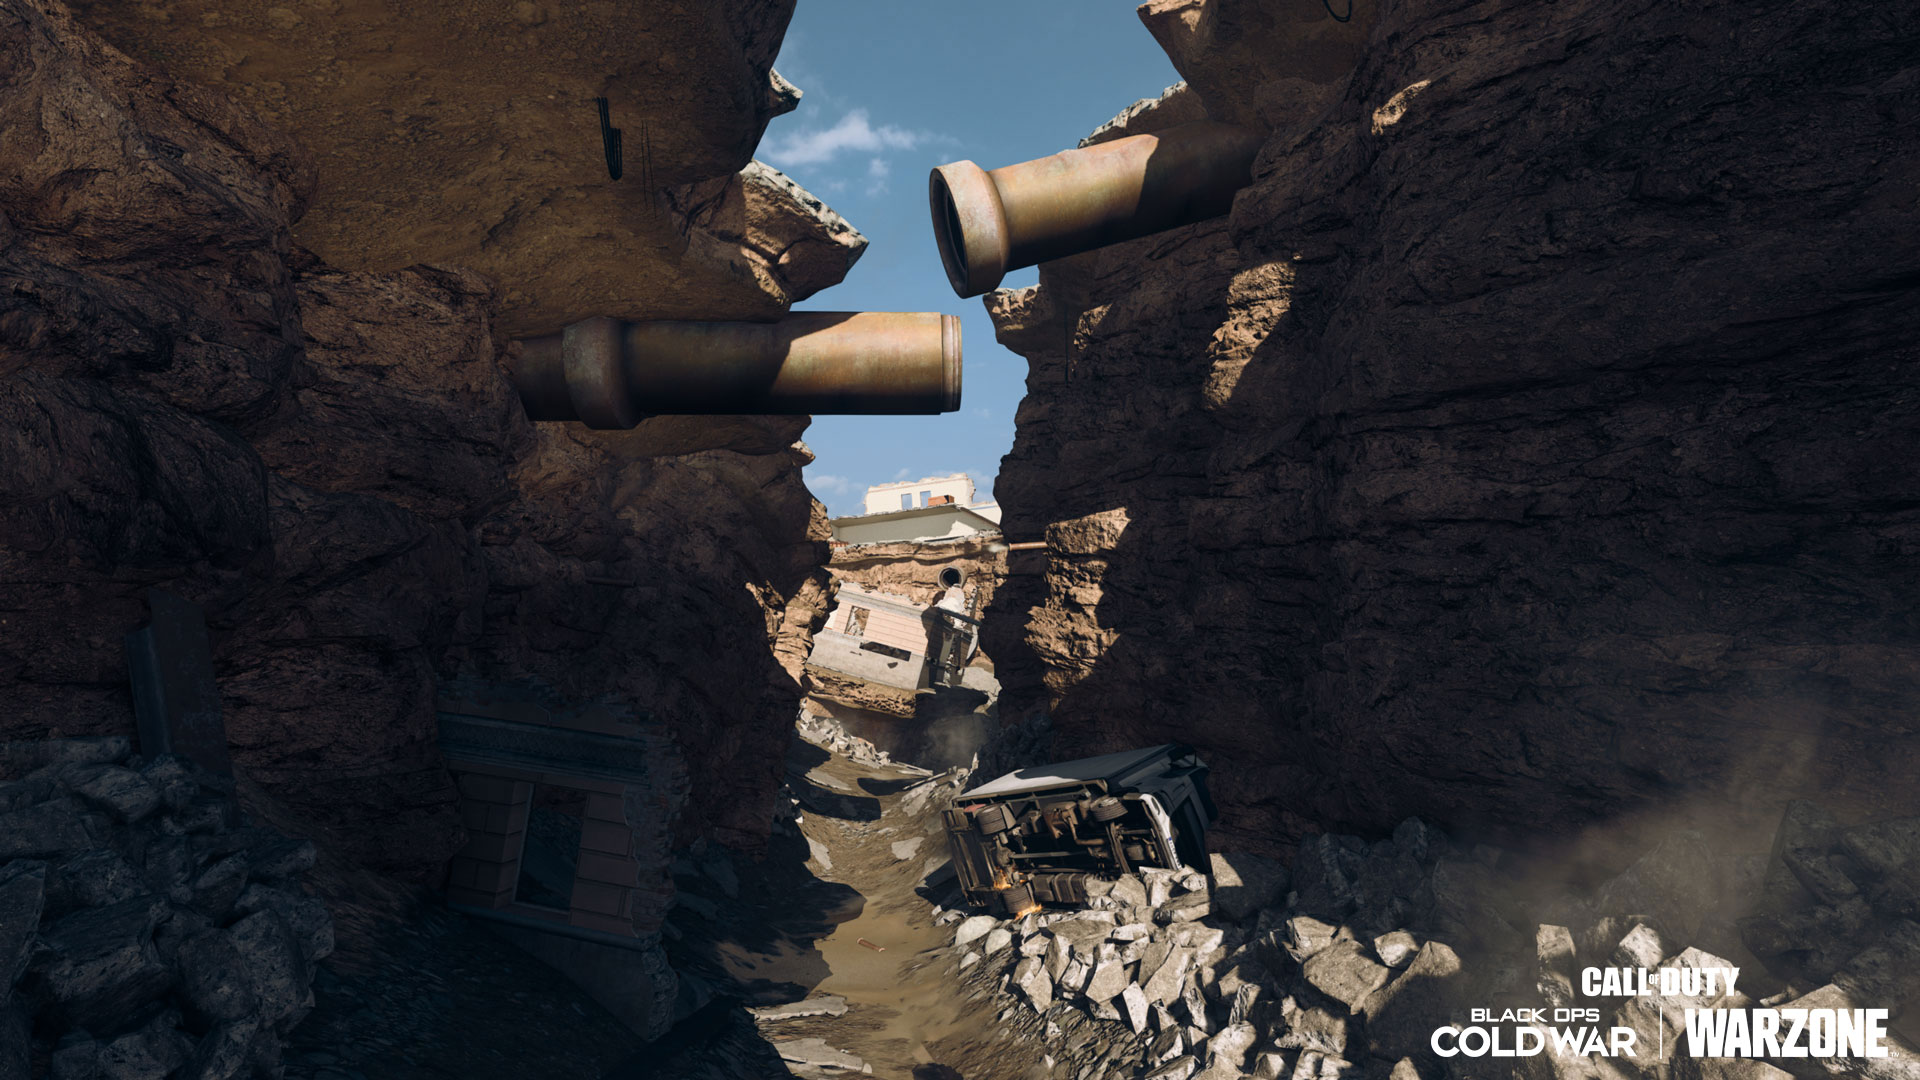
Even if you leave out all the smaller areas that were reduced to rubble, these major point of interest changes will completely change how you approach Downtown north of the Parliament Building. Use what remains of the buildings and the exposed pipework to find items or to use as cover during engagements.
When exploring the fractured crevasse running underneath these buildings, use the Exterior Ascenders sprinkled throughout to escape, as these low-lying areas can be tough positions during imminent Circle Collapses and team fights against those on higher ground. While these fissures are wide enough to fit a vehicle, you’ll run the risk of getting very stuck, very quickly.
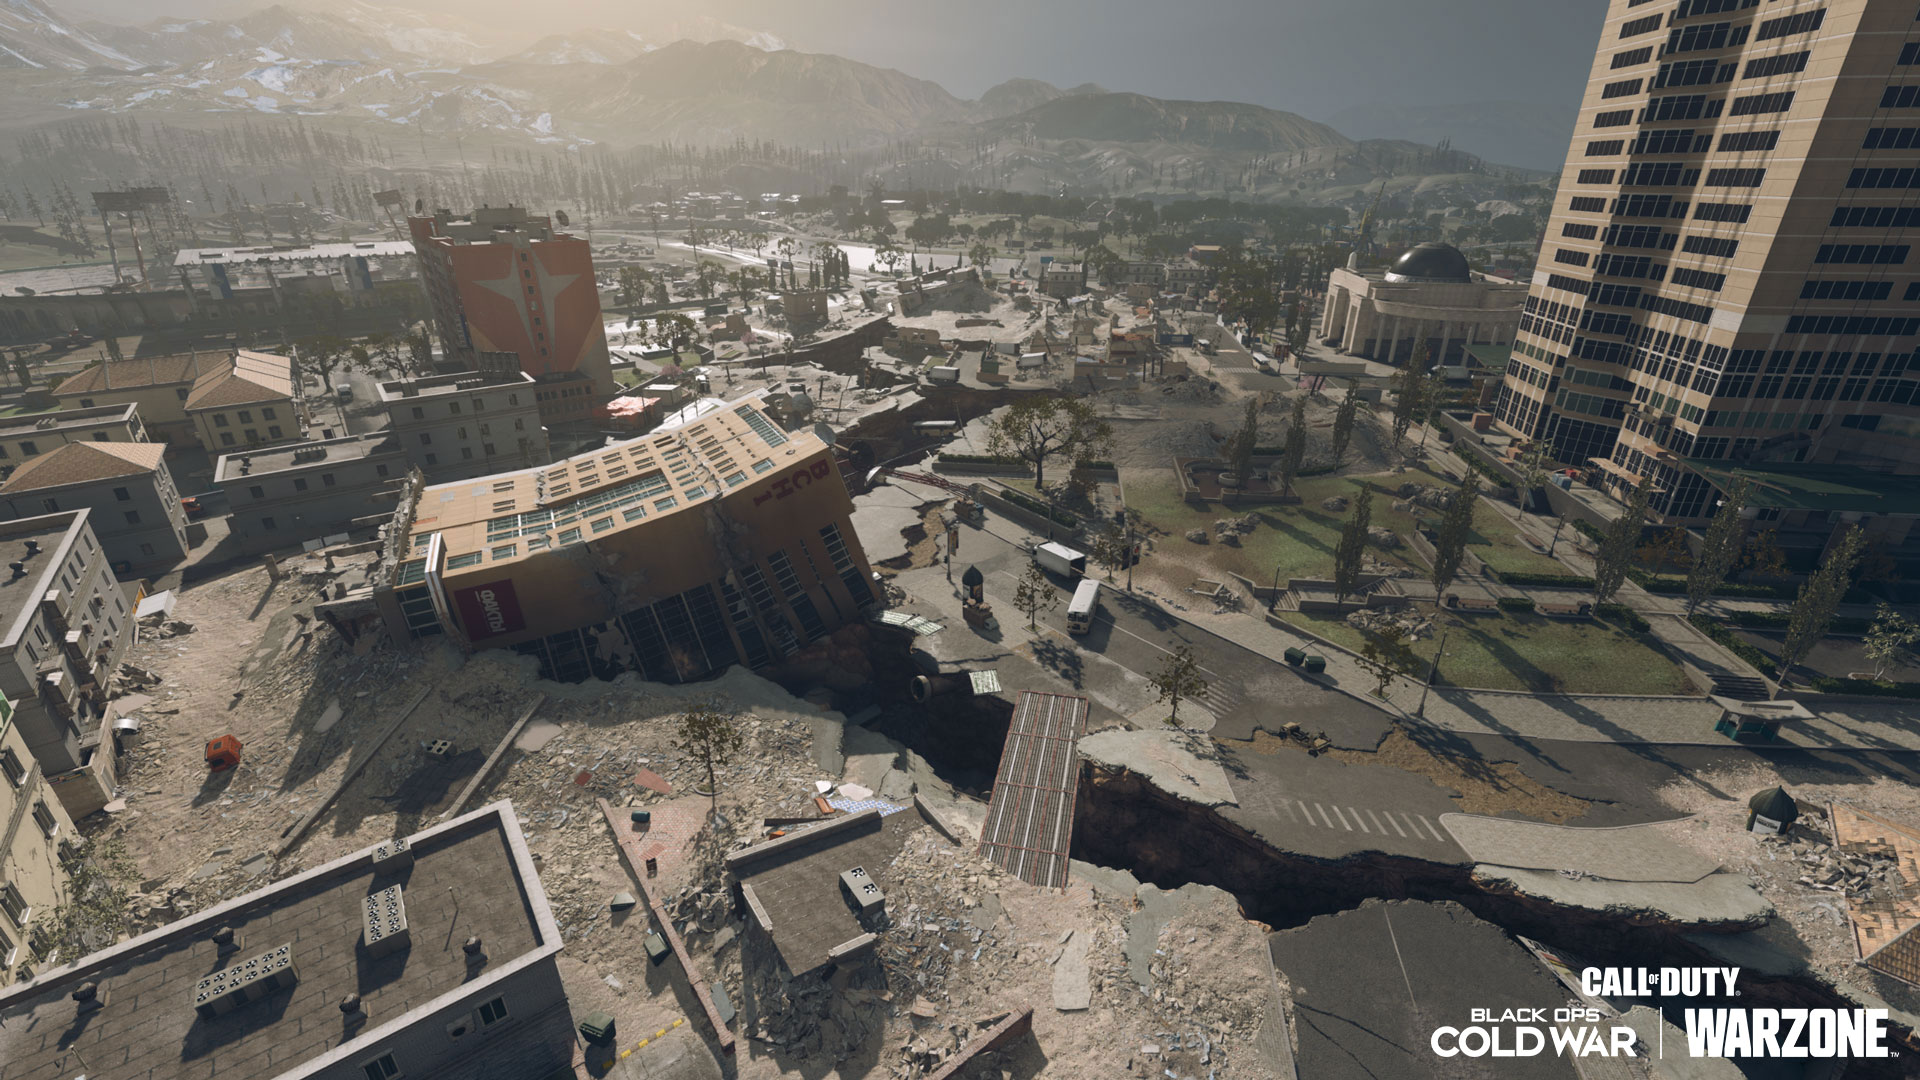
These changes also left Downtown’s massive tower, formerly inhabited by a Japanese corporation, and the white Hotel Volodymyr as the two tallest structures in the area. Expect snipers that once used the Art Museum or Grand Hotel as a perch to migrate over to one of these two areas.
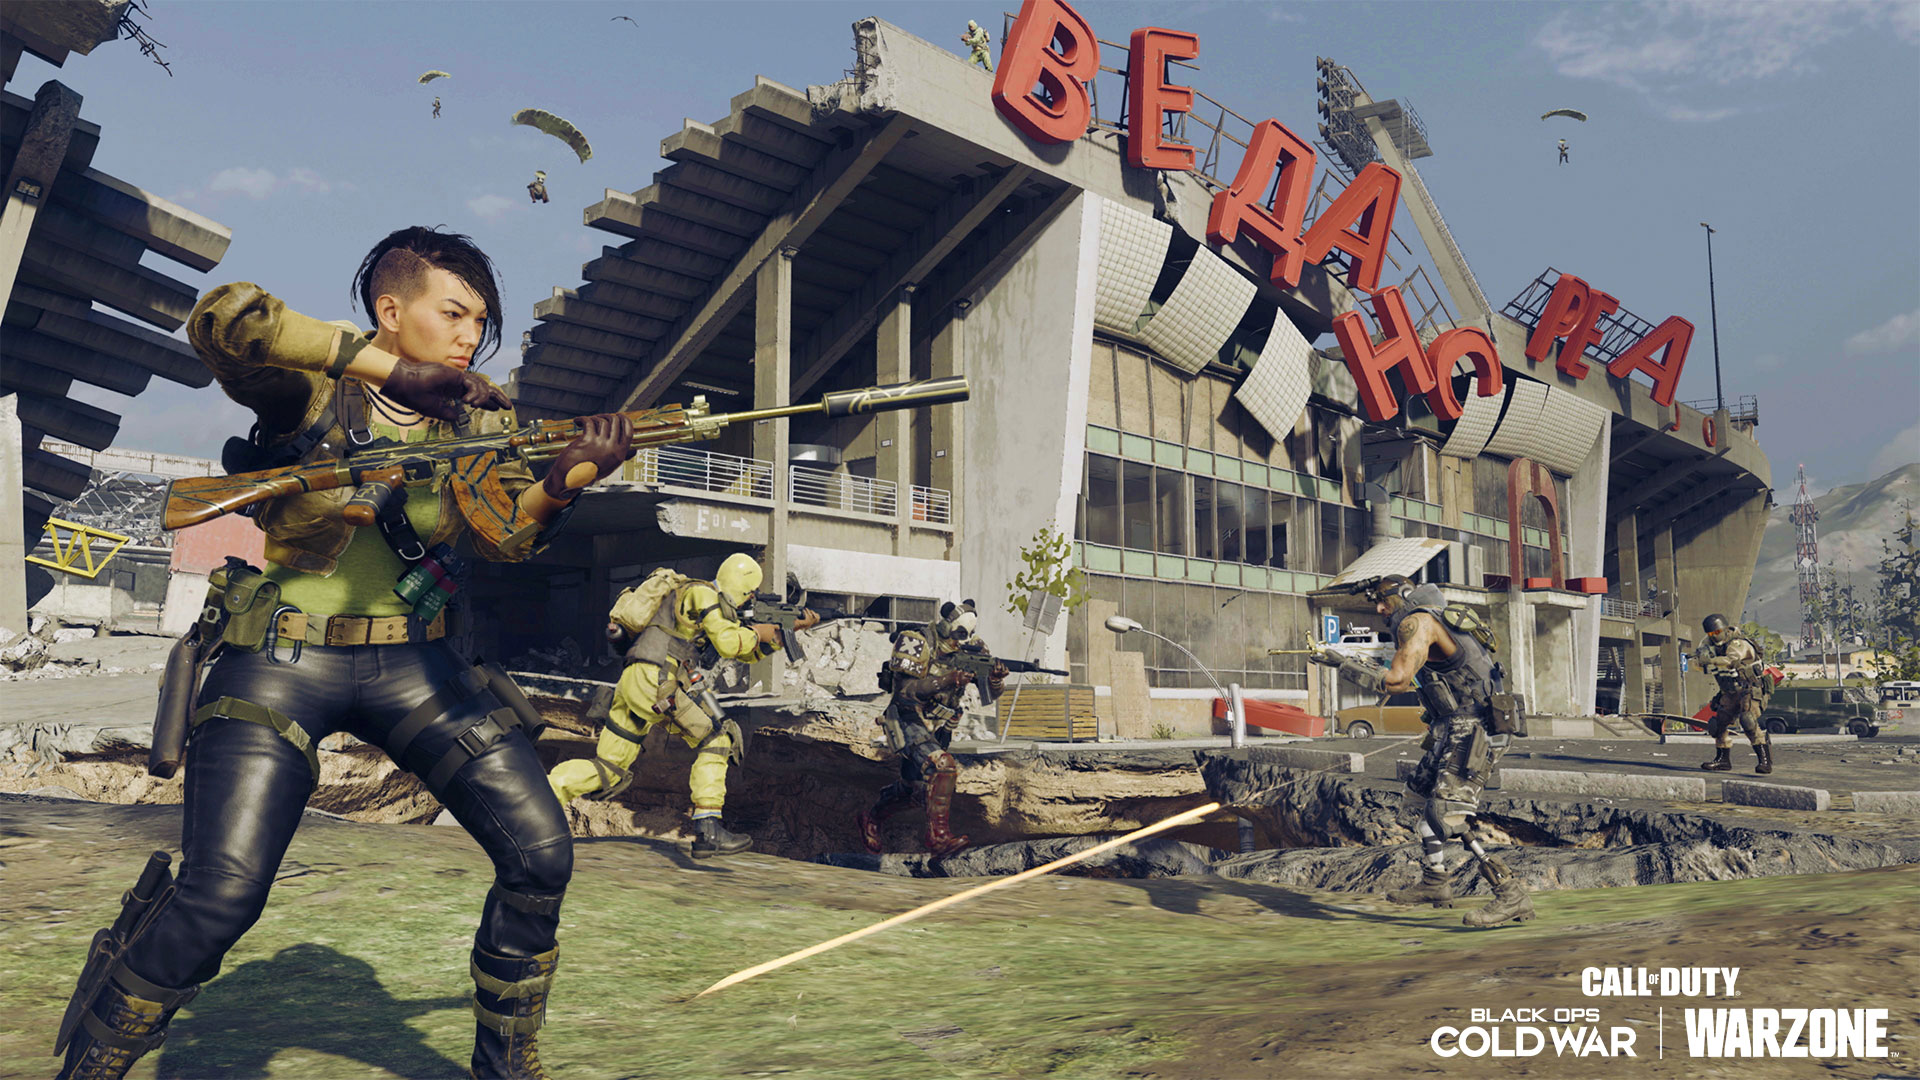
Verdansk Stadium
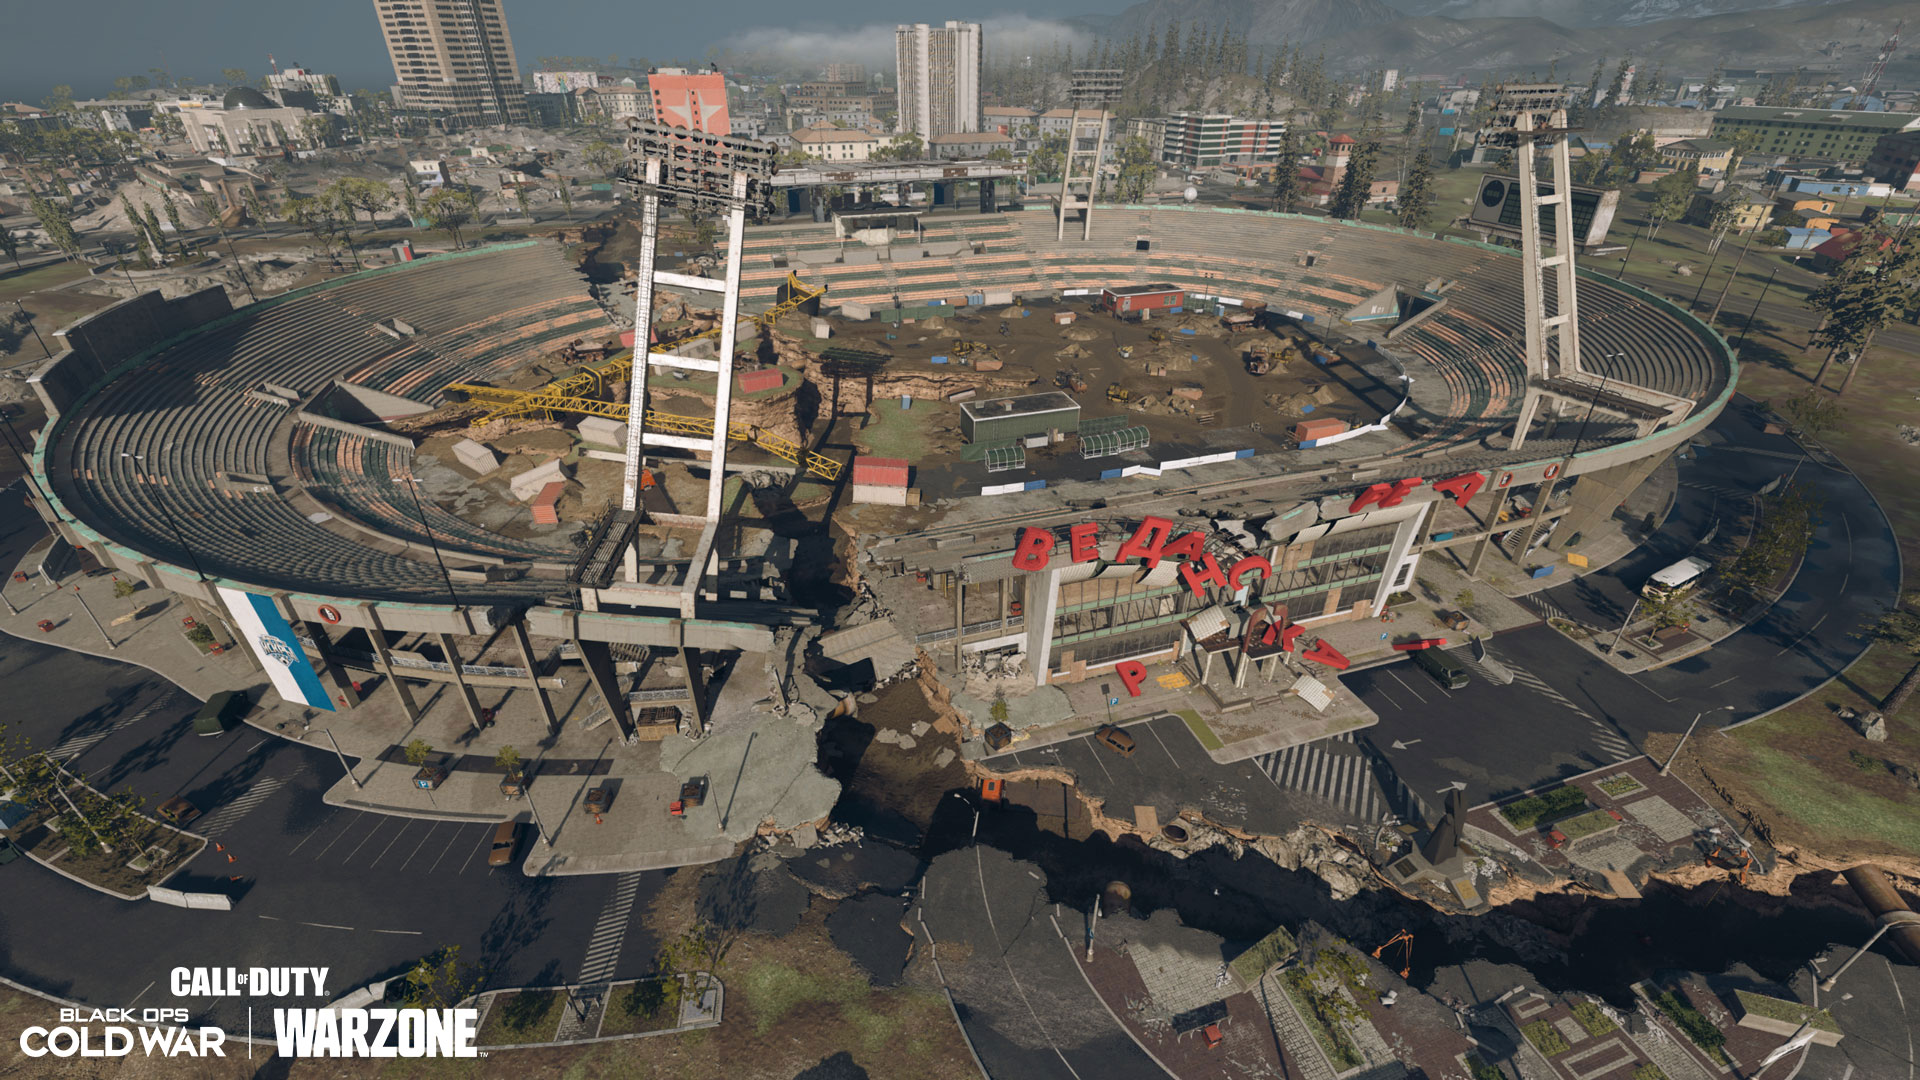
Ravaging the main eastern parking lot and monument area all the way through the Stadium itself, the magnitude of this fissure has nearly destroyed the grounds and structure entirely.
Outside of the obvious destruction of the Stadium’s signage, the fissure has torn a hole in the stands. It also brought the main construction crane down to the pitch, with an “island-like” piece of surface land jutting out from the earth containing part of the downed equipment.
Taking cover in these deepened ground sections could be a new winning strategy against long-range weapon users elsewhere in the Stadium. And while the downed crane reduces some verticality topside, snipers can still take position up in the lone box seats or stadium light structures.
In terms of the rubble and wreckage, be sure to check the area for new Supply Box or item spawns. Just be ready to fight in a close-quarters battle since the fissure broke up the construction-laden field and, because of its damage, some of its longer sightlines.
South of Radar Array

This relatively shallow crack fortunately did not affect manmade structures, but in an otherwise open area of the map, the underground explosions have changed how you’ll approach zones like the Radar Array, Stadium, and Blocs.
Rather than sprint or drive across a rather open area, you can use this fissure to take cover from those attacking from atop the Radar Array or Stadium. Plus, if the final Circle Collapse falls in this area, it can lead to some more tactical play rather than an all-out firefight to a finish.
Promenade East / Verdansk Hospital
Similar to the area Southeast of Radar Array, this minor fault in the earth may cause a big change in the meta.
Running north of the Barakett Promenade’s easternmost portion, from the gas station and apartments across the street from the Hospital right up to the area’s high rise, this chunk of earth was normally a hilly space with little cover. This may have led Operators to be left completely exposed when travelling across this area, especially if the Circle Collapse forced them here.
Following the fissure, Operators can use the fault in the earth to take cover against snipers from the Hospital or Promenade, moving within it to travel east or west and pop back out closer to a building.
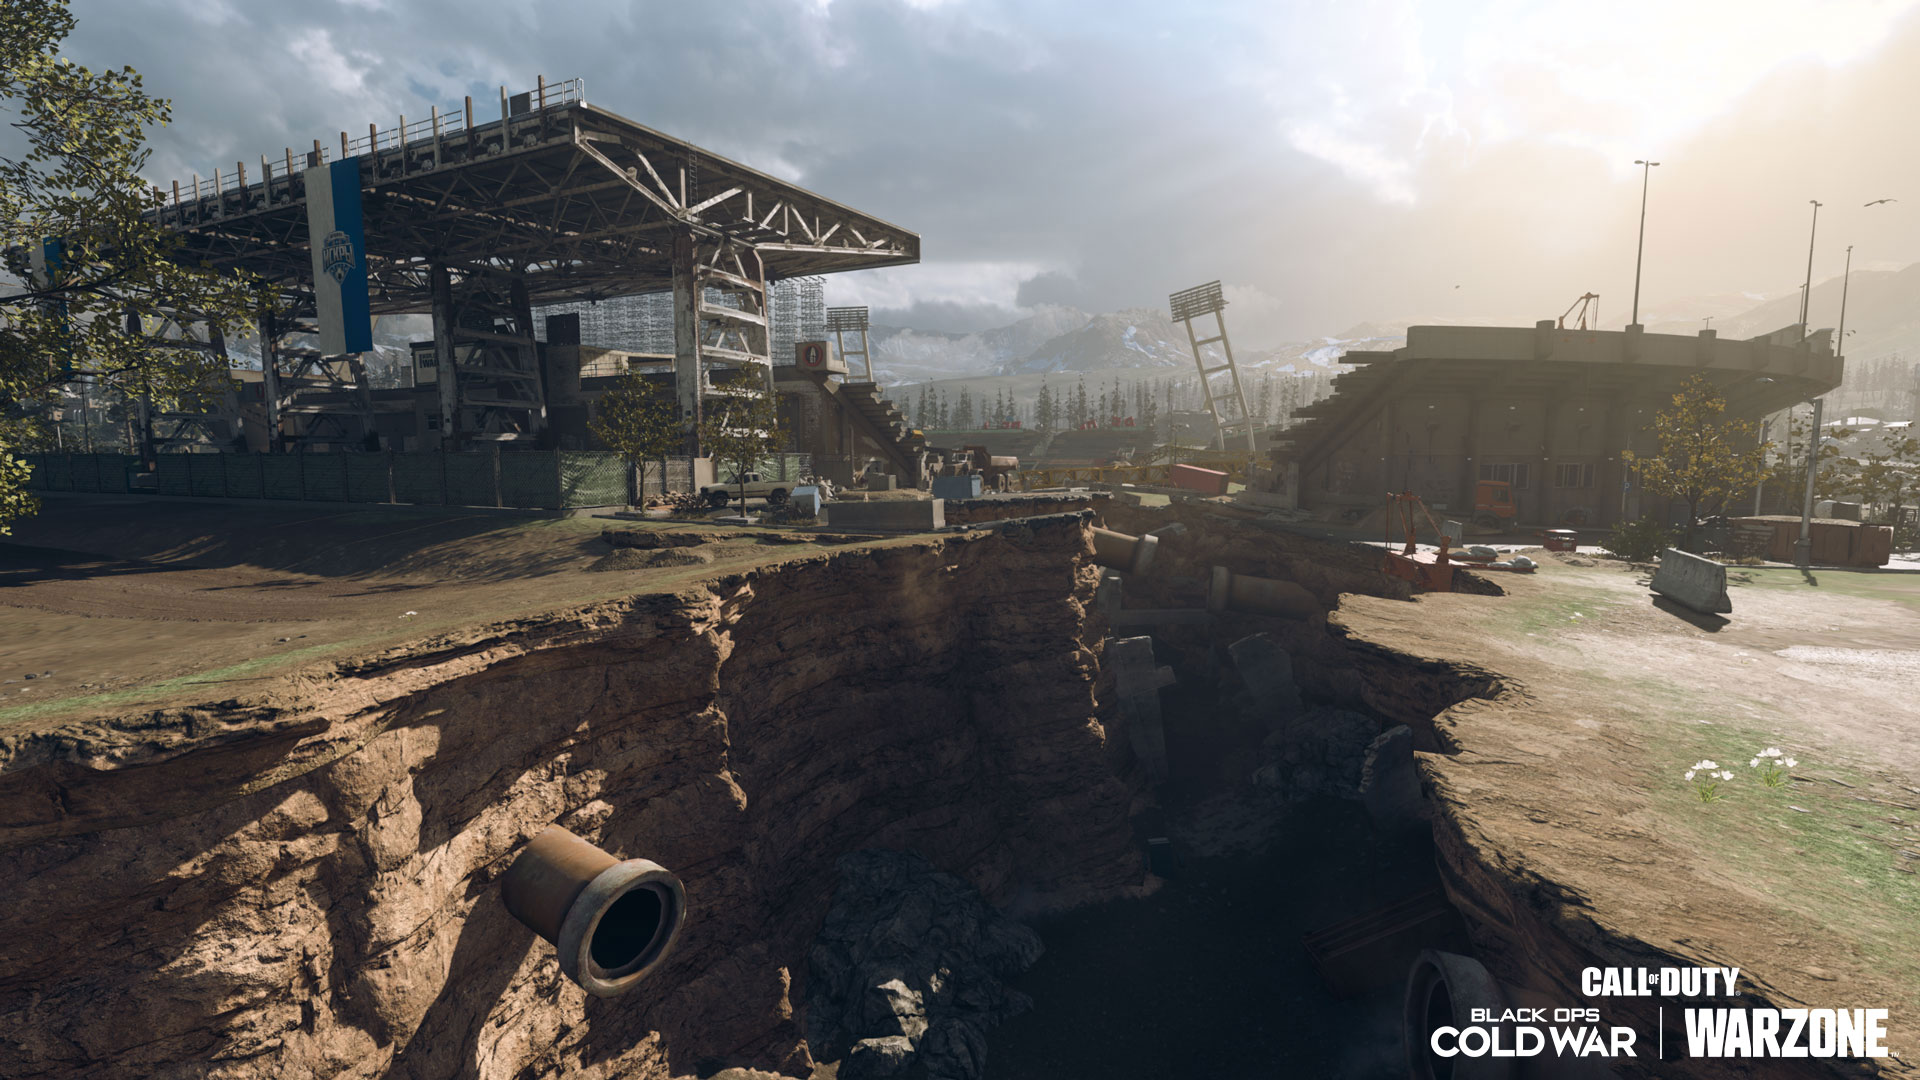
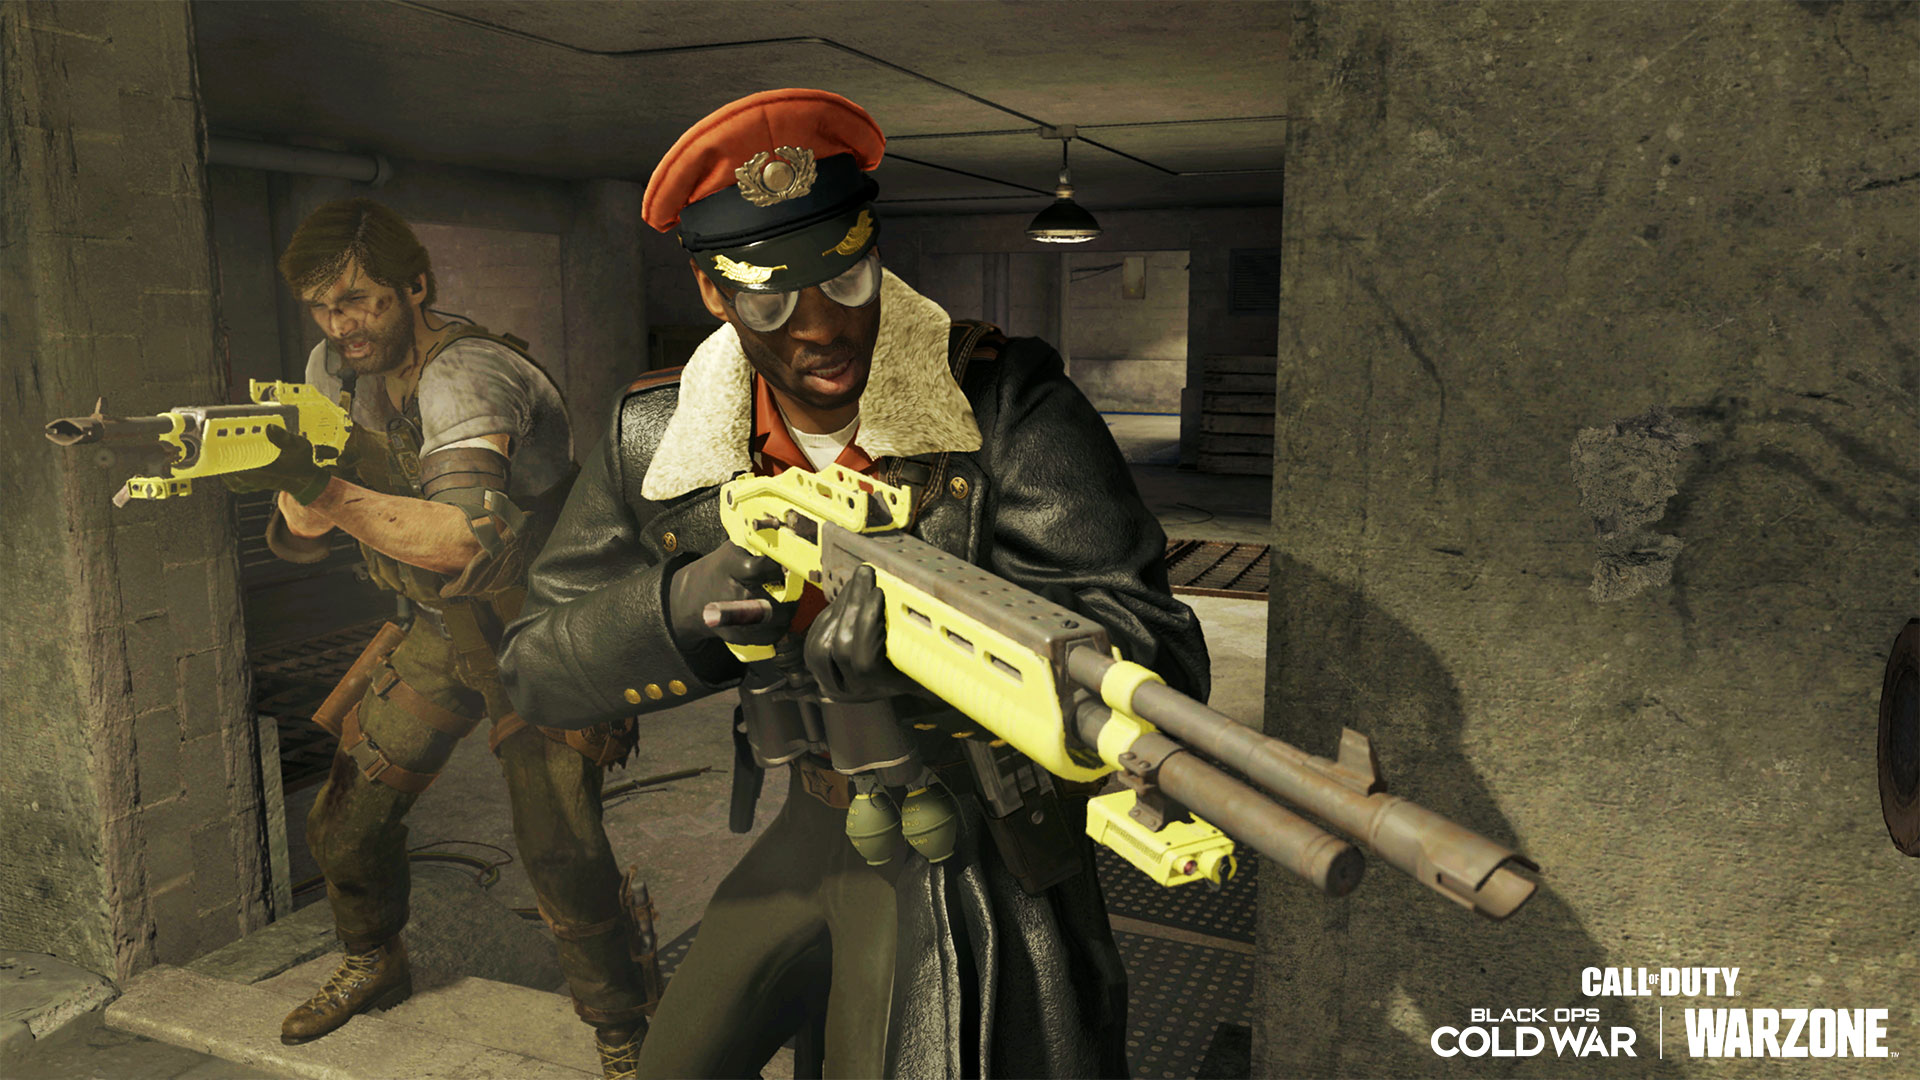
WWII Bunkers Overview
Elsewhere in Verdansk, three World War II-era bunkers have been unearthed and are now seemingly accessible.
Differing from the previous bunkers you may have explored, these three underground areas – one located near Radar Array and Bloc 15, another north of the electrical transformers in the Airport Maintenance area, and the third north of the Silos within the Boneyard – are even older and have plenty of intrigue to them.
Unlike previous bunkers, these are accessible through a hole left behind by a drill previously hidden in shipping containers. Attach your climbing device to the cables – or be bold and jump down, although you may take some serious damage – to land right in the middle of a long-abandoned Axis facility.
Amid stacks of supposedly decommissioned bombs, desks, and bunk beds meant to quarter soldiers are potential spawn points for items and Supply Boxes, making a trip down here worth your while. Explore these bunkers long enough to potentially find an escape route to another area in Verdansk, or to see what secrets were buried underneath the city for decades…
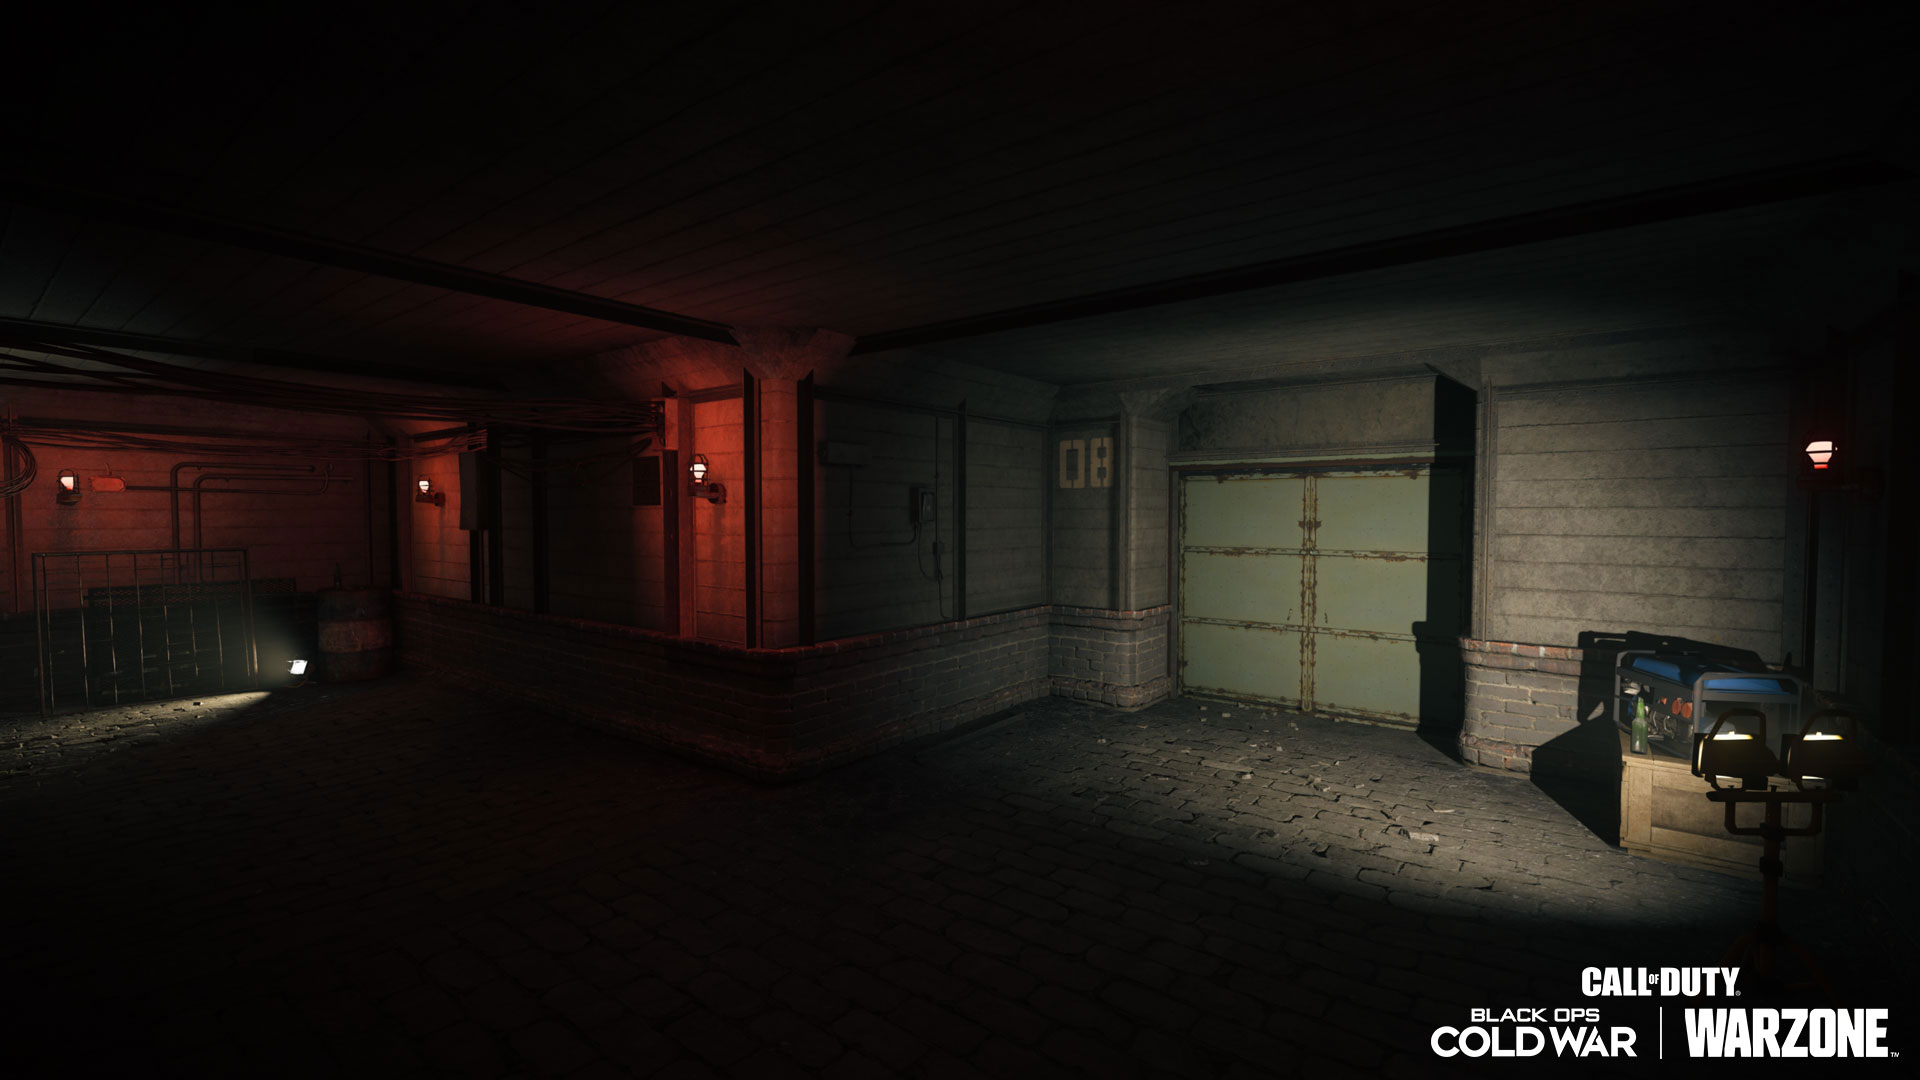
Should you find another squad down here, prepare for a close-quarters fight. Use whatever is left in the abandoned bunker for cover, and try coming down here with shotguns and SMGs, which are well-suited to clean out the facility.
The Gulag Overview – Welcome Back the O.G. (Original Gulag)
Forget the next mission ahead; the final showdown is almost here in Verdansk, and any captured Operators will have to fight for their lives the old-fashioned way:
In the dark, dank, and somewhat dirty chambers of the Zordaya Prison Complex.
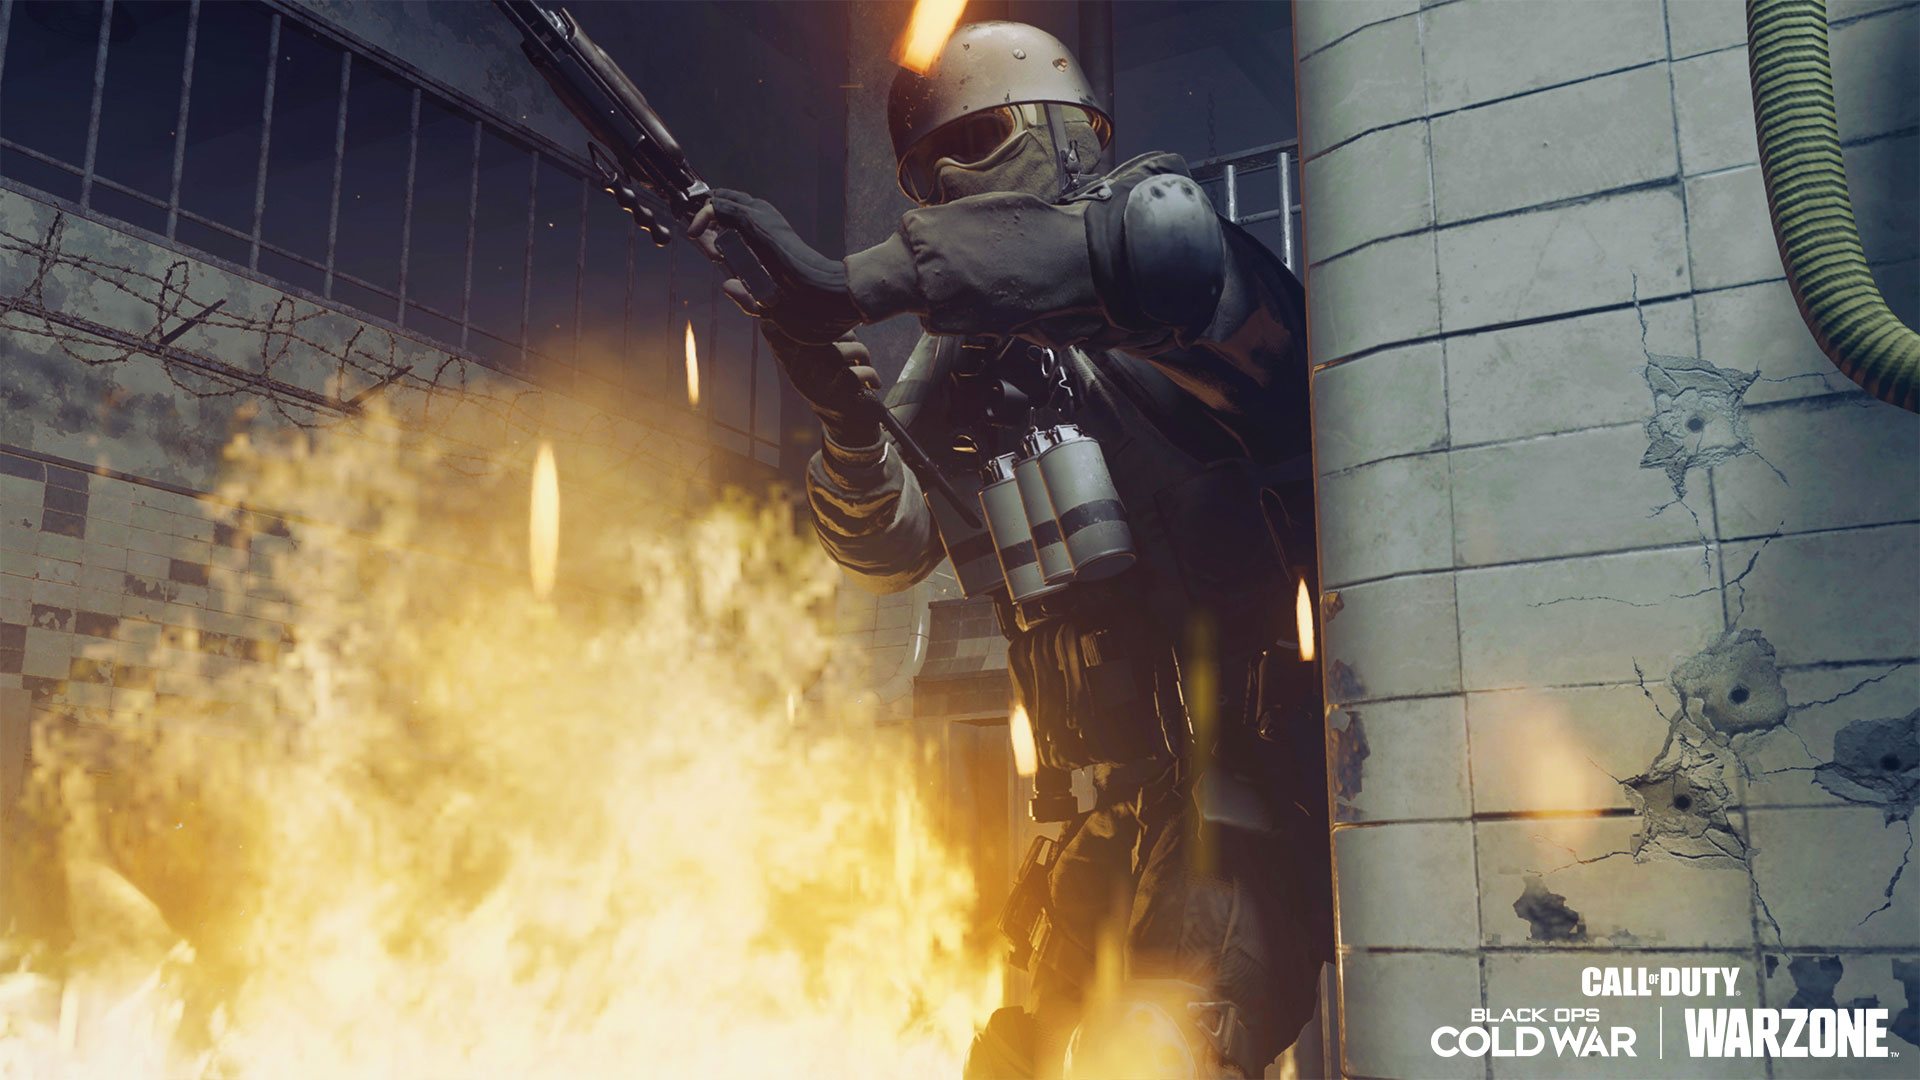
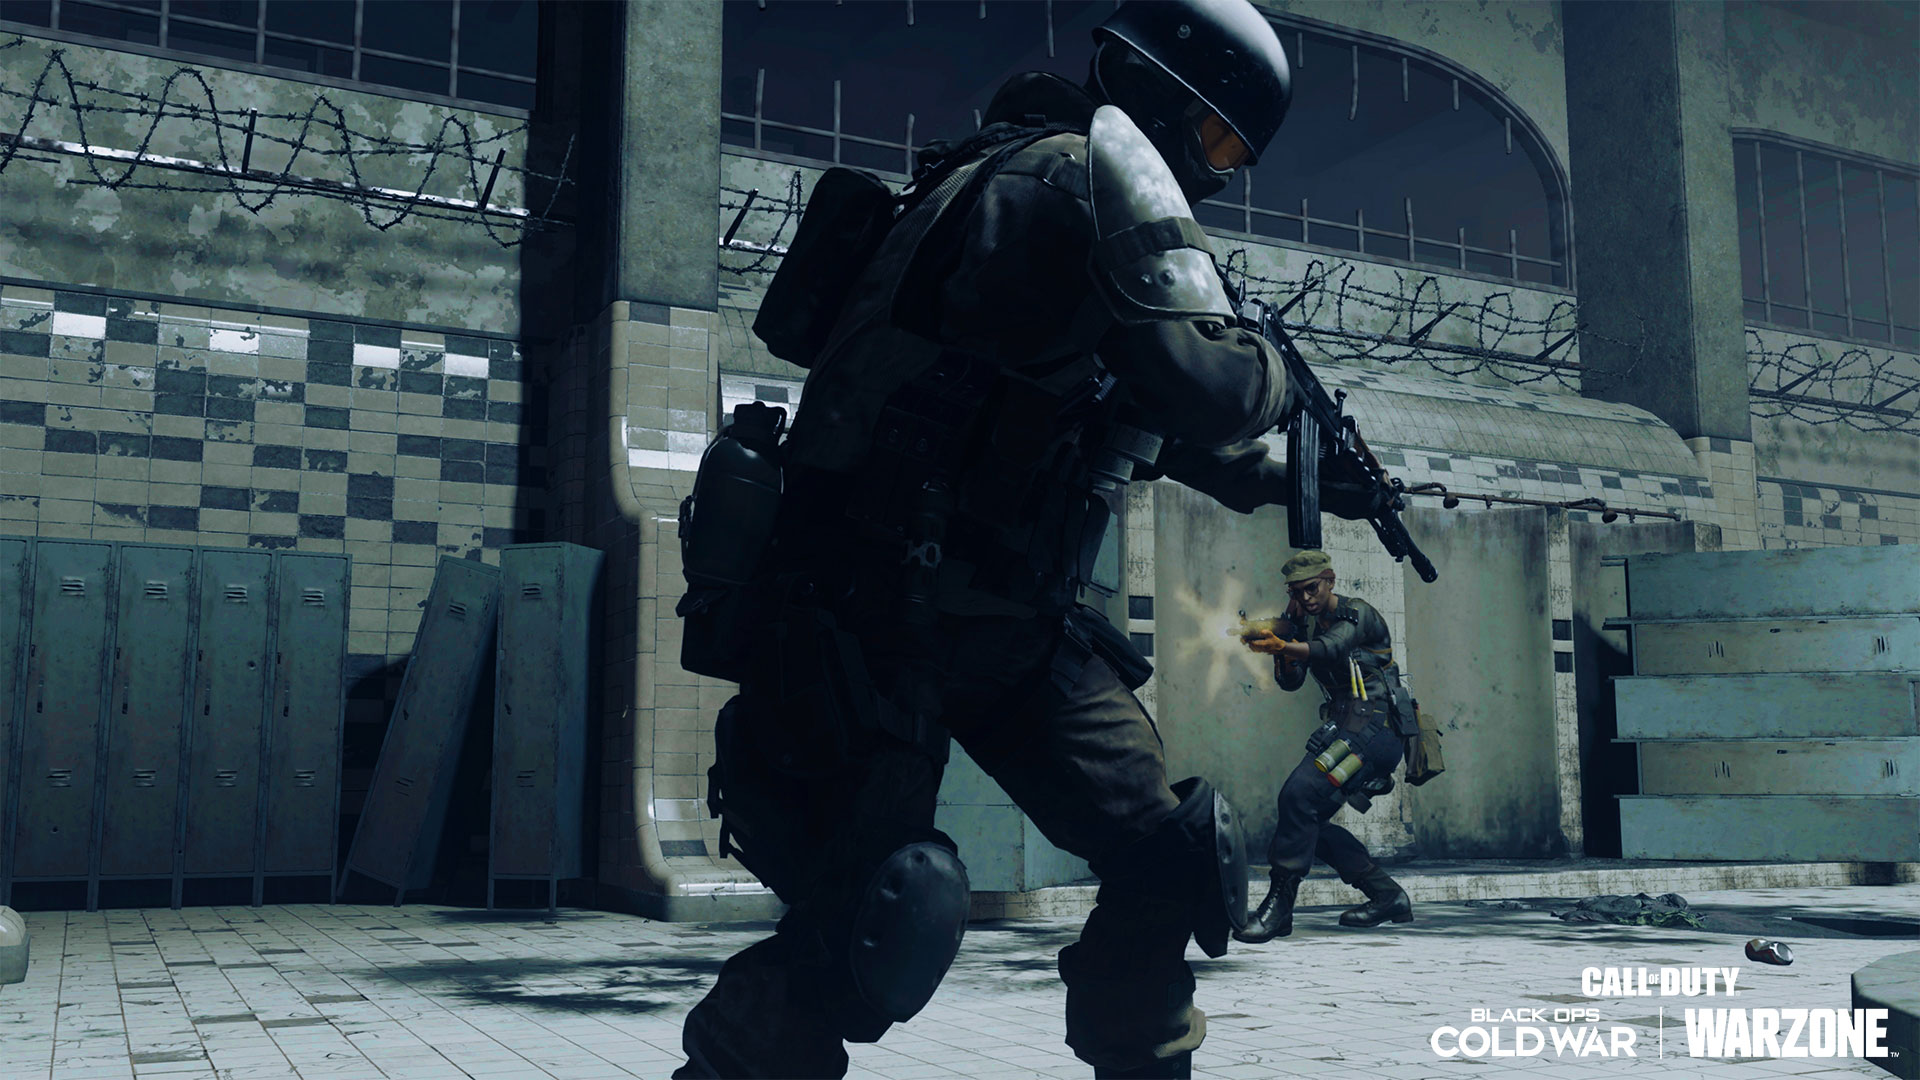
A callback to the original Gulag – A.K.A. the O.G. – Season Six’s Gulag is a near-replica of the Gunfight map from Modern Warfare®. It also made an appearance in Call of Duty: Mobile, and while veterans may know all the ins and outs of this arena, newcomers won’t have to learn much to master it.
This arena is a small, symmetrical map with three primary lanes with clear views from one spawn area into the other. Rows of sinks and showers offer cover and visual obstruction, while lockers within the spawns – the only difference between this map and previous versions, save for some cosmetic changes – can allow for a unique sightline over mid-map.
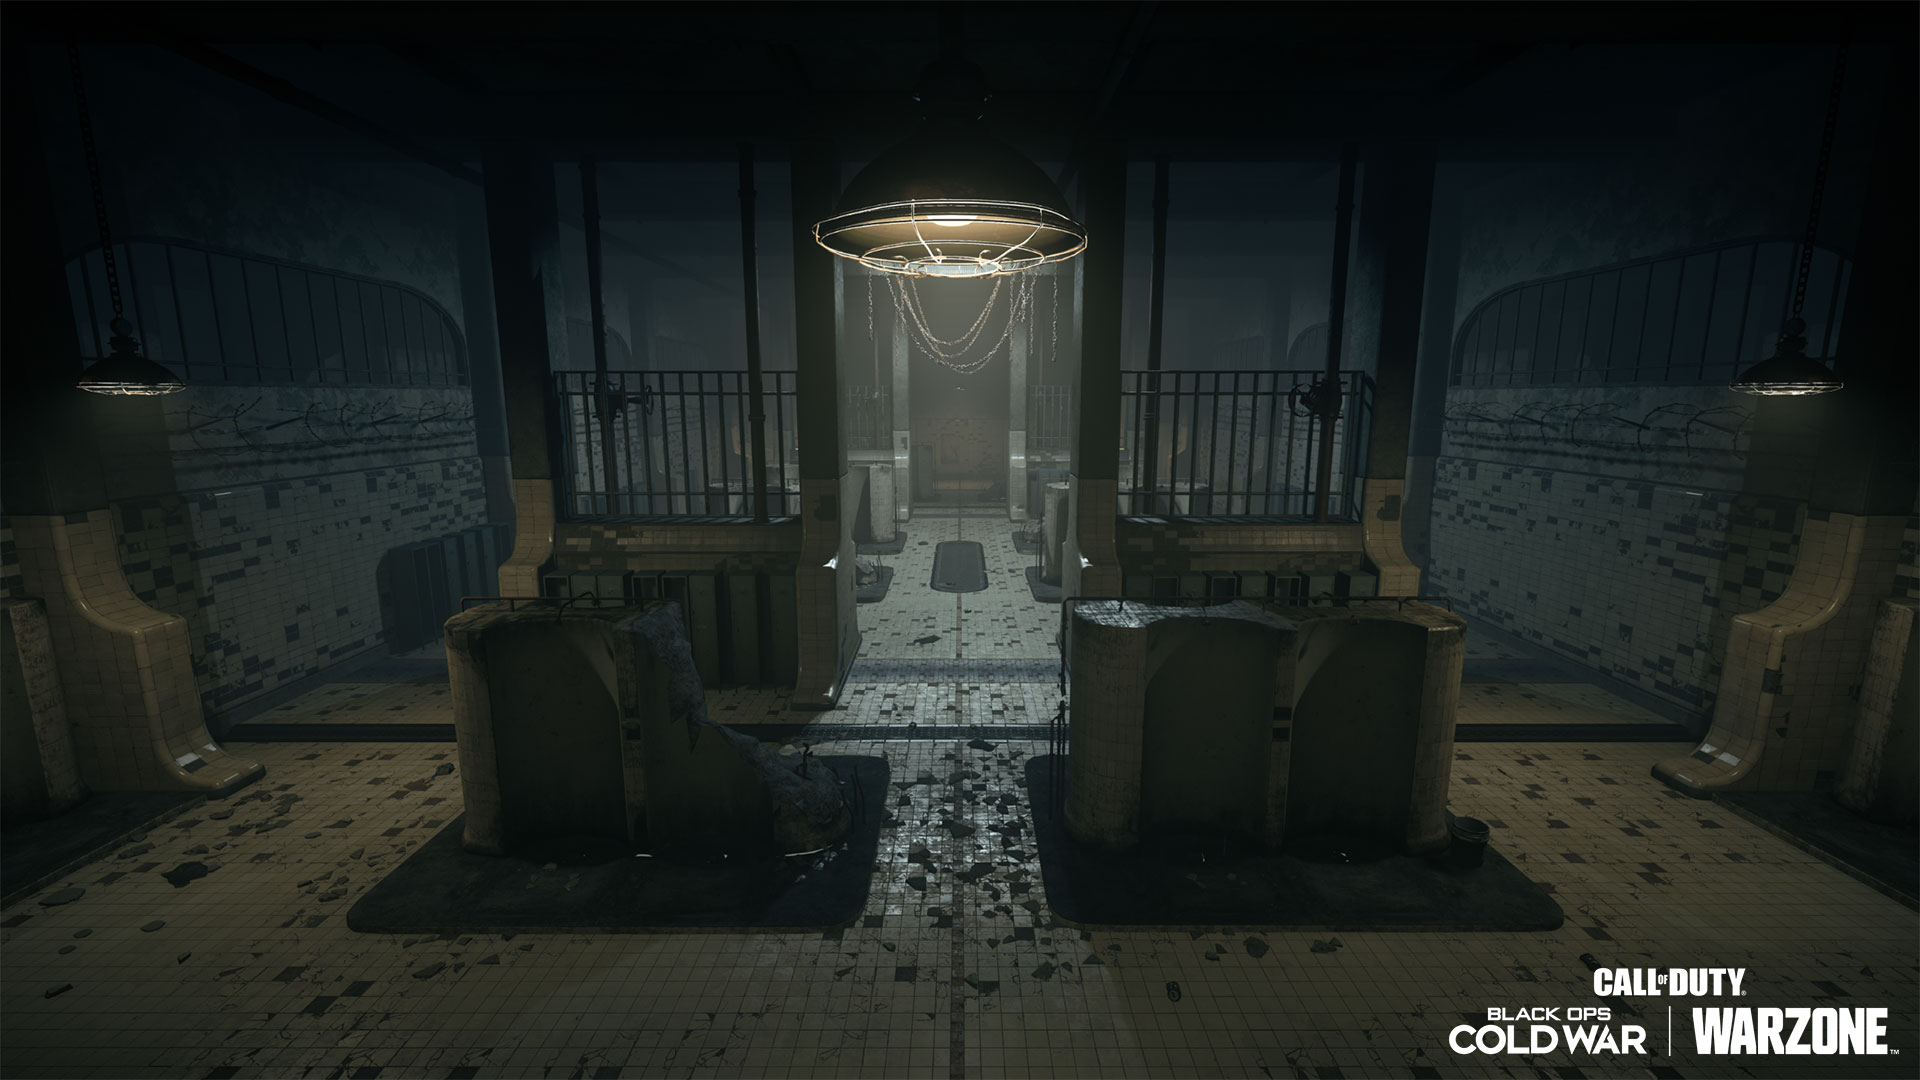
Its Overtime flag is at the dead center of the arena, and it may as well be a death sentence for those who don’t know where their opponent is. There are sightlines directly on the flag across all three lanes, as well as from the lockers, so should you opt for an Overtime objective victory, be prepared for your opponent to fire from nearly any direction.
Top Ten Tips
10. Fissures – Rewards within the Rubble. Thankfully, the fissures seem to have opened more opportunities to scavenge for items. Dig deep within the destroyed points of interest, and you may find a Rare Supply Box or even just enough Cash and loadout items to begin building toward victory.
9. Fissures – No More No Man’s Land. The cracks near the Radar Array and Hospital transformed some open spaces into safer ground, as you can take cover within the broken earth against those attacking from more developed points of interest. Use these faults to navigate toward your squad’s next target area with more safety than sprinting through a clear, unobstructed hillside.
8. Fissures – Crane Island on the Pitch. Within the Stadium, look for the piece of raised land surrounded by cracks in the earth. It can provide great cover – and potentially some items – while fighting against those in the stands or taking up the remaining places for verticality in this arena.
7. Fissures – The Two Towers. The Downtown skyscraper and Hotel Volodymyr stand tall as the only structures greater than 11 levels after the explosions took place. Expect snipers to congregate on their rooftops, and either use the broken earth for cover, or take to other buildings, such as the tenements or the nearby Hospital, to counter-snipe them.
6. Fissures – They Have the High Ground. Something to always keep in mind when travelling through the fissures themselves: there is a natural disadvantage to being on lower ground, especially when the Circle Collapse is coming. Be sure to look up as often as you look around, and use the exterior ascenders to get back to surface-level quickly.
5. Bunkers – Cleaning Up with CQB. These underground areas are prime areas for close-quarters battle – drop down here with a Shotgun or SMG, and you may find it easier to sweep enemies out within the tight corridors. Also, consider dropping a piece of Equipment down the hole entrance just in case someone is watching it from below.
4. Bunkers – Beyond Surface Level. Like the bunkers in modern Verdansk, there may be a deeper purpose to these facilities than what they seem on the surface, or at least can give some context to Verdansk’s purpose during World War II. Just don’t let the Circle Collapse kill you for being curious.
3. Gulag – Common Ground. Does this Gulag look familiar? Those who played Call of Duty: Mobile know this map was in Gunfight, and it exists in Modern Warfare as a standalone Gunfight map. If you need some more reps before that next Gulag visit, play some Gunfight in MW with a friend.

2. Gulag – Squeaky-Clean Jump Spots. Outside of using the main lanes for movement, you can gain a unique sightline over the Gulag’s middle section by hopping up on some lockers and tilework. Peer through the metal fencing, and you could see someone getting too aggressive during that 1v1, especially during overtime.
1. Gulag – Overtime Chaos. Unlike some Gulag arenas, this one has its Overtime flag at the intersection of plenty of sightlines and lanes with little cover. Should you want to capture the flag, but don’t know where the enemy is, try using the Equipment available in your duel loadout to potentially locate their position.