Call of Duty: Vanguard Boot Camp — Weapons and Loadouts
Need a full overview on the armaments you’re bringing to Vanguard Multiplayer? It’s time to check in on the armory and make sure everything’s in good order for launch on November 5.
Gear up, Operators.
Across Multiplayer and Zombies — plus Warzone™, at the start of Season One — Special Operations Operators can use over three dozen Vanguard weapons, modifying them to fit the mission ahead by using the Gunsmith as part of a complete Custom Loadout.
Before exploring the revamped Gunsmith, let alone choosing the powerful Killstreaks that can be earned in Multiplayer, this is how to build a loadout:
Weapons and Loadouts — The Basics
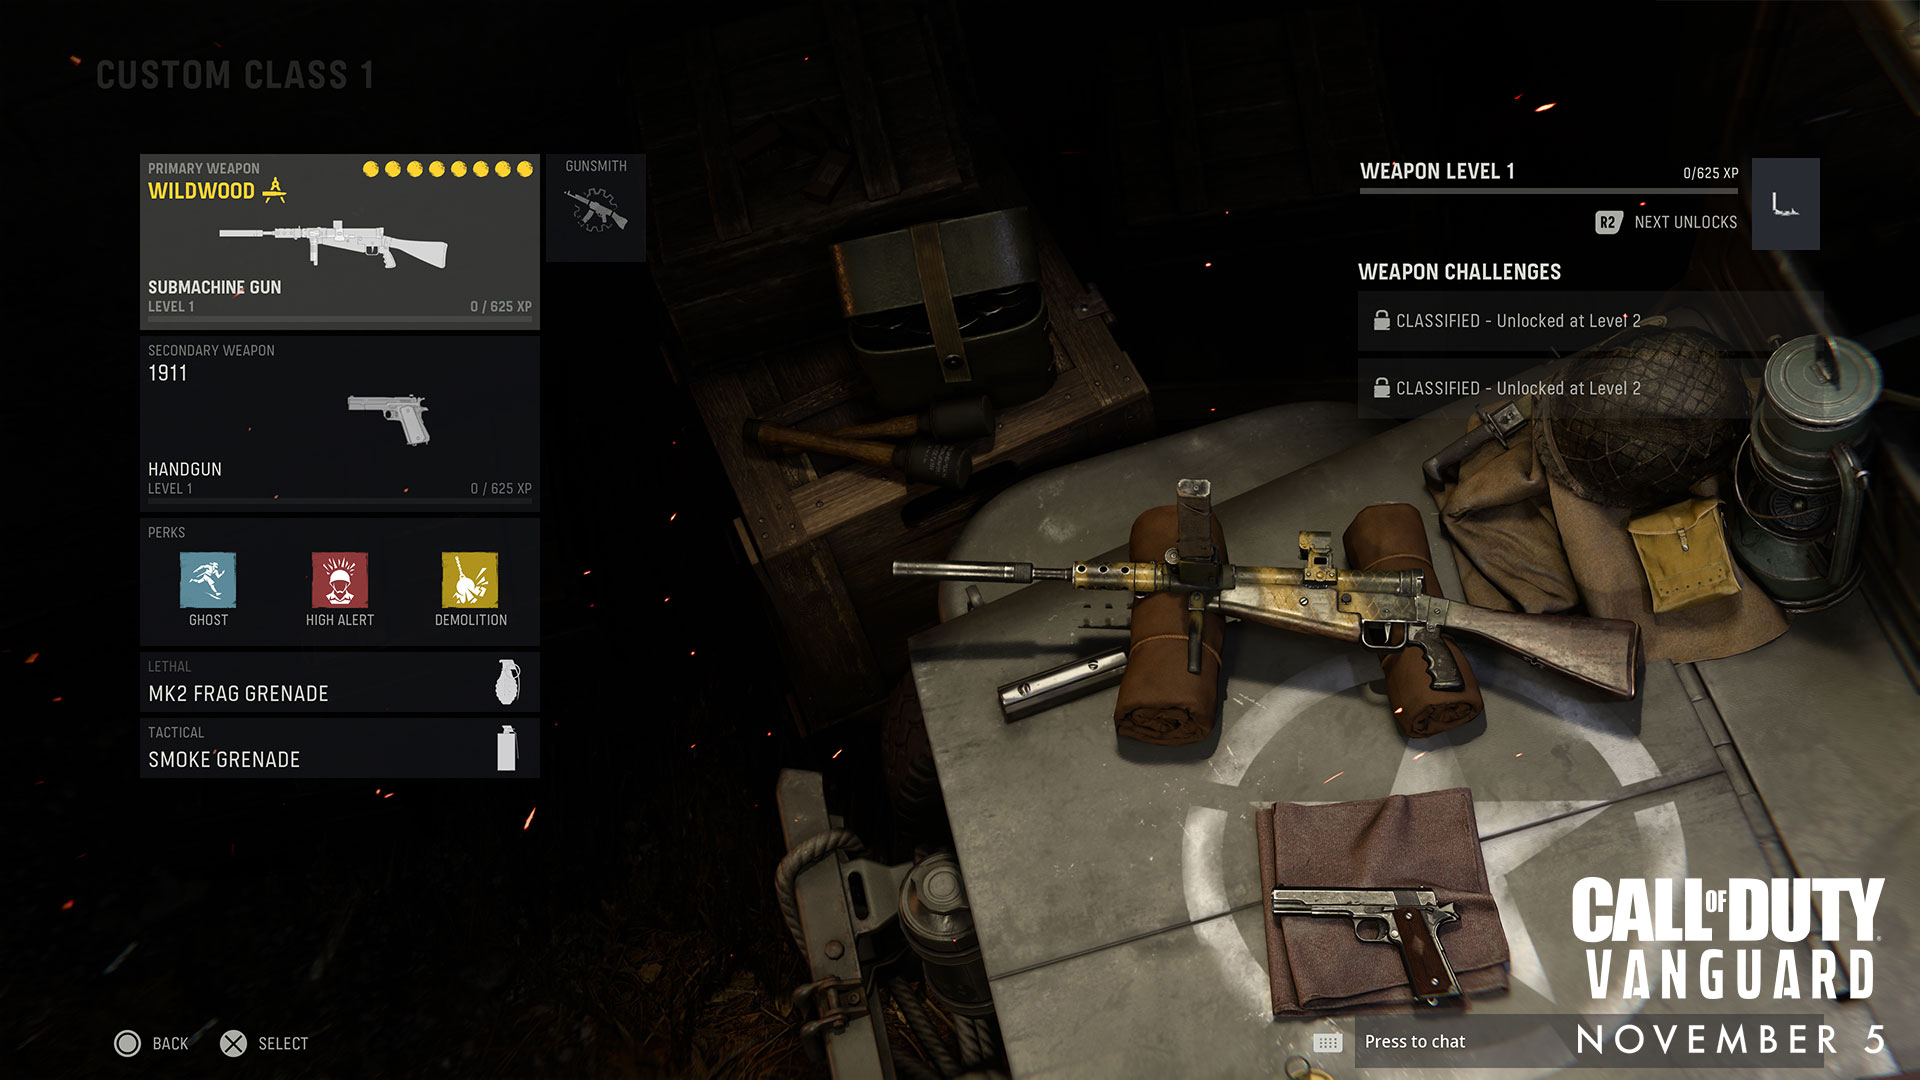
A Loadout is a way to configure your own battle-ready combinations of weapons and other items, such as Perks, Equipment, Field Upgrades, and Killstreaks in Multiplayer or an Artifact in Zombies.
Until you reach Player Level Four (Private First Class), only Default Loadouts are accessible in Multiplayer and Zombies. These developer-curated Loadouts demonstrate how deep you can go with Loadout customization for a personal playstyle (or several) across the following categories:
Primary Weapon: The primary way of outputting damage against infantry and enemy tech.
Secondary Weapon: These weapons are considered secondary ways of dealing with enemies.
Perks: Passive benefits that further aid an Operator in the field. Perks are separated into three categories: Blue (Perk 1), Red (Perk 2), and Yellow (Perk 3).
Lethal Equipment: Also known as “Lethals,”this selection of handheld tools inflicts lethal amounts of damage to enemy infantry. Some also wear down enemy vehicles and technology, as well as destructible environmental pieces.
Tactical Equipment: Also known as “Tacticals,” these normally do not deal lethal damage (with one notable exception), but rather provide a potential strategic advantage within or outside of combat, such as confusing an enemy.
Artifact (Zombies): These supernatural relics grant powerful abilities against the undead, such as boosting damage while standing in a fiery circle. This replaces all of the above in a Custom Loadout besides a single weapon — Primary or Secondary — in Zombies. Artifacts are unavailable at the start of the match and can be used after a certain number of zombie eliminations.
Outside of a Custom Loadout in Multiplayer, there are additional items that can be activated during a match:
Field Upgrades (Multiplayer): Provide a tactical edge in battle, such as resupplying ammo to you and the whole squad. A Field Upgrade is unavailable at the beginning of a match; instead, it has a designated charge time and, once used, must recharge before it becomes available again.
Killstreaks (Multiplayer): Powerful, potentially tide-turning, abilities unlocked in-game by earning kills in a single life without dying. Choose up to three to be earned during a match. These cannot be changed while playing.
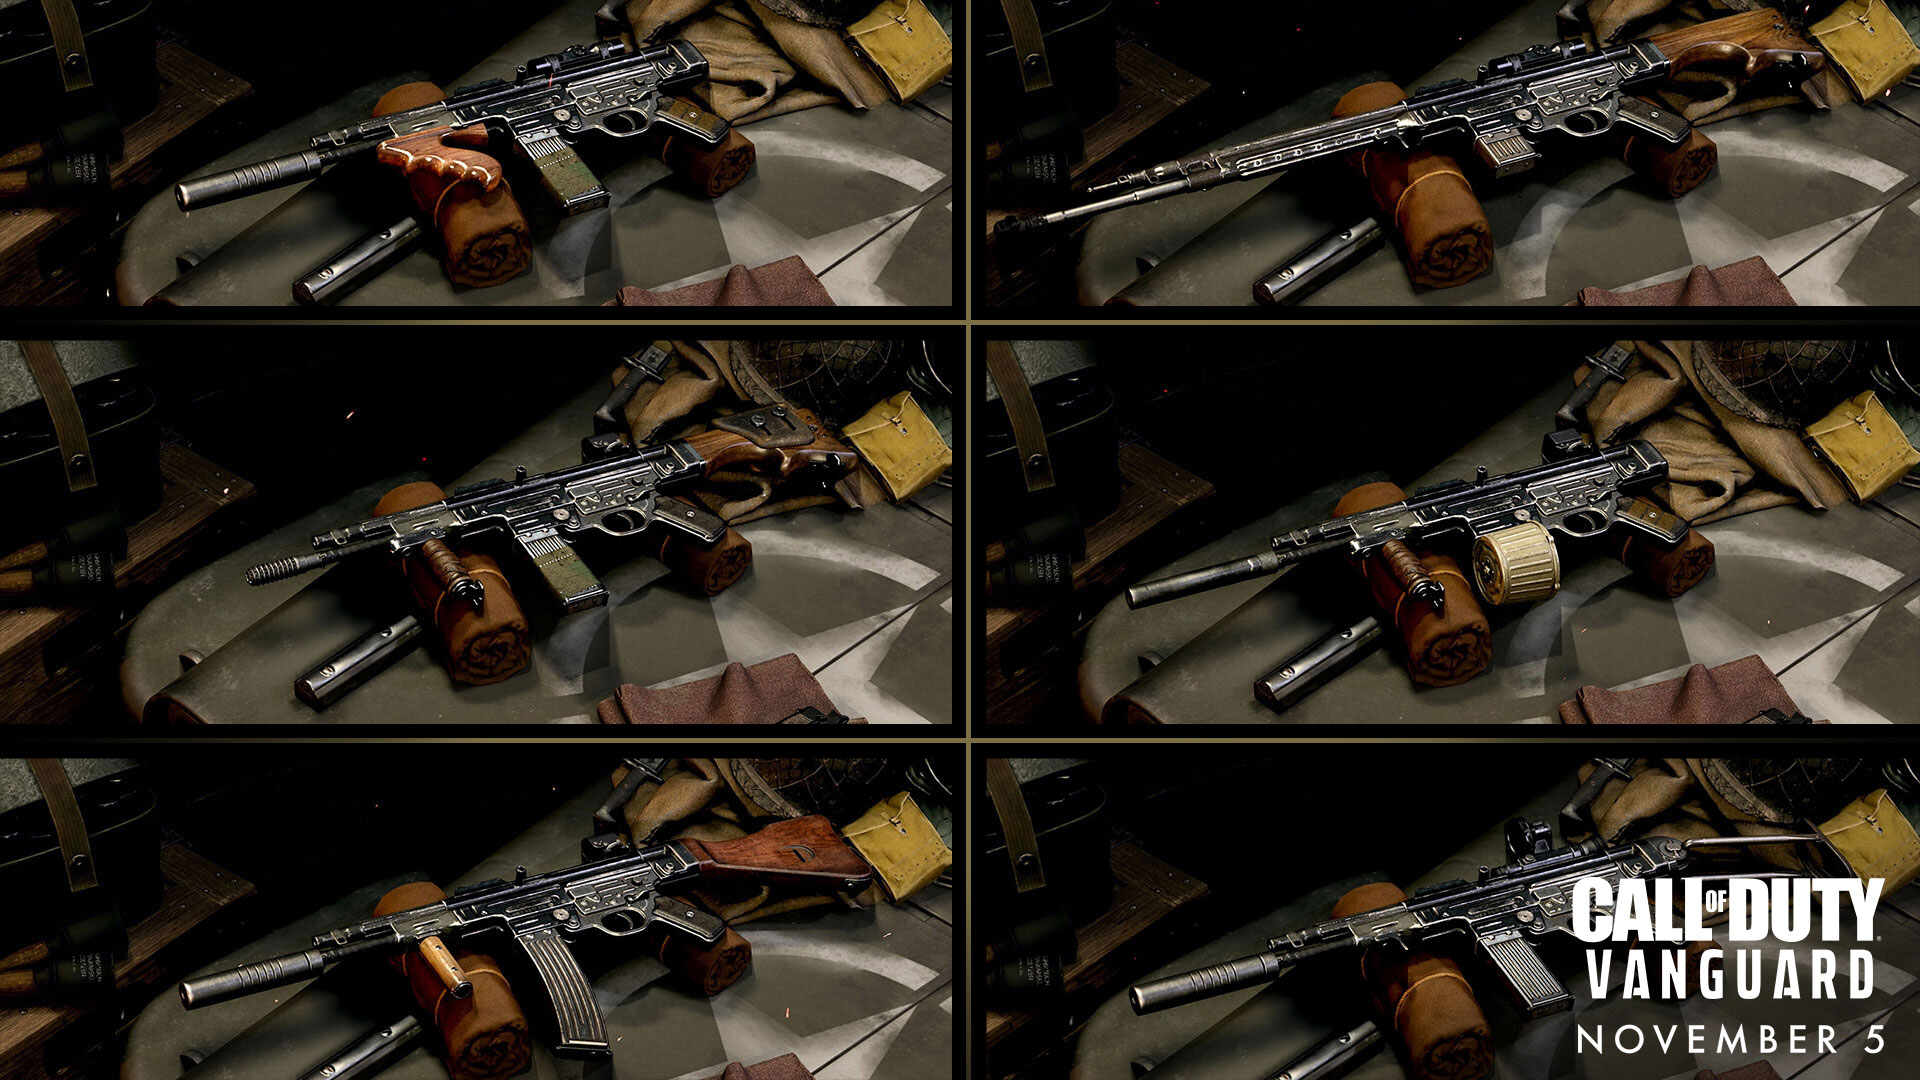
Across all modes, a Loadout’s focus is its weaponry; each armament has its own individual quirks outside of its category’s strengths and weaknesses. The ten Primary and Secondary Weapon categories where all Loadout weapons fall under are as follows:
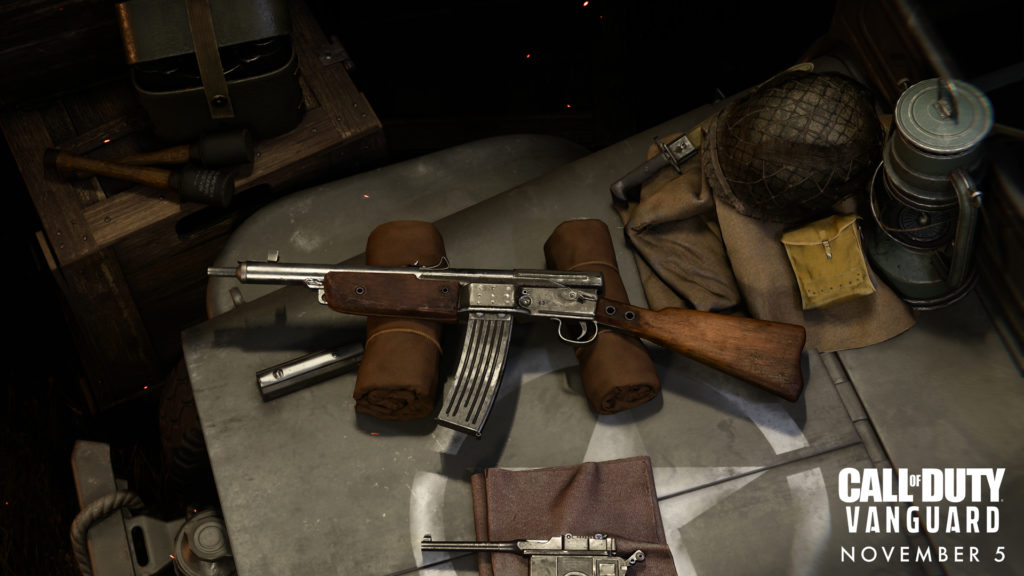
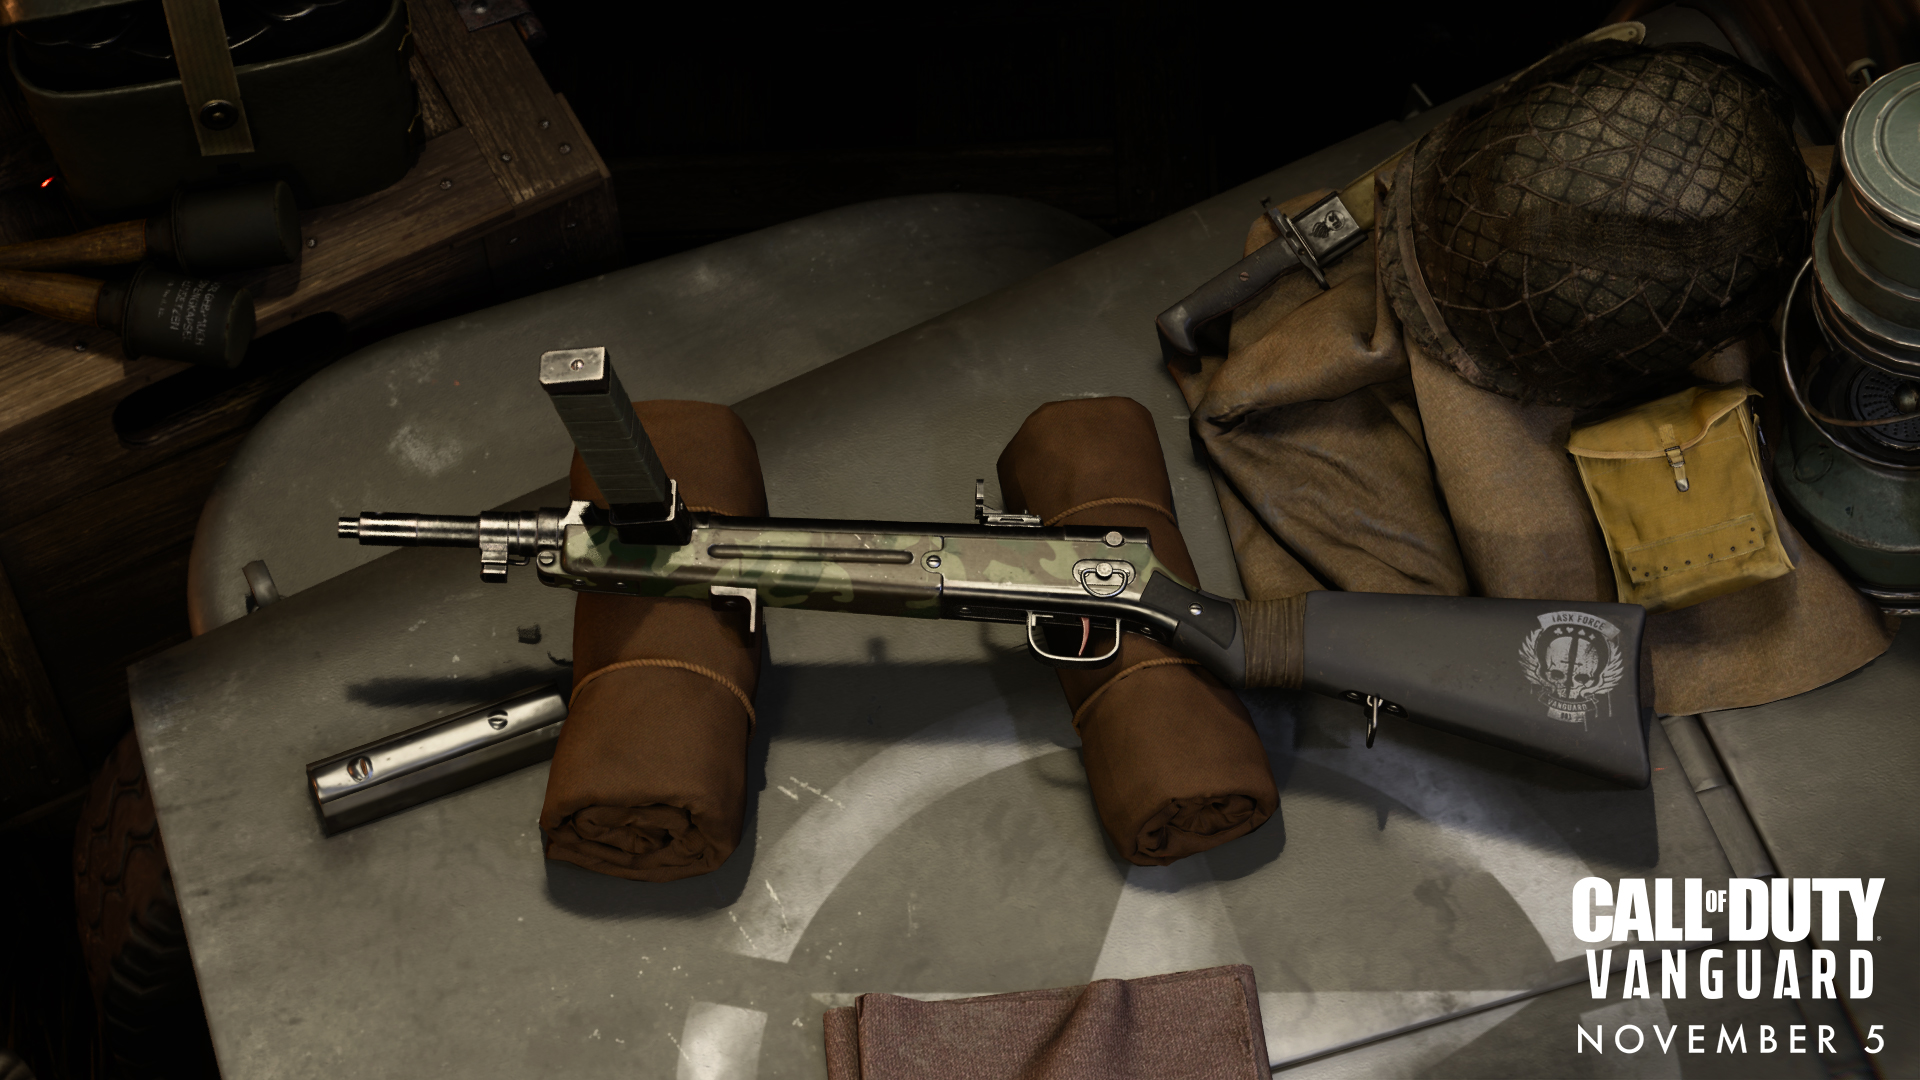
Seven Assault Rifles (Volksstrumgewehr Shown) 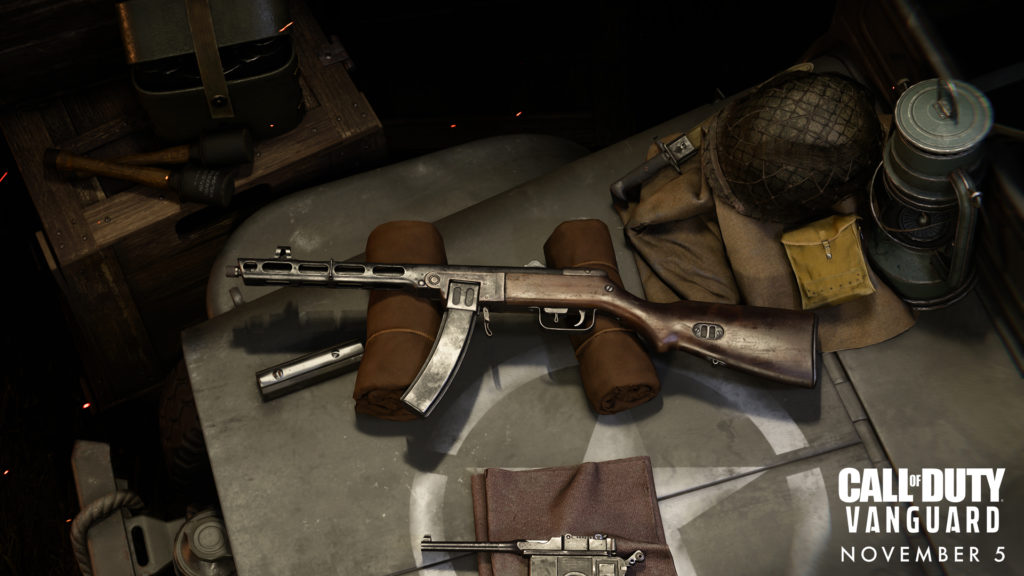
Six Submachine Guns (SMGs, PPSH-41 shown) 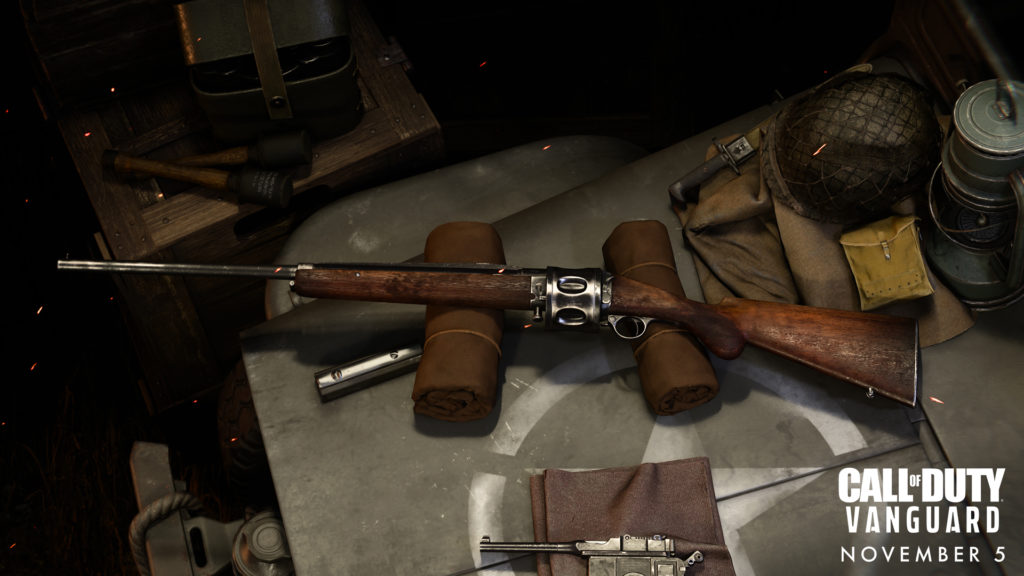
Four Shotguns (Einhorn Revolving shown) 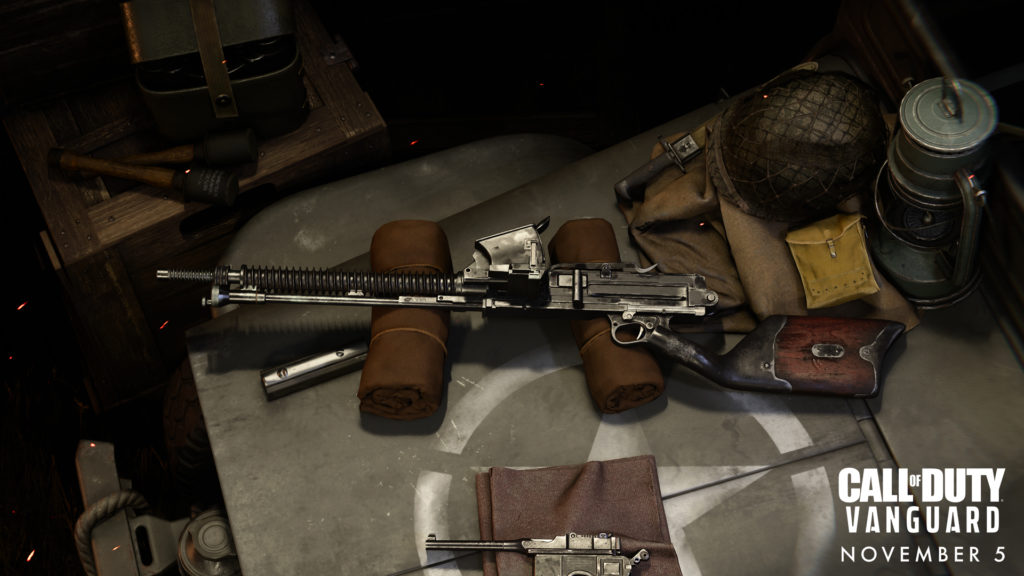
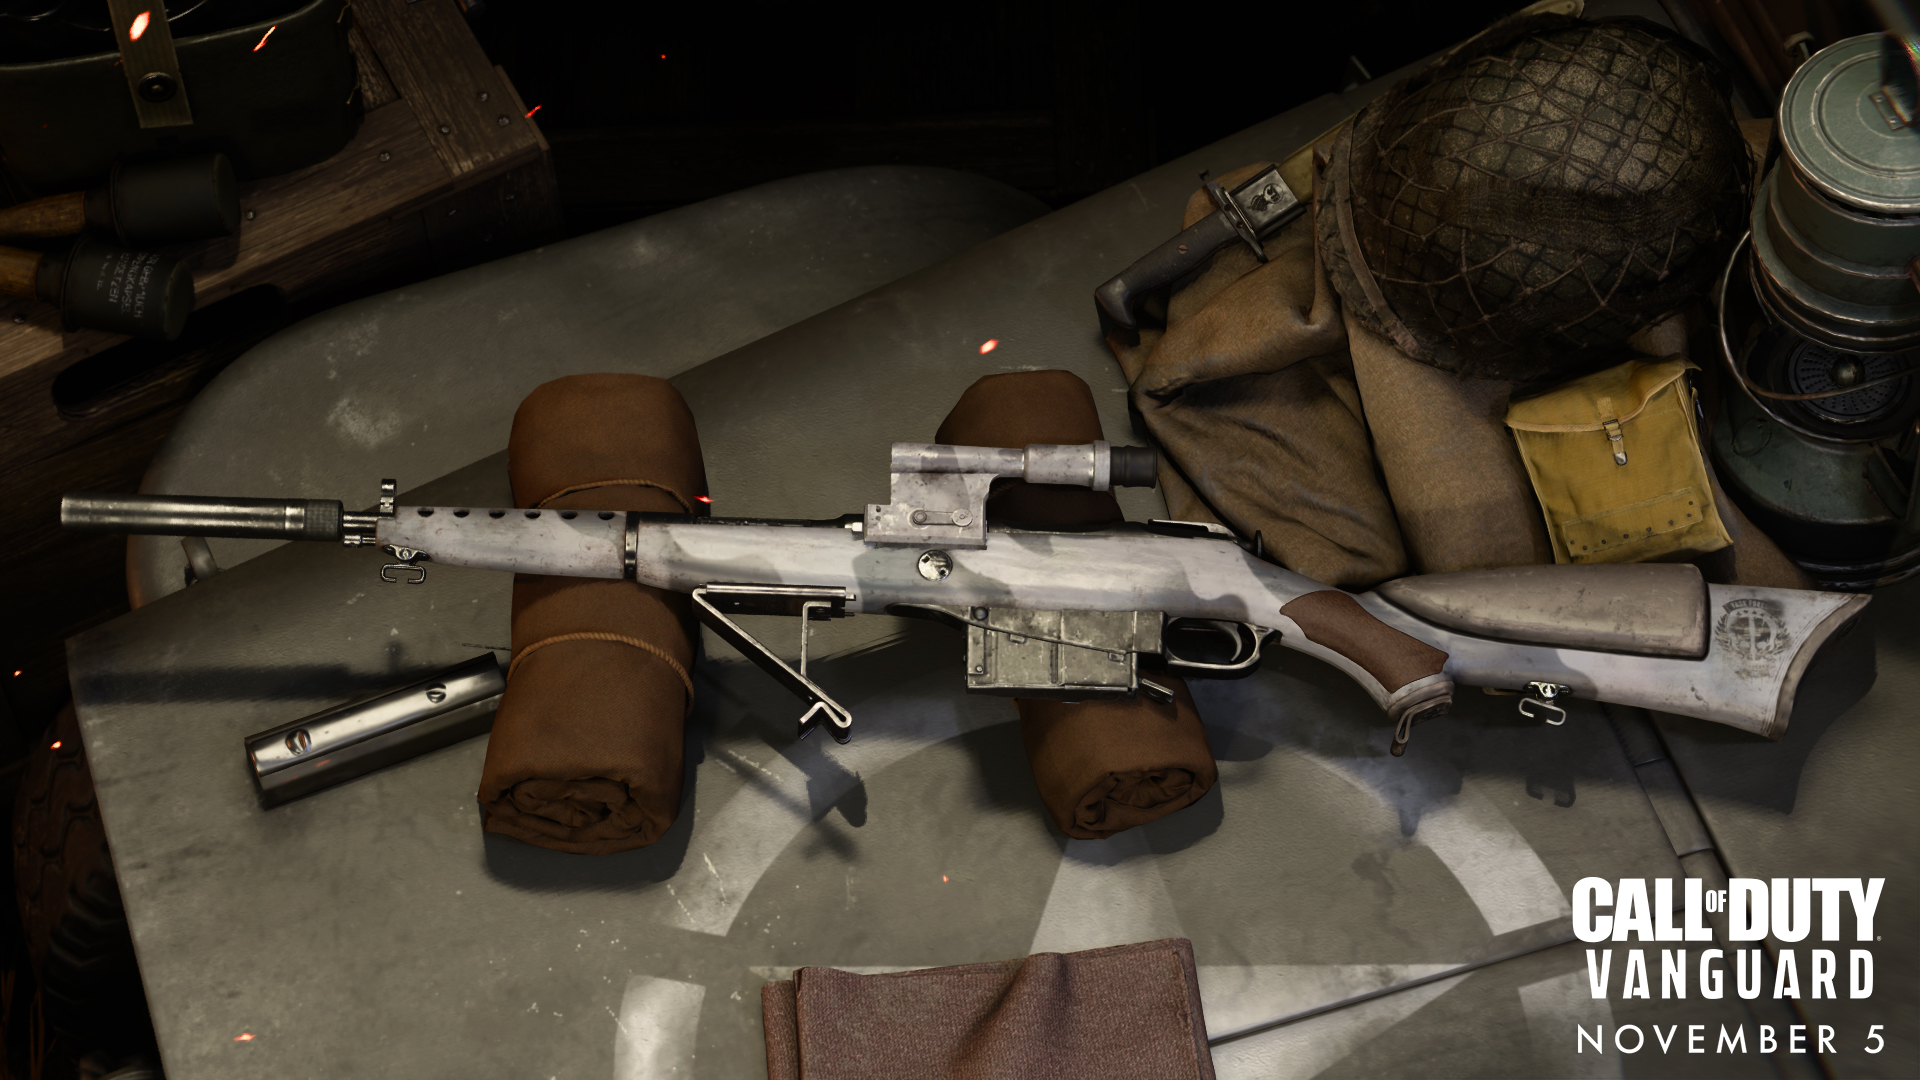
Four Light Machine Guns (LMGs, Type 11 shown) 
Three Marksman Rifles (G-43 shown) 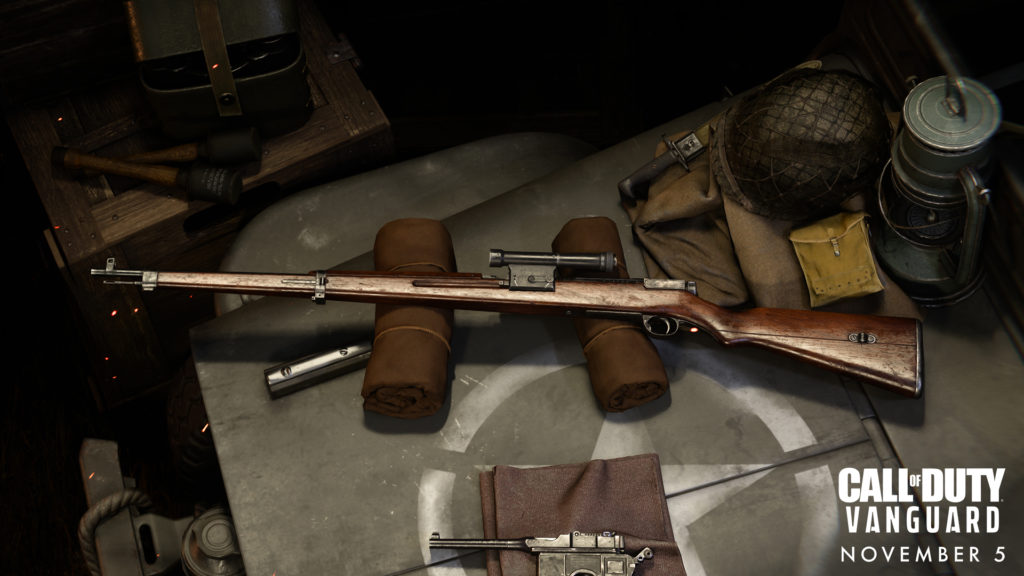
Three Sniper Rifles (Type 99 shown) 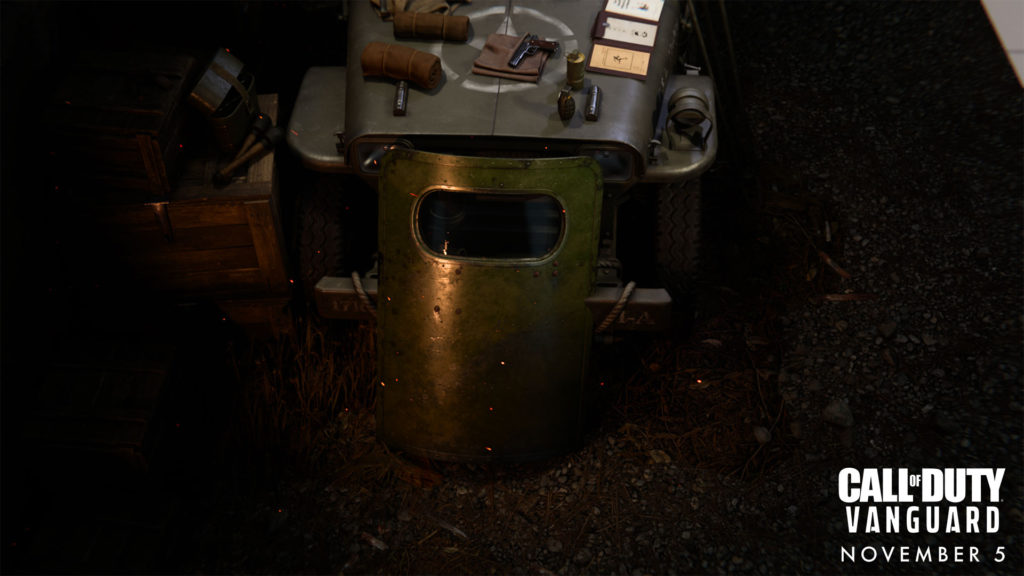
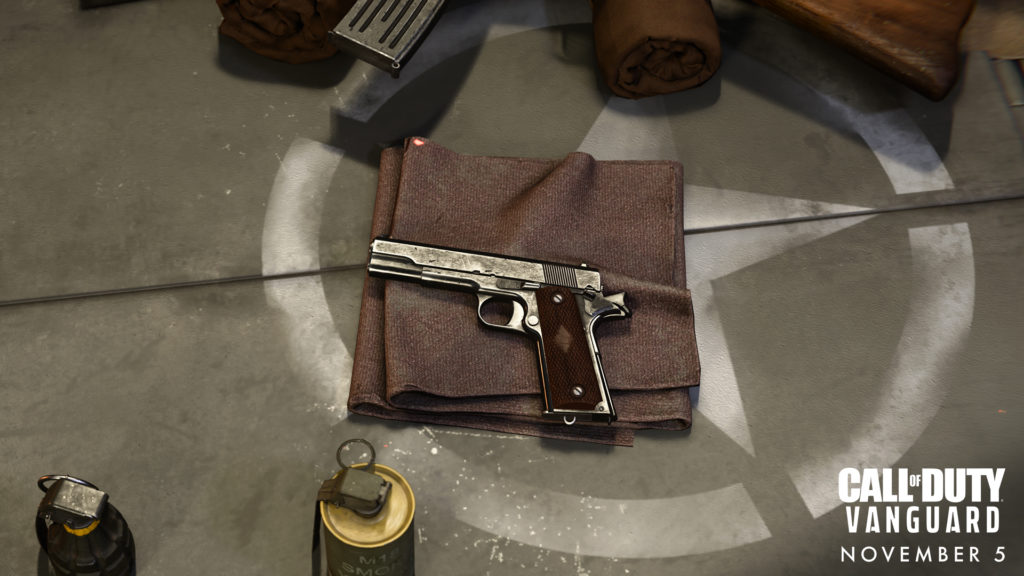
Five Handguns (1911 shown) 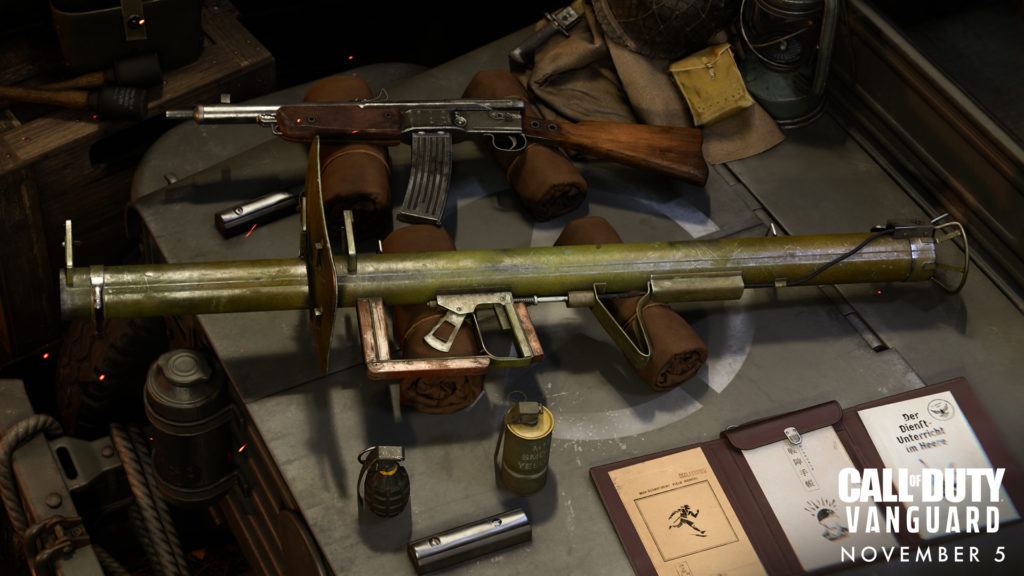
Four Launchers (Panzerschreck shwon) 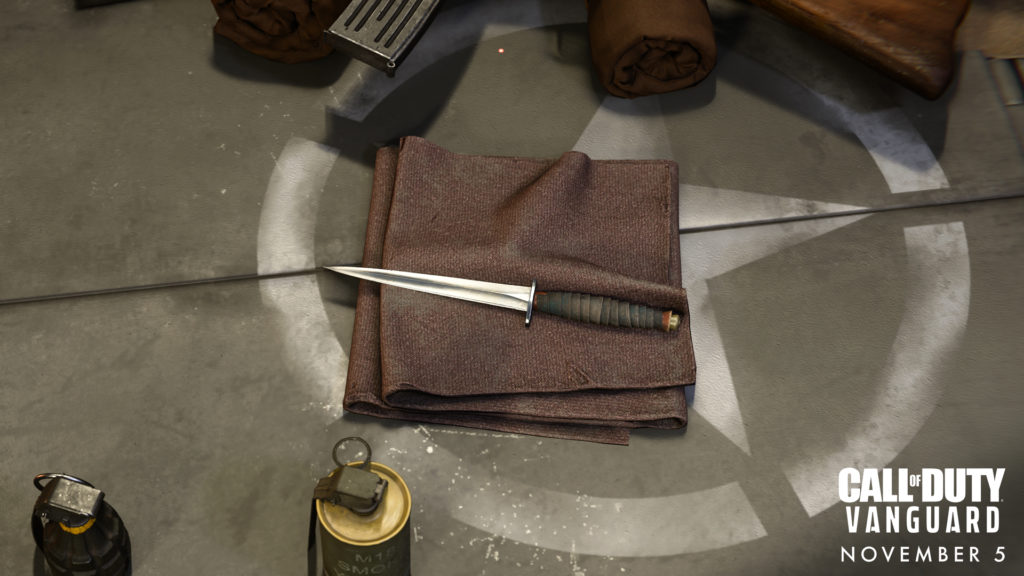
Two Dedicated Melee Tools; the Combat Shield (Primary) and the FS Fighting Knife (Secondary, Fighting Knife shown)
Gunsmith — Vanguard Weapon Customization
The Gunsmith system allows Operators to modify every Primary Weapon, plus secondary Handguns, with attachments that alter their function and appearance.
Most Vanguard weapons can be equipped with up to ten attachments, which are unlocked via Weapon XP that is earned by engaging in combat with that weapon. All attachments provide a benefit, and some have drawbacks, so you’ve got to consider what you’re willing to give up for that extra utility.
Attachment types are as follows:
Muzzle: A device affixed to the front of a weapon’s barrel. Examples include compensators for controlling recoil, silencers for concealment, and recoil boosters that improve fire rate.
Underbarrel: An attachment used for better weapon control via grips and bipods, in addition to the Bayonet for greater melee damage and range.
Barrel: Changing a weapon’s barrel can significantly alter how the gun operates, from short, lightweight barrels that increase handling speeds at the cost of bullet velocity and initial recoil to extended barrels that increase the weapon’s damage range at the cost of movement speed and hip-fire accuracy.
Magazine: Changing a weapon’s magazine can be as simple as adding a drum version of that weapon’s normal ammo or as drastic as swapping out the bullet caliber, significantly altering fire rate, damage, penetration, and other statistics.
Ammo Type: Change out the ammo used in your weapon’s magazine. Ammo types include FMJ for added bullet penetration through surfaces, and Incendiary rounds, dealing damage over time after bullet impact.
Optic: An aiming device that offers clearer target acquisition. Optics come in a variety of shapes and sizes, as well as different magnification settings.
Rear Grip: The material used for a grip affects how the weapon handles. Materials with high friction like pine tar offer great recoil control, while smooth materials like fabric improve your aiming speed.
Stock: The back portion, or “butt,” of a weapon. Heavier stocks tend to improve accuracy and control, while lighter stocks tend to improve movement and weapon-handling speeds.
Proficiency: This category directly affects your Operator’s proficiency with a weapon. Examples include Sleight of Hand for faster reloads and Nerves of Steel for boosting accuracy while injured or suppressed.
Kit: Another Operator-focused category. Examples include Surplus, awarding additional XP for eliminations, and Heavy Hitter, in which melee attacks with the equipped weapon produce a greater stun on targets.
Weapon Stats
Adding and taking away attachments often alters a weapon’s four basic statistics —Firepower, Speed, Accuracy, and Ammo — displayed in the Gunsmith menu.
Firepower: How much and how fast a weapon deals damage against enemies and vehicles. Sub-statistics include Damage (shown as a number of hit points — in Core modes, everyone normally has 100 hit points for each life), Fire Rate (how fast a weapon fires in rounds per minute), and Bullet Velocity (how fast a bullet travels in meters per second).
Speed: How much the weapon affects an Operator’s movement speed and ability to aim down sights. Sub-statistics include Movement Speed (shown with the maximum speed through Tactical Sprint in miles per hour) and Sprint-to-Fire Time (shown in milliseconds).
Accuracy: How much recoil the weapon has, as well as its stability and hip-fire spread. Sub-statistics include Flinch Resistance (how much force, in Newtons, an Operator feels when damaged, which affects their aim) and Centering Speed (the acceleration of a weapon as it returns to its regular position after firing, shown in meters per second squared).
Ammo: How large a weapon’s magazine is, how fast an Operator can reload with it, and other measurable effects that the bullet has. Sub-statistics include Penetration (how many Newtons of force the bullet has, important for shooting through destructible walls) and Concealment (the number of seconds where an Operator’s position is revealed).

Weapons can also be customized and can have individual challenges and specific configurations saved as Weapon Mods, which are visible alongside Weapon Blueprints in the Armory:
Weapon Cosmetics: These can range from Camouflage, which coats the weapon in a militaristic or artistic pattern; to Weapon Charms, which hang off a weapon; to Reticles, which are available when an Optic attachment is equipped to the weapon. Cosmetics have no effect on gameplay outside of Reticles, which alters what is seen through an Optic but are key for maximum personalization.
Weapon Challenges: These are objective sets tied to weapons that unlock additional camos and bonus XP. View available challenges within the Gunsmith in the tab next to Customization.
The Armory: Your personalcollection of Weapon Blueprints and Custom Mods. Custom Mods are save slots unlocked by leveling a weapon. Customize a weapon with attachments and cosmetics, name it, and save it as a Custom Mod for quick access when creating new Loadouts. Blueprint Weapons are ready-made with preconfigured attachments and unique cosmetics. Acquired Blueprints are collected in the Armory and can be modified in Gunsmith.
Perks
Perks come in one of three categories — Perk 1, Perk 2, and Perk 3. Choose one Perk from each category to determine your Operator’s specialized abilities. The available Perks are as follows:
Perk 1
Fortified: Reduces damage from explosives by 15%. Damage reduction doubled while mounted, crouched, or prone. Reduces health-regen delay from explosives.
Survival Training: Maximized resistance to stun effects. Immune to gas.
Ninja: Move silently. Take reduced damage when falling. Reduces the effectiveness of enemy Tracker Perks.
Dauntless: Immune to movement-reducing effects.
Ghost: While moving, you are undetectable by Spy Planes, enemy Intel, and Field Mics. Reduces effectiveness of Local Informants.
Cold Blooded: AI-controlled Killstreaks will not target you, and player-controlled Killstreaks will not highlight you. You do not trigger High Alert. Reduces the range at which awareness markers appear for enemies.
Perk 2
Tracker: Enemies leave behind a footprint trail. See markers at enemy death locations and hide the death markers of enemies you kill.
Radar: Enemies appear on your minimap when they fire an unsilenced weapon.
High Alert: Your vision pulses when enemies outside of your view see you.
Engineer: Detect enemy equipment, Field Upgrades, and Killstreaks through walls. Mark them for your team by aiming down sights. Hack enemy equipment and field upgrades.
Forward Intel: See indicators for enemy reinforcements on your minimap. Minimap shows a larger area.
Piercing Vision: Sufficiently suppressed targets will be highlighted for a short time, rendering them visible through walls and obscuring effects.
Perk 3
Double Time: Double the duration of Tactical Sprint. Increase crouch movement speed by 30%.
Demolition: Extra Lethal equipment on spawn. Thrown Lethals and Tacticals display an indicator showing the path of the Lethal or Tactical.
Lightweight: Increases movement speed.
Overkill: Carry two Primary Weapons.
Tactician: Restock your Tactical equipment every 30 seconds.
Scavenger: Replenish ammo from dead Operators.
Equipment
Use your equipment to damage and disorient enemies, conceal your position, heal up, and confuse the enemy.
Lethals
MK2 Frag Grenade: Cookable fragmentation grenade.
Gammon Bomb: Explodes on impact.
Throwing Knife: Retrievable knife that can be thrown quickly and quietly to eliminate enemies.
Thermite: Explosive that burns fiercely for a short time after impact. Sticks to surfaces.
Demolition Charge: Large explosive that sticks to surfaces and can be detonated remotely.
Molotov Cocktail: Improvised incendiary device that explodes on impact.
Tacticals
No. 69 Stun Grenade: Slows victim’s movement and aiming.
Smoke Grenade: Deploys a smoke screen that blocks vision.
Stim: Military stimulant that cauterizes combat wounds and refreshes Tactical Sprint.
MK V Gas: Explodes on impact with the ground, releasing a lingering cloud of tear gas that causes slowed movement, blurred vision, and coughing.
S-Mine 44: Proximity-triggered explosive.
Decoy Grenade: Counter-intel grenade that simulates fake gunfire and radar signatures that confuse the enemy.

Field Upgrades
Field Upgrades are powerful utility packages that charge over time. The more powerful they are, the longer the charge time.
Supply Box: Deploys a box of ammo and equipment for you and your teammates. Explodes when shot. Recharge Rate: Fast.
Goliath: A small remote-controlled bomb on tracks. Controllable for 30 seconds, after which it self-destructs. Can be detonated early. Recharge Rate: Slow.
Dead Silence: Temporarily makes your footsteps silent and makes you undetectable by Spy Planes, enemy intel, and Field Mics. Gun, melee, and Throwing Knife kills refresh duration. Recharge Rate: Fast.
Jammer: Jams the minimap of nearby enemies. Recharge Rate: Fast.
Deployable Cover: Rapidly deployable ballistic cover. Recharge Rate: Fast.
Armor Plates: Equip body armor, preventing damage to your torso until broken. Recharge Rate: Slow.
Field Mic: Reveals nearby enemy movement on the minimap. Recharge Rate: Medium.
Tactical Insertion: Marks a location as your next spawn point. Recharge Rate: Medium.
Dead Drop: Records your current Killstreak score and awards it back when you next respawn. Recharge Rate: Fast.
Killstreaks
Killstreaks are powerful, potentially game-changing abilities unlocked by eliminating enemies in a single life without dying. Three Killstreaks can be equipped at a time, with no more than one per kill category.
Three Kills
Intel: Reveals nearby enemies through repeated pings on the minimap over a short period. Intel is only granted to the player who called it in.
Four Kills
Care Package: Drops a single care package that rewards a random Killstreak on pickup.
Spy Plane: Calls in a Spy Plane that reveals enemy positions on the minimap to you and your allies. Can be shot down.
Counter Spy Plane: Calls in a Counter Spy Plane that obscures the minimap for all enemies. Can be shot down.
Five Kills
Glide Bomb: A remote-controlled bomb with a large kill radius.
Mortar Barrage: Toss a flare cannister to mark an area for repeated mortar fire.
War Machine: Equips a semi-automatic Grenade Launcher with a fixed number of grenades. Persists through death until ammo is depleted.
Six Kills
Guard Dog: Calls in a Guard Dog for protection. The dog can be commanded to either guard a position or heel.
Strafing Run: Calls in air support to strafe across a marked target area.
Seven Kills
Bombing Run: Allied bombers make three passes, bombarding areas with high concentrations of enemies.
Death Machine: Equips a Machine Gun with explosive rounds and a fixed number of bullets. Persists through death until ammo is depleted.
Eight Kills
Emergency Airdrop: Drops three care packages, each rewarding a random Killstreak on pickup.
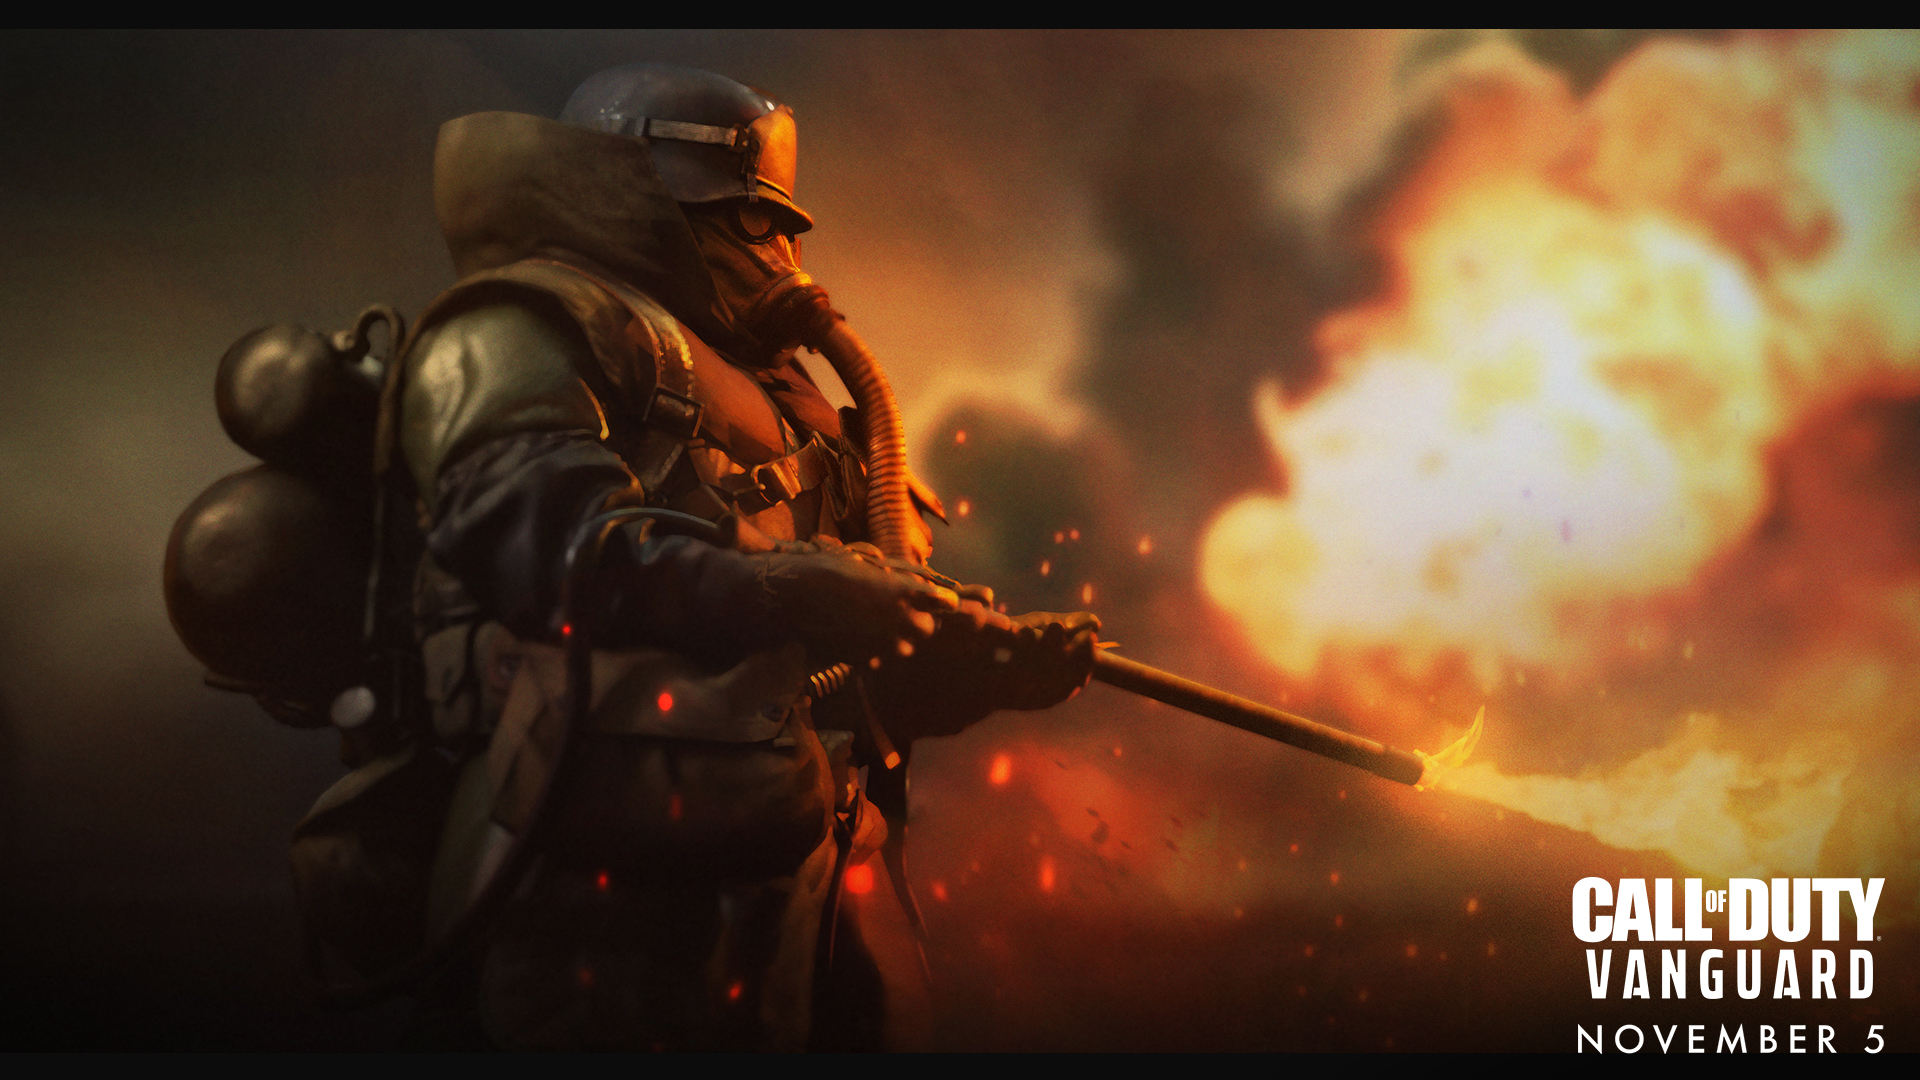
Nine Kills
Flamenaut: Equip a protective suit and Flamethrower with unlimited fuel. Both are lost on death.
Ten Kills
Attack Dogs: Deploy a pack of ferocious Attack Dogs that hunt down nearby enemies.
Firebombing Run: You mark a location for air support to rain fire from above in a massive line that kills enemies on impact and leaves behind a fiery wake that cannot be crossed by hostiles until it disperses.
Twelve Kills
Local Informants: While active, reveals the location and direction of all enemies on the map.

Your First Custom Loadouts – Featuring the Task Force One Pack Weapon Blueprints
Using the “Breacher” Assault Rifle Blueprint, the “Snowstorm” Sniper Rifle Blueprint, and the “Thunderhead” SMG Blueprint as our foundation, we’ve created three wildly different Loadouts showcasing the capabilities of the custom class system.
These Legendary Blueprints with tracer rounds are part of the Task Force One Pack included in the Vanguard Ultimate Edition, alongside themed Operator Skins for Lucas, Polina, and Wade.
Whether you need a little inspiration or a few solid Multiplayer Loadouts right on day one, here are our recommendations:

Loadout 1: Tactician
Primary: “Breacher” Assault Rifle Blueprint
Recoil Booster, Carver Foregrip, Krausnick 220mm Rapid, 7.62 Gorenko 30-Round Mags, Lengthened, M38/Slate 2.5x Custom, Hatched Grip, VDD 27 Precision
Secondary: Panzerschreck
Perks: Cold Blooded, Engineer, Tactician
Lethal: Gammon Bomb
Tactical: MK V Gas
The “Breacher” Assault Rifle comes with eight preconfigured attachments that maximize the weapon’s use in mid- and close-quarter combat. Featuring improvements to fire rate and, by swapping in smaller-caliber rounds, a massive boost to recoil control and accuracy, this weapon shoots fast and steady. Pair it with the Panzerschreck Launcher to aid your team by blasting apart enemy vehicles and Killstreaks.
For Perks, use Cold Blooded to avoid retaliation while targeting Killstreaks, and use Engineer to see, mark, and hack enemy equipment, Field Upgrades, and Killstreaks. Notice a room with a lot of equipment inside? Fire a rocket and then head in and clean up with the “Breacher.”
With Tactician, your MK V Gas Tactical restocks over time, so don’t hesitate to toss it toward enemy strongholds and choke points. Lastly, the Gammon Bomb’s detonation on impact makes it the perfect Lethal for dislodging enemies from valuable objectives.
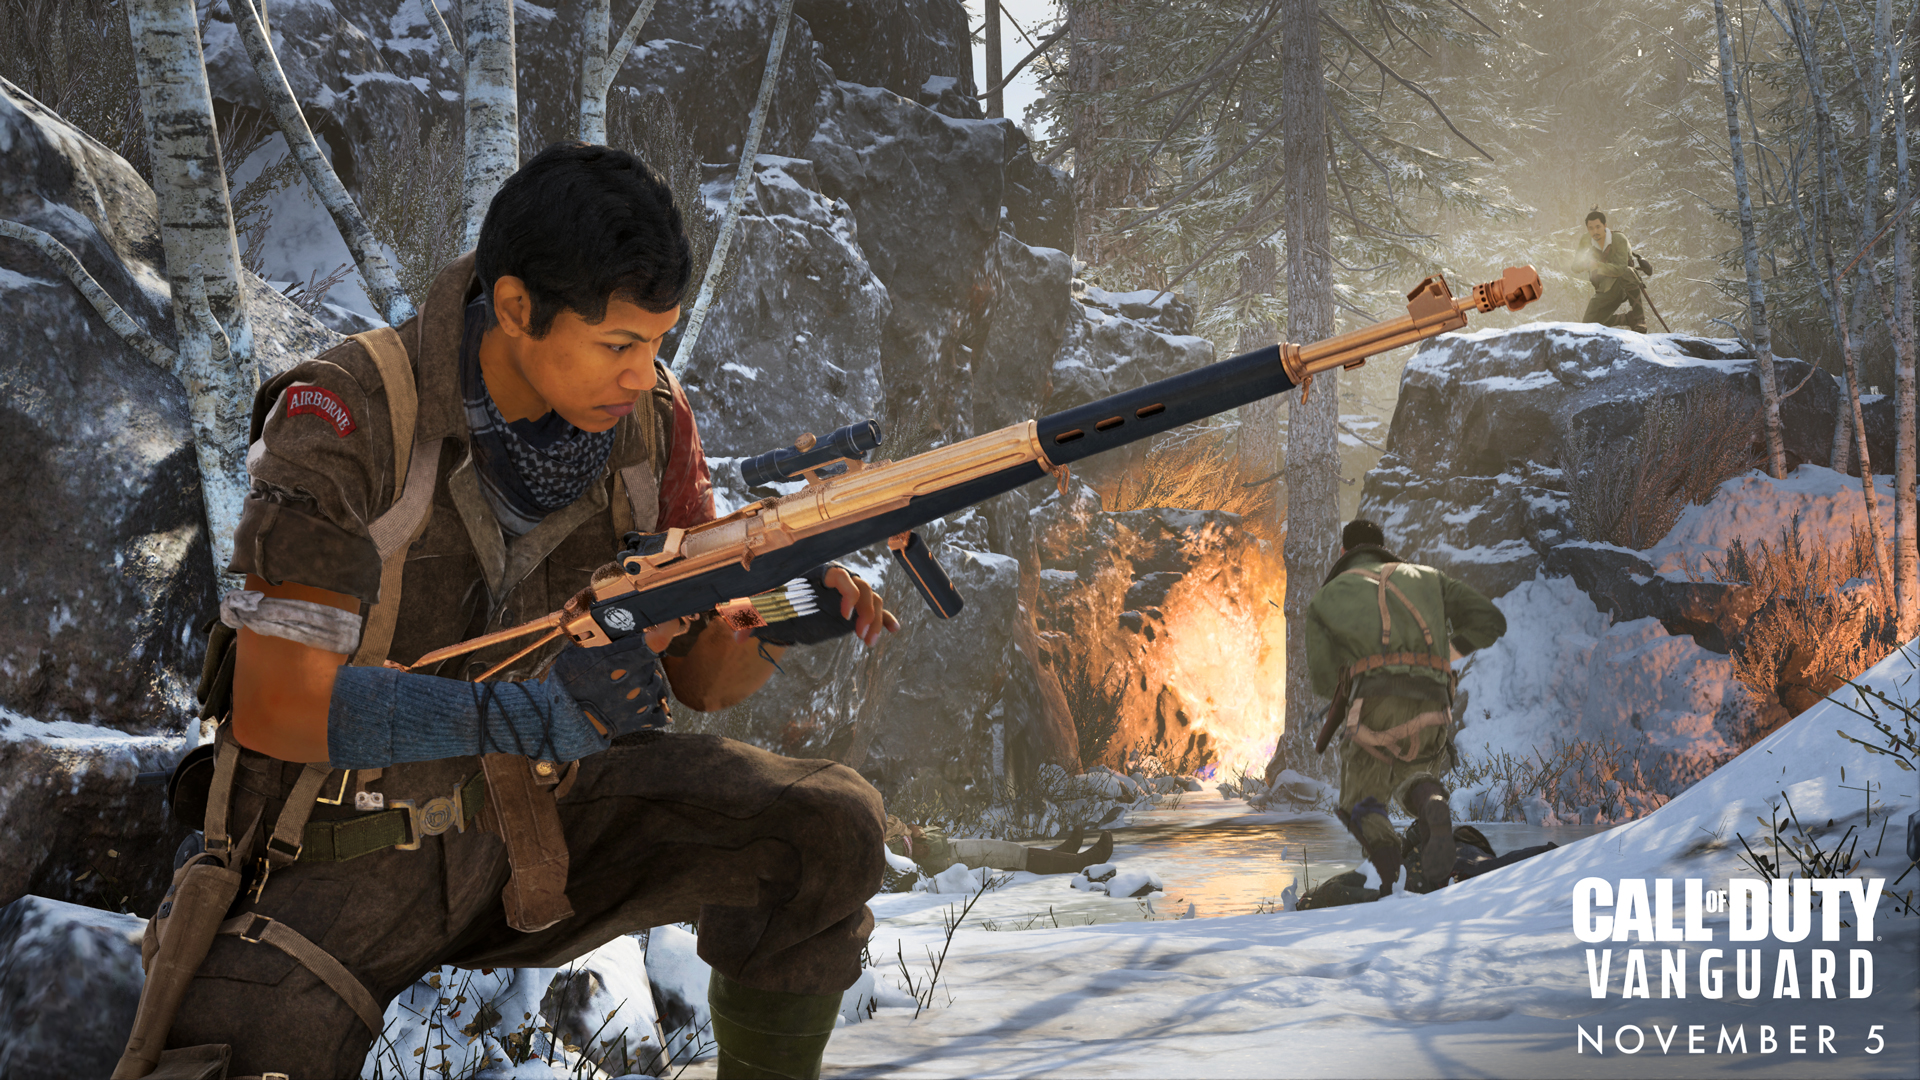
Loadout 2: Sharpshooter
Primary: “Snowstorm” Sniper Rifle Blueprint
Quicksilver Silencer, Mark VI Skeletal, 270mm Voz Carbine, 7.62x54mmR 3-Round Fast Mags, Armor Piercing, Leather Grip, Kovalevskaya S01
Secondary: 1911
Perks: Ghost, Radar, Double Time
Lethal: Demolition Charge
Tactical: Smoke Grenade
The “Snowstorm” Sniper Rifle delivers one-shot eliminations with ease. Its seven preconfigured attachments include a silencer for low-profile shots, a lighter magazine for fast reloads, and armor-piercing bullets for extra damage against vehicles and Killstreaks, particularly useful when shooting down enemy Spy Planes. Pair it with the 1911 for a close-range option in emergencies.
The Ghost, Radar, and Double Time Perks make for great synergy as a sniper. With Radar, you’ll see enemies marked on the minimap when they fire an unsilenced weapon. Get into position fast with Double Time’s extended Tactical Sprint duration and use Ghost to avoid detection while moving.
For equipment, toss a Smoke Grenade when you need to escape or conceal in-the-open movement, and leave a Demolition Charge behind to blast incoming enemies at just the right moment.
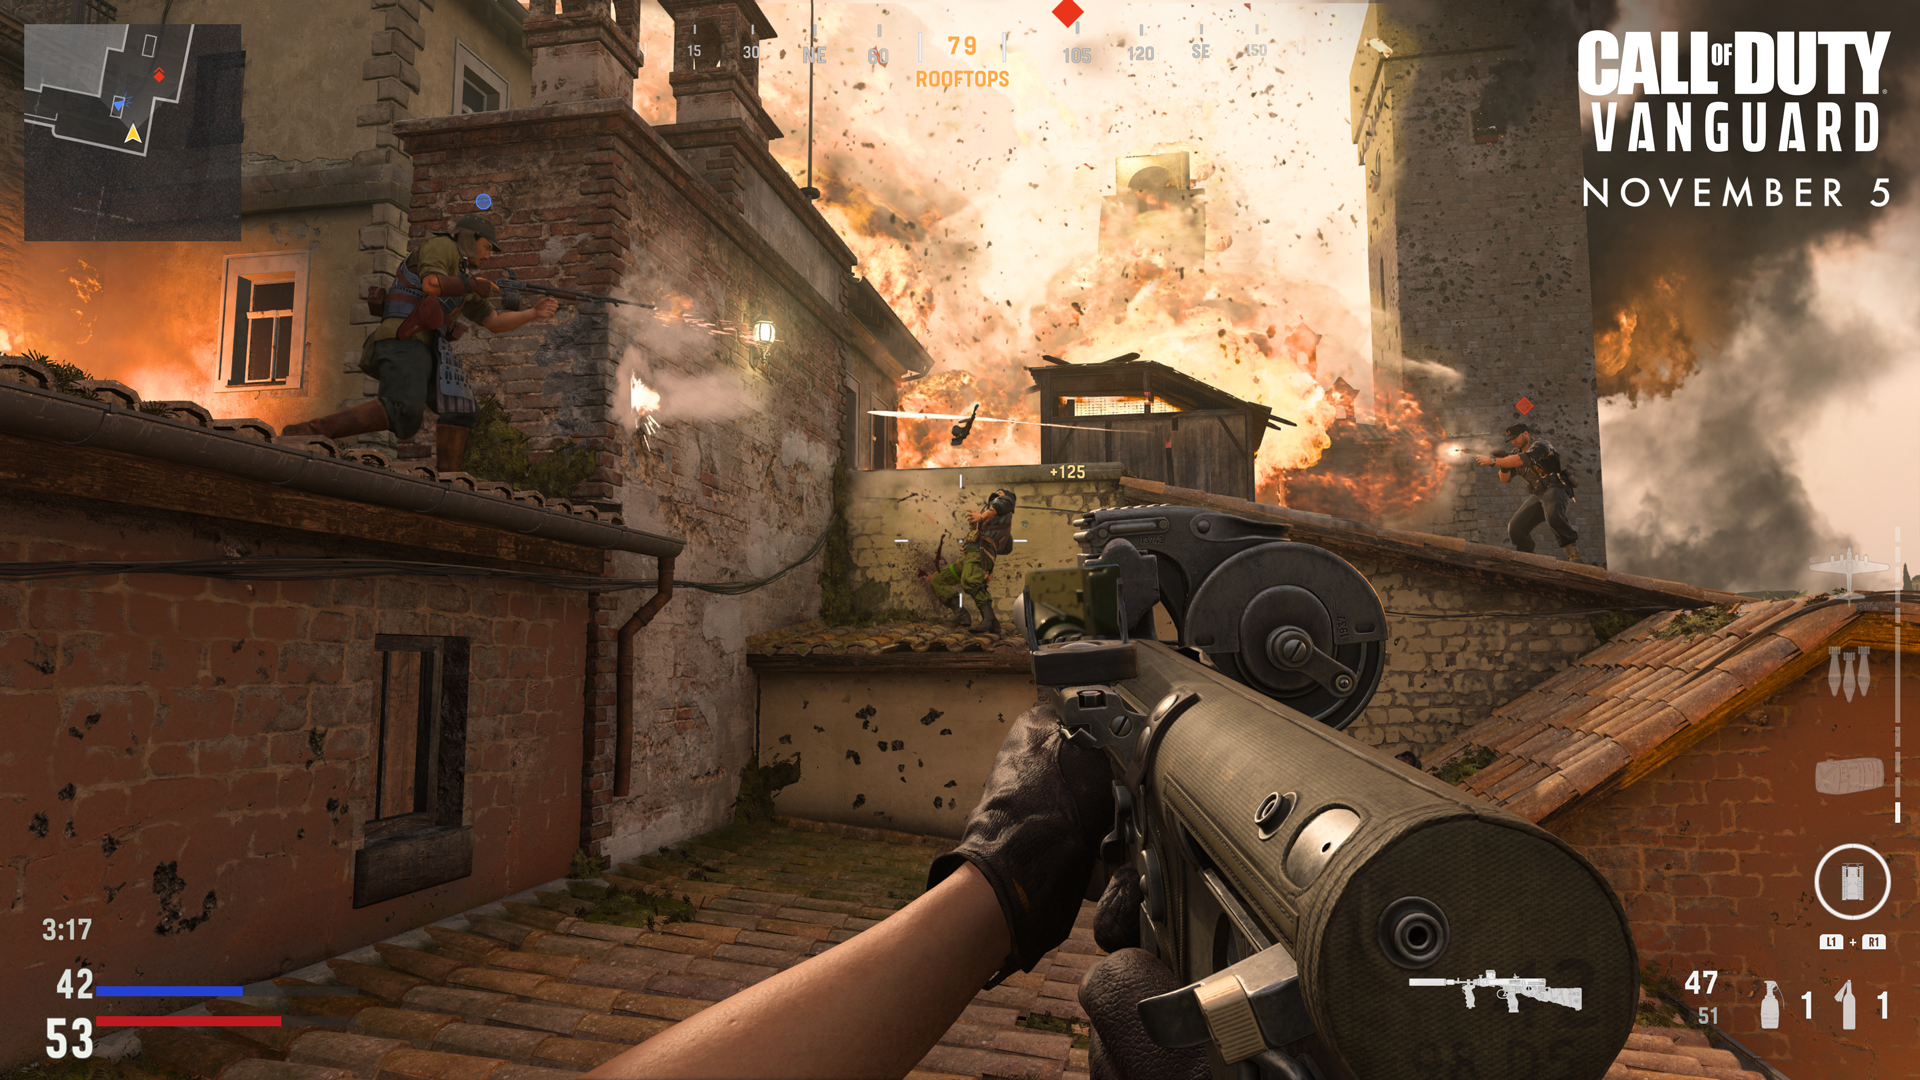
Loadout 3: Assassin
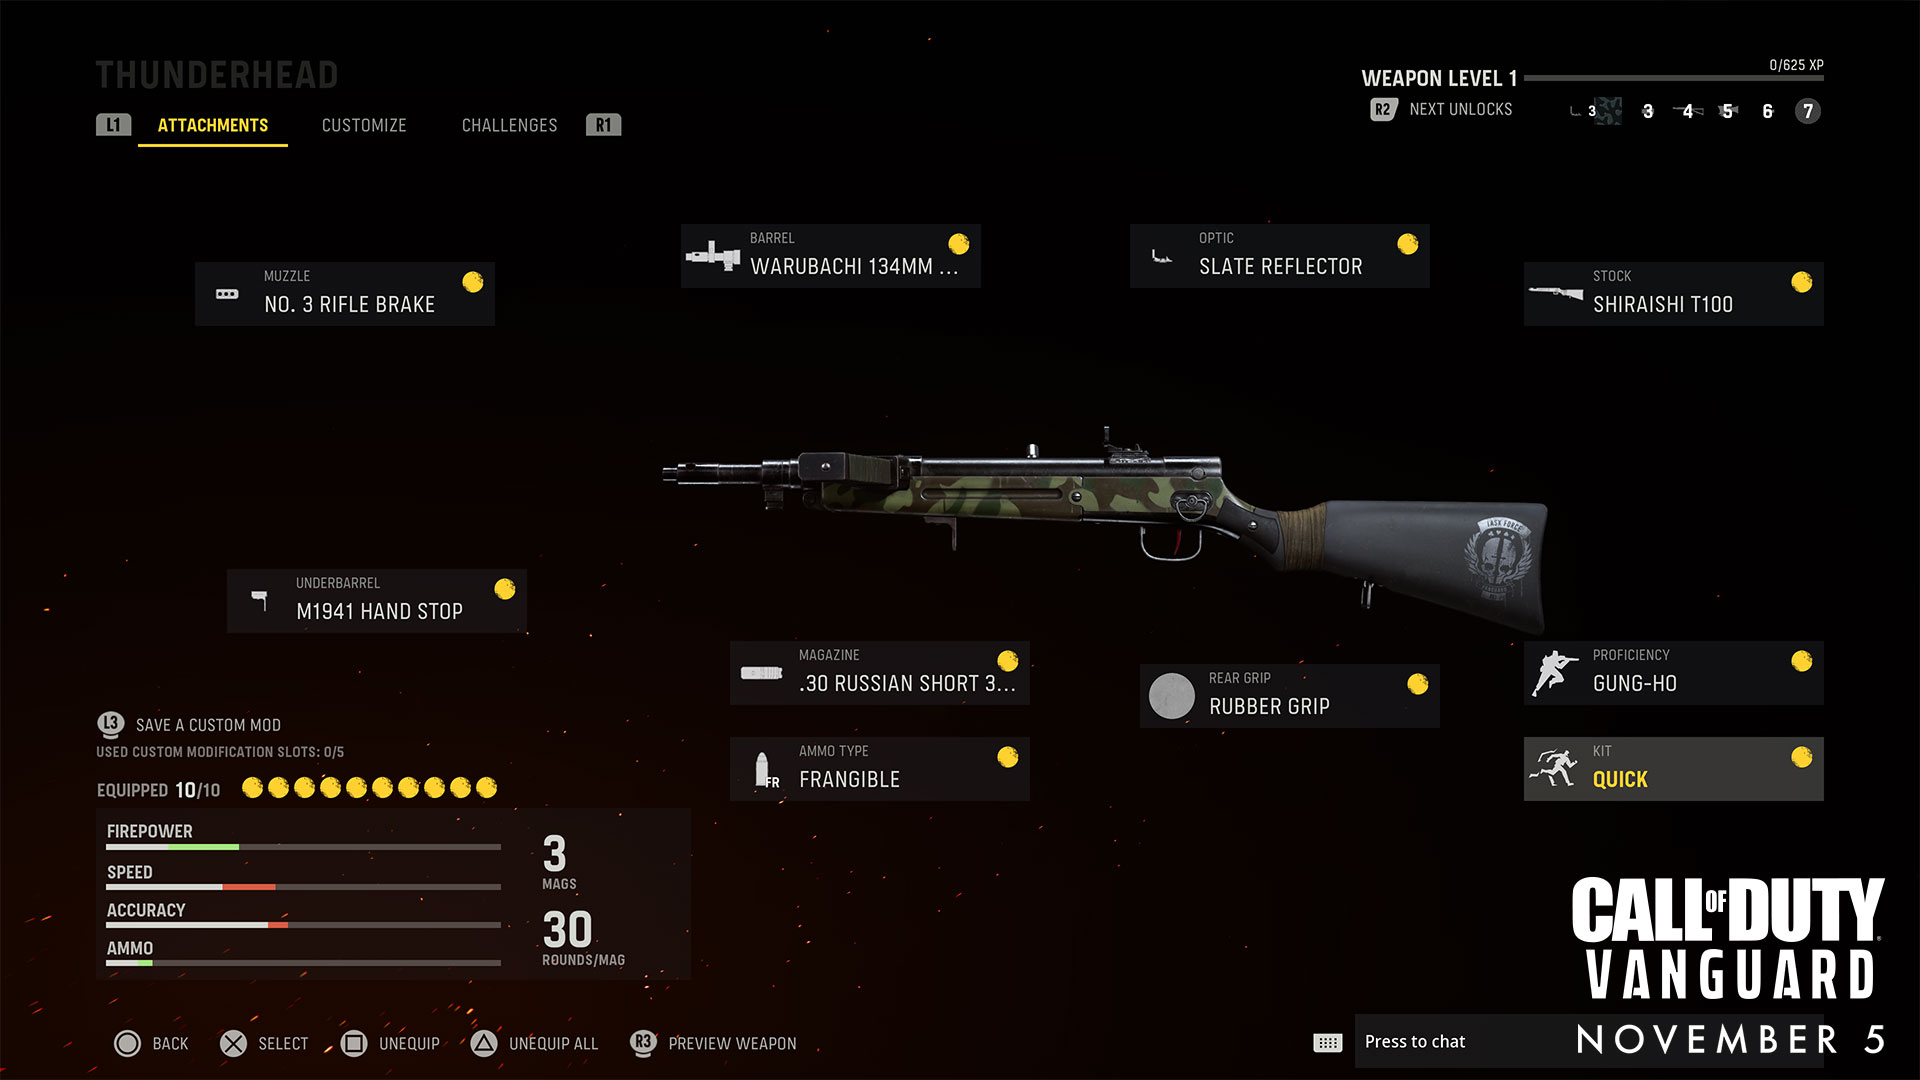
Primary: “Thunderhead” SMG Blueprint
No. 3 Rifle Brake, M1941 Hand Stop, Warubachi 134mm Rapid, .30 Russian Short 30-Round Mags, Frangible, Slate Reflector, Rubber Grip, Shiraishi T100, Gung-Ho, Quick
Secondary: FS Fighting Knife
Perks: Ninja, High Alert, Lightweight
Lethal: Throwing Knife
Tactical: Stim
The “Thunderhead” SMG is one mean, high-damage weapon. Its whopping ten attachments include a barrel that increases fire rate and damage range, as well as large-caliber rounds for increased power, weight, and kick. With Gung-Ho allowing you to fire while sprinting, this is an all-out, in-your-face weapon configuration. Pair it with the FS Fighting Knife to dispatch enemies up close and quiet.
For Perks, start with Ninja to silently get up close to your enemies. High Alert informs you of enemy Operators who spot you outside of your vision, and Lightweight keeps you fast on your feet to outmaneuver and outplay your targets.
Finish off with the Throwing Knife for ranged stealth eliminations, and use the Stim to heal up when you’re wounded.

10 Tips for Weapons and Loadouts
1. New Player? Take It Slow. To a new player, all the weapon and Loadout options can seem overwhelming at first, but don’t fret. Try the Default Loadouts, then a weapon or two that you like and stick with them. As you level up and gain confidence — and attachments for that weapon — it will be a bit easier to learn the system.
2. Care Package Incoming. The Care Package is a great way to get experience with a range of Killstreaks, even the high-powered ones that may seem out of reach for now. While you have a lower chance of drawing higher-tier Killstreaks and enemies or teammates can steal your reward, it can sometimes be worth the risk.
3. Attachment Synergy. Eyeing that long barrel for your SMG but don’t want to take the hit to your hip-fire accuracy? Go for it anyway and balance out the drawback with a grip that improves hip-fire accuracy. With so many attachment options per gun, there’s nearly always a way to make things work.
4. Make Adjustments Mid-Match. Vanguard lets you edit your classes mid-match, meaning you can always make adjustments on the fly if you’re not quite satisfied with your current Loadout or need to make an edit to better face the current battle.
5. A Class for Every Situation. It’s good practice to create a variety of Loadouts for different maps and combat situations. Spend some time making short-, mid-, and long-range classes, stealthy classes, anti-air classes, and anything else you can think of so you can swap on the fly, depending on the situation at hand.

6. Suppress Your Enemies. Vanguard features a new suppressive fire system where enemies under fire take a penalty to movement speed. LMGs are great for suppressing enemies, especially when paired with the Piercing Vision Perk. Want to beat suppression? Dauntless is the primary counter, as it completely negates all movement-reducing effects.
7. Take That Weapon. A good way to test out different weapons and weapon configurations is by picking up guns dropped by fallen Operators. You just might come across a great setup you hadn’t thought of, and you’ll earn Weapon XP in combat too.
8. Use Custom Mods. With so many available attachments, it’s a good idea to make use of your Custom Mods save slots. This way, you can switch between various configurations without having to change out the attachments each time.
9. Level Weapons in Zombies Too. Weapon XP and attachments can be earned in Zombies as well as Multiplayer. You can even use Gunsmith to create the perfect starting weapon for Zombies, which may be radically different from your preferred Multiplayer configuration.
10. Experiment, Experiment. With such deep customization in Vanguard, there’s always a new way to approach your custom classes and hence change up your playstyle. Keep experimenting with different configurations and you’ll reap the rewards of a new discovery around every corner.