Black Ops Cold War & Warzone: How to Complete Season Four’s First 10 Multiplayer Seasonal Challenges
Black Ops Cold War and Warzone™ are bringing the fireworks this weekend with Double XP, Double Weapon XP, and 100 CP Tiers. Learn how you can take advantage of this with some Multiplayer Challenge Tips and a breakdown of a truly explosive pistol Weapon Blueprint.
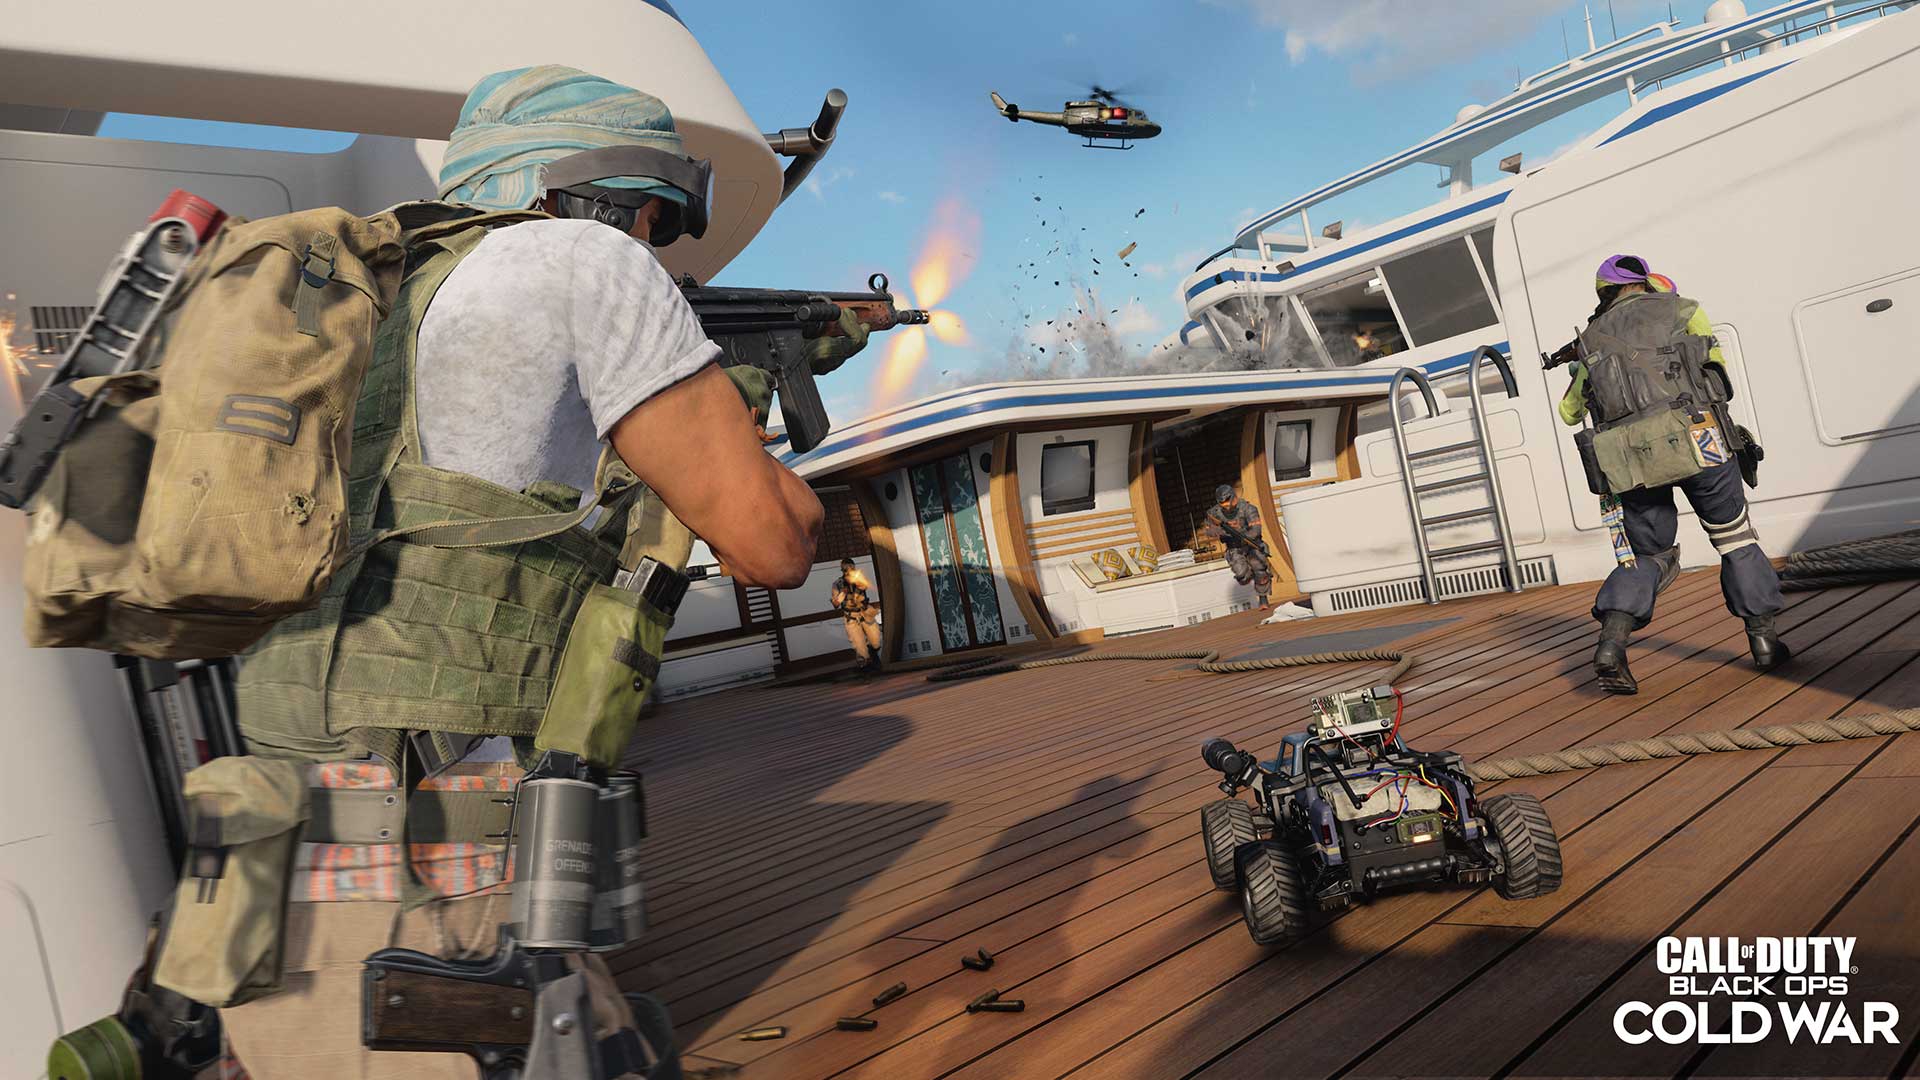
In celebration of Independence Day in the United States (and the start of the summer season everywhere else in the Northern Hemisphere), Call of Duty®: Black Ops Cold War and Warzone are pulling out all the stops.
This weekend, you can expect Double XP, Double Weapon XP, and a 100 CP Battle Pass Tier sale from now until July 6.
There is no time to waste and plenty of tips on deck for what should be an exciting celebration of Call of Duty® over the next few days, so let’s level up:
This Week’s Featured Operators
NATO just got its latest reinforcement from the badass Unit 777.
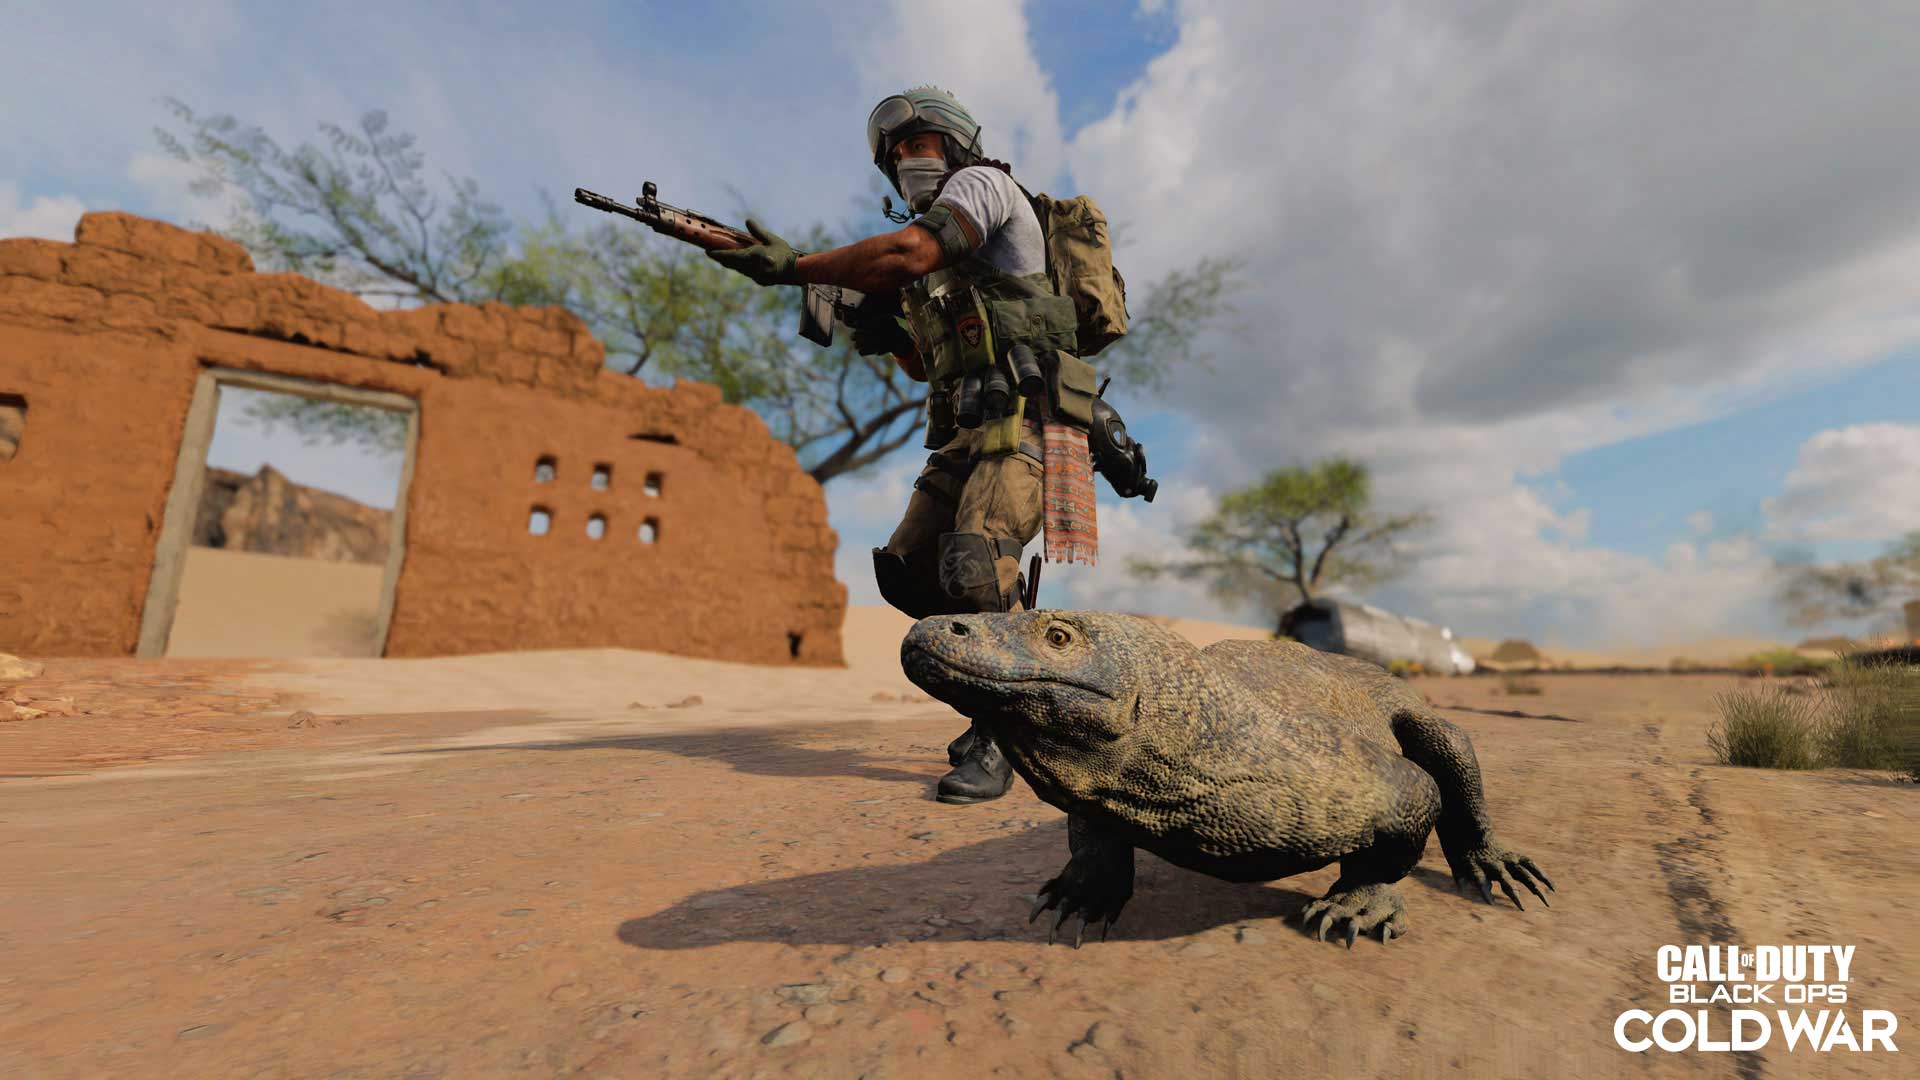
Jabari Salah, AKA “Salah,” became available in the Store this past week as part of his Tracer Pack: Salah Operator Bundle. Complete with his “Liaison” Operator Skin, two Weapon Blueprints, the “Double Guns” Gesture, and a Finishing Move that brings out his Komodo Dragon pet companion, this Bundle has everything needed for you to bring a true force multiplier into your next mission. In other words, if you are your squad’s hype man, Salah is the guy you want to be in Warzone and Black Ops Cold War.
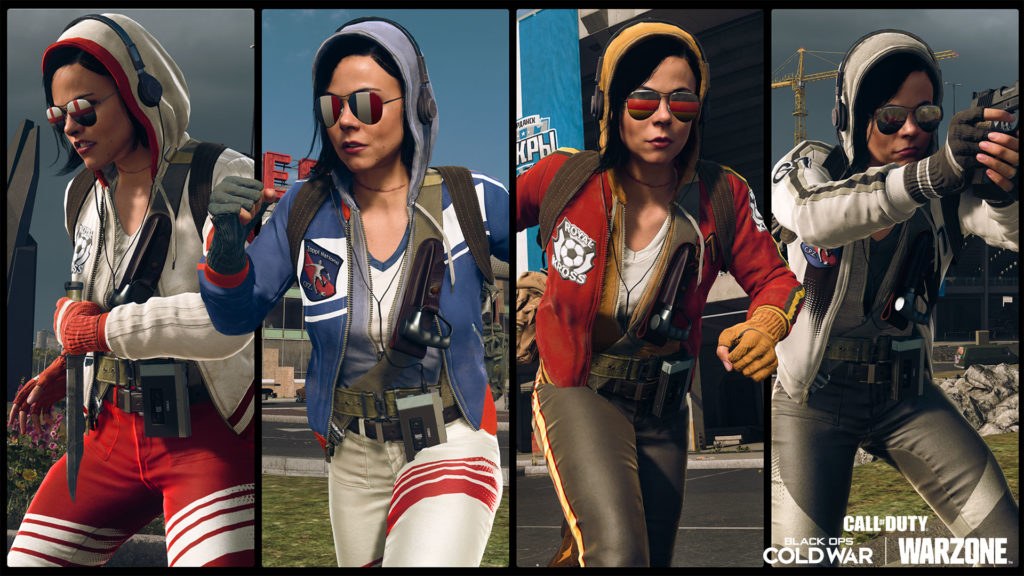
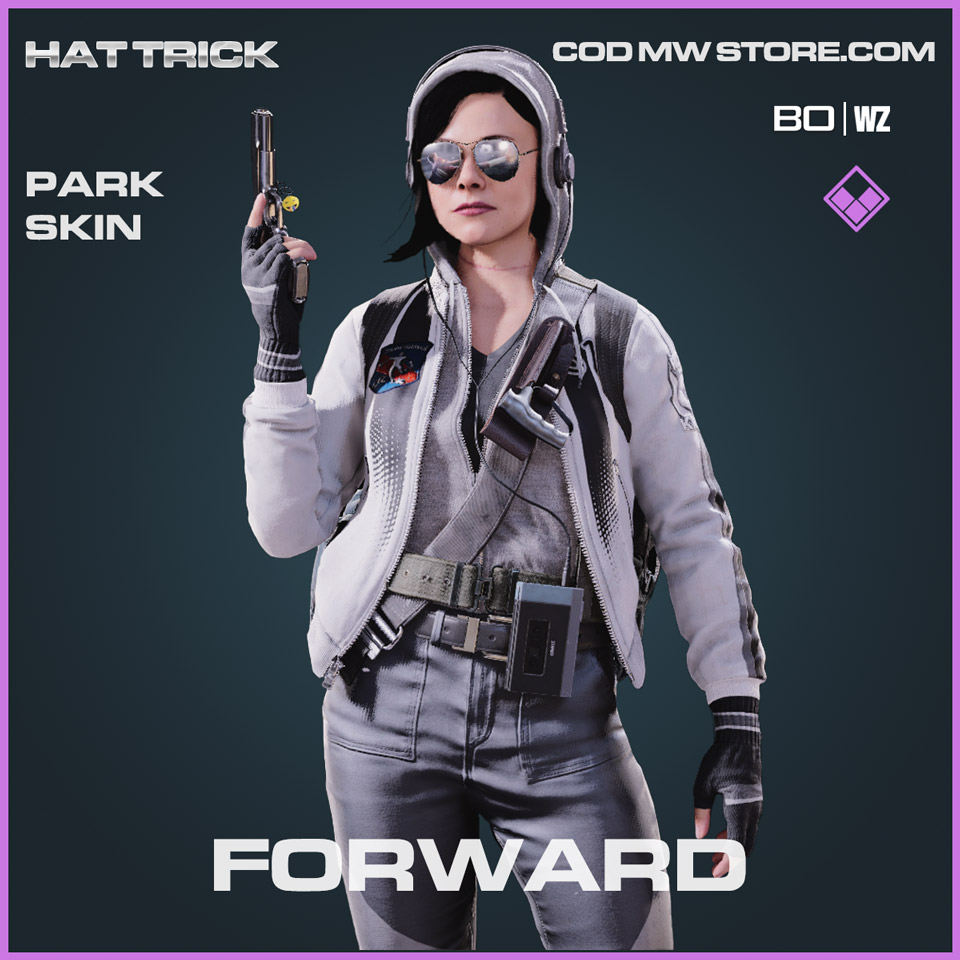
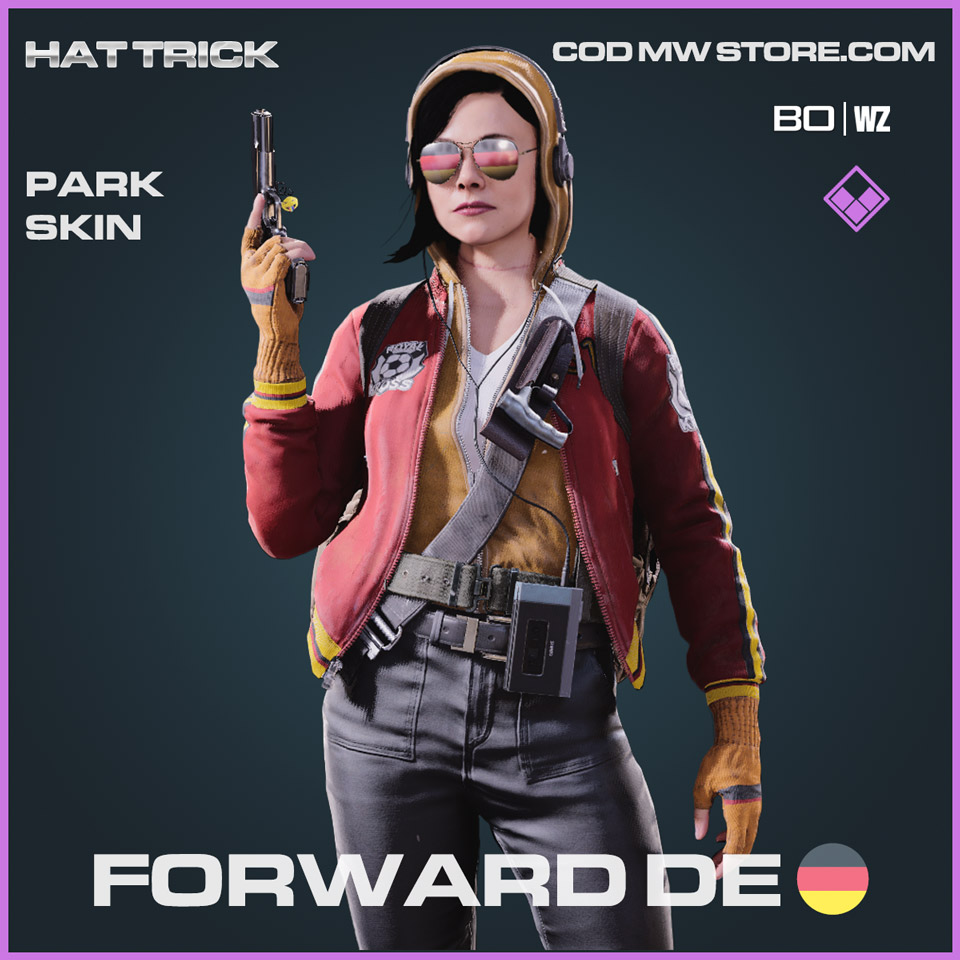
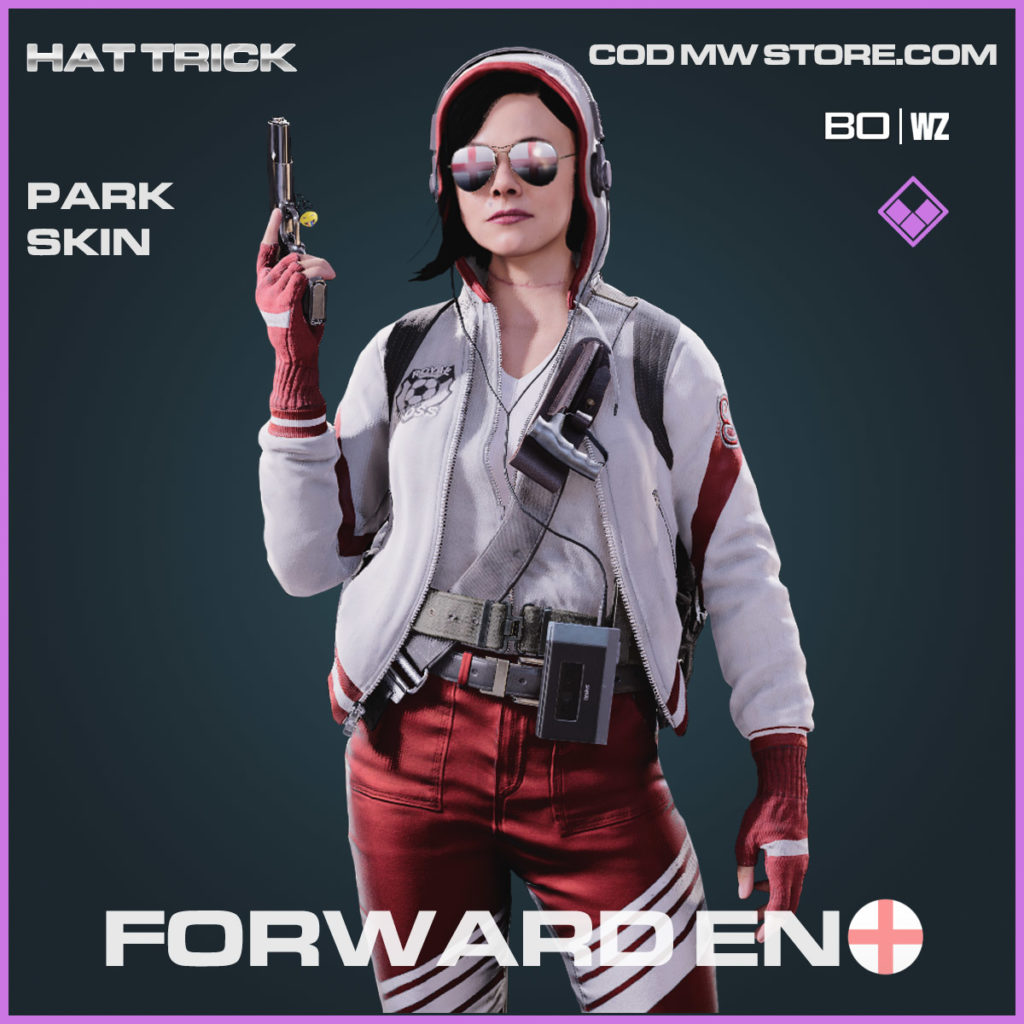
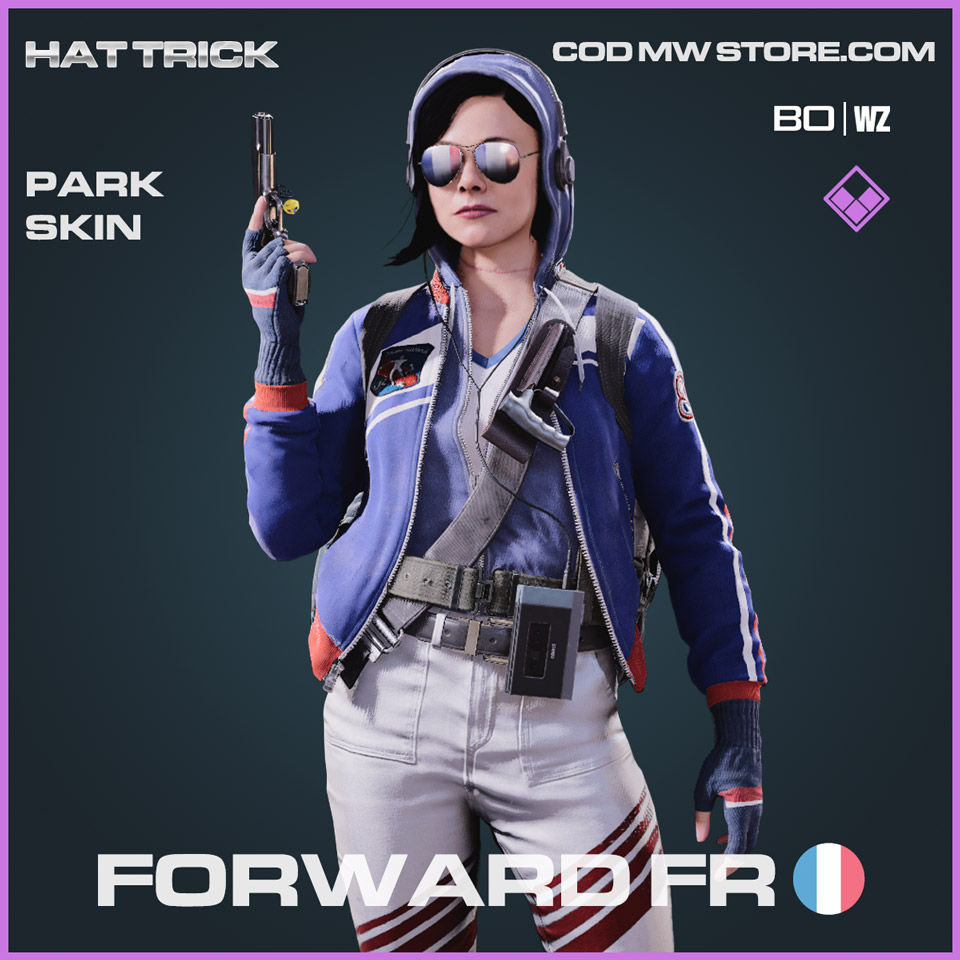
Our second featured Operator is Park, who recently got four new kits as part of the Hat Trick Bundle. Outside of the United States, there are plenty of football matches happening over the weekend, so we advise repping her “Forward” Operator Skin out on the pitch in Verdansk.
Lastly, we’re showing off Garcia and his “Middle Man” Operator Skin from the Season Four Battle Pass (one of our personal favorites), unlocked at Tier 30. We’re approaching this season’s midpoint, and there is a 100 CP Tier sale happening through July 6, so if you haven’t unlocked this Operator Skin already, this weekend is a great time to do so.
Top Tip — Season Four’s First 10 Multiplayer Seasonal Challenges
If you’ve followed us for the past three seasons, you know the deal by now:
Seasonal Challenges help you reach Prestige Master faster thanks to some serious XP gains, in addition to providing some badass Calling Cards.
Prepare to lock into Warzone and Black Ops Cold War Multiplayer, and get ready to destroy these challenges with these helpful tips:
Soldier of Fortune (Level 1): Get 500 eliminations with full-auto weapons — 15,000 XP (Five Tiers).
Most weapons in the game are full-auto, so this challenge should be a breeze.
If you’re struggling to earn this many kills, try game modes with respawns enabled, such as Resurgence modes in Warzone or Team Deathmatch in Multiplayer. The current Face Off 6v6 playlist can also be a game-changer here.
Daily Grind (Level 10): Complete 9 Daily Challenges in Multiplayer or Warzone — 8,500 XP (Three Tiers).
This challenge is made for the Prestige Primer.
Daily Challenges are an awesome way to consistently earn XP, and this challenge gives you a little extra motivation to complete them across both games.
Pick your favorites out of the Reserves, follow their instructions, and enjoy that 8,500 XP on top of the pile of bonus XP you earn normally from the Daily Challenges.
No Camping Allowed (Level 20): Kill an enemy that hasn’t recently moved from one location 25 times — 8,500 XP (Three Tiers).
Welcome to one of the most cathartic challenges for aggressive and hardcore players.
When dealing with an Operator who’s gotten too comfortable in one position, such as an embedded sniper, it’s best to consider not only all entry points to their location, but also the use of Tactical Equipment like Flash or Stun Grenades. That way, you can disorient them before charging in for the much-deserved elimination.
Head Count (Level 30): Get 2 Headshot kills in a single life 25 times — 6,000 XP (Three Tiers).
Accuracy is key. Aim just above center mass with a single-shot weapon, or on the upper chest if it’s a full-auto weapon to account for damage profiles and recoil.
This challenge may be easier to do with a sniper or tactical rifle, as these weapons are most ideal when there is a patient Operator behind them. Wait for a clean shot and be sure to stay alive long enough for that second Headshot elimination for it to count toward this challenge.
Warlord (Level 40): Get 5 kills with Scorestreaks or Killstreaks in a single game 9 times — 6,000 XP (Three Tiers).
In Warzone, you’ll have to work with your squadmates to ensure all Precision Airstrikes, Cluster Strikes, and even Combat Bows find a way into your loadouts whether through the Store or through Supply Box drops. Five kills may be harder in single-life modes, so consider playing Plunder or Resurgence to get more chances at completing this challenge.
In Black Ops Cold War, it’s best to have most, if not all, of your Scorestreaks as offensive tools. Also, if you want to make the Hand Cannon your go-to for your set of three Scorestreaks, we wrote a breakdown on it in last week’s Prestige Primer.
YOLO (Level 50): Get 75 eliminations in single-life Elimination modes — 8,500 XP (Three Tiers).
Warzone Battle Royale may be your primary way of completing this challenge naturally. Lucky for you, we have a whole guide that covers how to become a true master of this easy-to-play, challenging-to-win mode.
For those sticking to Black Ops Cold War, Search & Destroy will be calling your name. Play this tactical game mode with friends who are ready to make callouts on enemy positions and can watch your back (or six) effectively.
Hill to Die On (Level 60): Kill 75 enemies who are at a lower elevation — 8,500 XP (Three Tiers).
This may be completed naturally, as a common combat scenario across all games involves some form of an elevation difference.
Technically, grabbing a drivable Hind on the new Collateral map in Combined Arms and raining hellfire down on your enemies counts toward this challenge. If you have yet to experience that map, go try it out; even outside of the Hind, there are plenty of high-ground spots to fight from against your opposition.
One, Two Punch (Level 70): Rapidly get a kill with both weapons that you are carrying 30 times — 8,500 XP (Three Tiers).
This challenge requires you to get a Double Kill (two kills in rapid succession) with two different weapons.
It’s easier to swap between weapons when your Operator has the Amped Perk in Warzone or the Gung-Ho Perk in Black Ops Cold War. Try using them in your loadouts to make that quick change in between eliminations.
If you have difficulty performing well with Secondary Weapons, such as the awesome one we highlight in our Gunsmith Weapon Blueprint section, then consider using Overkill (in Warzone) or Law Breaker (in Black Ops Cold War) to get another primary weapon in your loadout.
Double Down (Level 80): Complete a match with at least twice the number of eliminations than deaths 9 times — 8,500 XP (Three Tiers).
Possibly the most difficult of the initial ten challenges, this can seem overwhelming at first, especially for newer players.
Look at it this way: All you need to do is get twice as many eliminations as deaths in a game. In a standard Battle Royale match, you just need to earn three kills in Verdansk and win one Gulag duel to complete this challenge.
Be patient with your engagements without staying in one place for too long, be aware of your surroundings, and above all else, be a good squadmate; effective communication goes a long way.
Below the Belt (Level 90): Get 50 kills while sliding — 8,500 XP (Three Tiers).
Ready to be an action hero?
Getting eliminations while sliding can be a ton of fun for an aggressive loadout, such as one that uses SMGs, shotguns, and sidearms. Because you will not aim down sight (ADS) while sliding, ensure your weapon of choice has a Laser attachment so your hip-fire accuracy doesn’t suffer.
Be sure to get close to your enemy before attempting a sliding kill, and if you need a suggested weapon, consider our Gunsmith Weapon Blueprint of the Week.
Gunsmith Weapon Blueprint of the Week
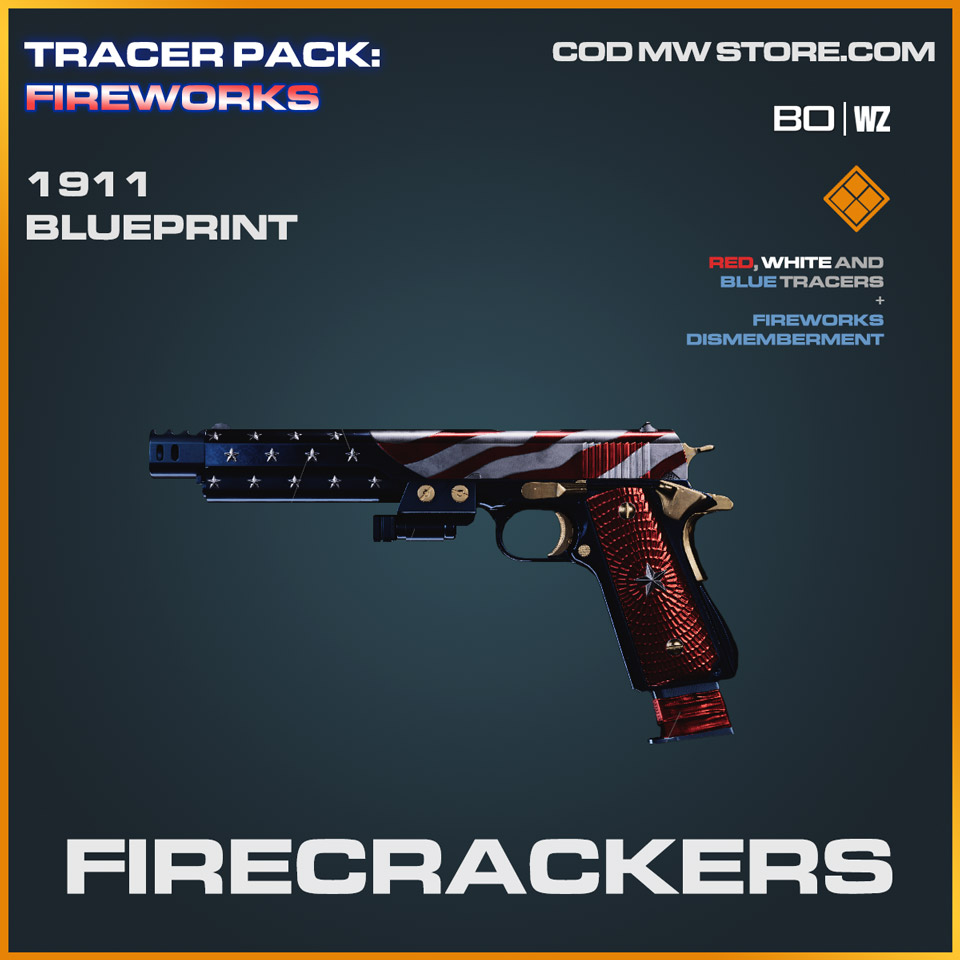
Just in time for Fourth of July weekend, the Tracer Pack: Fireworks Bundle is here to help you make sparks fly in the DZ.
In addition to two primary Weapon Blueprints, this pack comes with a secondary Weapon Blueprint known as the “Firecrackers” Sidearm.
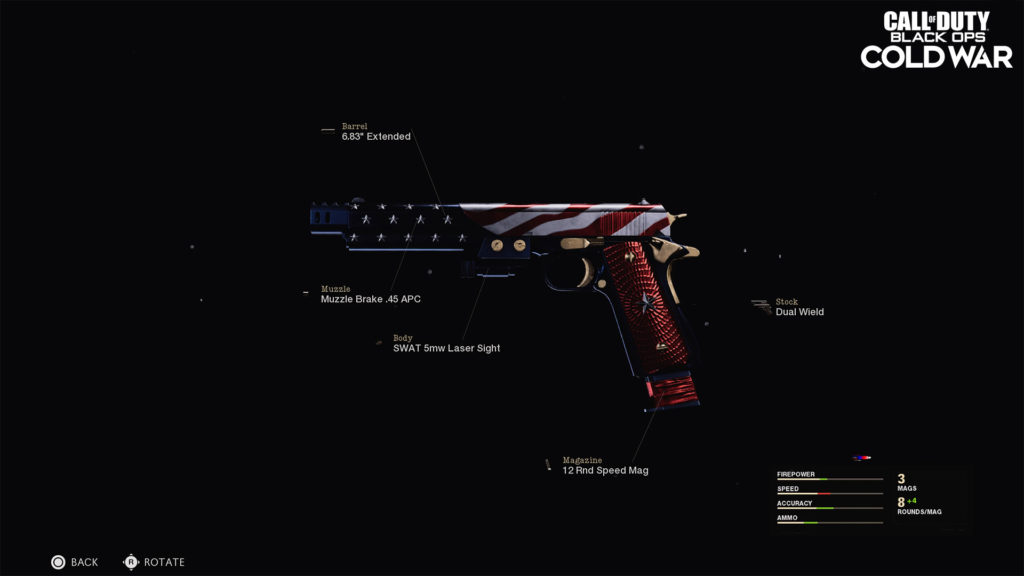
This Blueprint uses Handgun Bravo, more commonly known by its base variant the 1911. It gives you the ability to use them Akimbo (one in each hand) with a phenomenal four-attachment spread in addition to that “Stock attachment,” as it is built for accurate hip-fire with plenty of ammo to spare.
On its own, this weapon is a great secondary for Multiplayer, especially if you’re trying to complete the “Below the Belt” Challenge. It’s also great for Zombies as a close-quarters monster.
When it comes to Warzone, however, it often gets a bad rep among secondaries given that it is the starting pistol in Verdansk (as of Season Three), and other offerings, such as the Sykov and M19, tend to be used more often. Yet the 1911 can be used effectively as a close-quarters backup weapon to a strong primary, as its damage profile and rate of fire are both solid enough to be competitive should all shots land on target.
Here’s our advice for building a 1911 secondary to prove that it’s more than just a starting weapon:

Optic: The iron sights are as clear as day, so an Optic isn’t necessary unless you need to complete challenges.
Muzzle: Suppressors are always a solid choice in Warzone. Consider using the Agency Suppressor for Akimbo 1911s, as the ADS penalty is negligible for a weapon you can’t ADS, or choose the Sound Suppressor when using a single weapon, as the Effective Damage Range penalty won’t affect your most effective tactic with this weapon as much.
Barrels: The Task Force Barrel’s changes to bullet velocity and damage range make it a standout attachment for this weapon. Although you’ll have to deal with some recoil, these benefits can be worth it.
Body: Flashlights increase range and movement speed, and Lasers help with hip-fire spread. The Ember Sighting Point does both, but it’s not as effective as the Tiger Team Spotlight as a range increaser, or the 5mw Laser for hip-fire accuracy. We chose the Tiger Team Spotlight as an underrated movement speed booster, in addition to its benefits to effective damage range.
Magazine: The more ammo, the better. Although it will considerably hurt ADS speed, the Salvo 14 Rnd Fast Mag is the gold standard in helping you dish out plenty of hurt in squad-based games.
Handle: This attachment is not as necessary when using Dual Wield, as the Handles that are most often used are ones that quicken ADS speed. When using a single 1911, however, we like the Serpent Wrap, as it offers the greatest ADS speed improvement.
Stock: To Dual Wield or not to Dual Wield, that is the question. With most sidearms, their viability as a strong secondary could be tied to having two pistols instead of one.
Will the exact setup we gave in that image rock the meta? Probably not, but it does allow you to experiment outside of traditional Akimbo setups. That’s the joy of experimentation in Warzone; you may find that an incredibly mobile, fast-firing single Pistol serves you better as a Secondary Weapon than other, more popular choices. The most effective tactics available may not be your most effective tactics, so don’t be afraid to try something new across the 100+ weapons in the game.
With that said, a single 1911 offers a unique CQB option, one that can be silent yet deadly with several solidly placed chest and head shots. When it has a Body attachment like the Tiger Team Spotlight that boosts Movement Speed, it allows for some fast strafing and advanced movement techniques that can lead to some elite elimination tactics.
In the hands of a skilled Operator, this weapon can be just as deadly as a full-auto Primary at close range… so long as you hit those shots.