Black Ops Cold War: Tactical Map Intel – Standoff
First introduced in Black Ops II, Standoff returns as a free 6v6 Multiplayer addition to Season Three of Black Ops Cold War. Read on for a full overview and map tips.
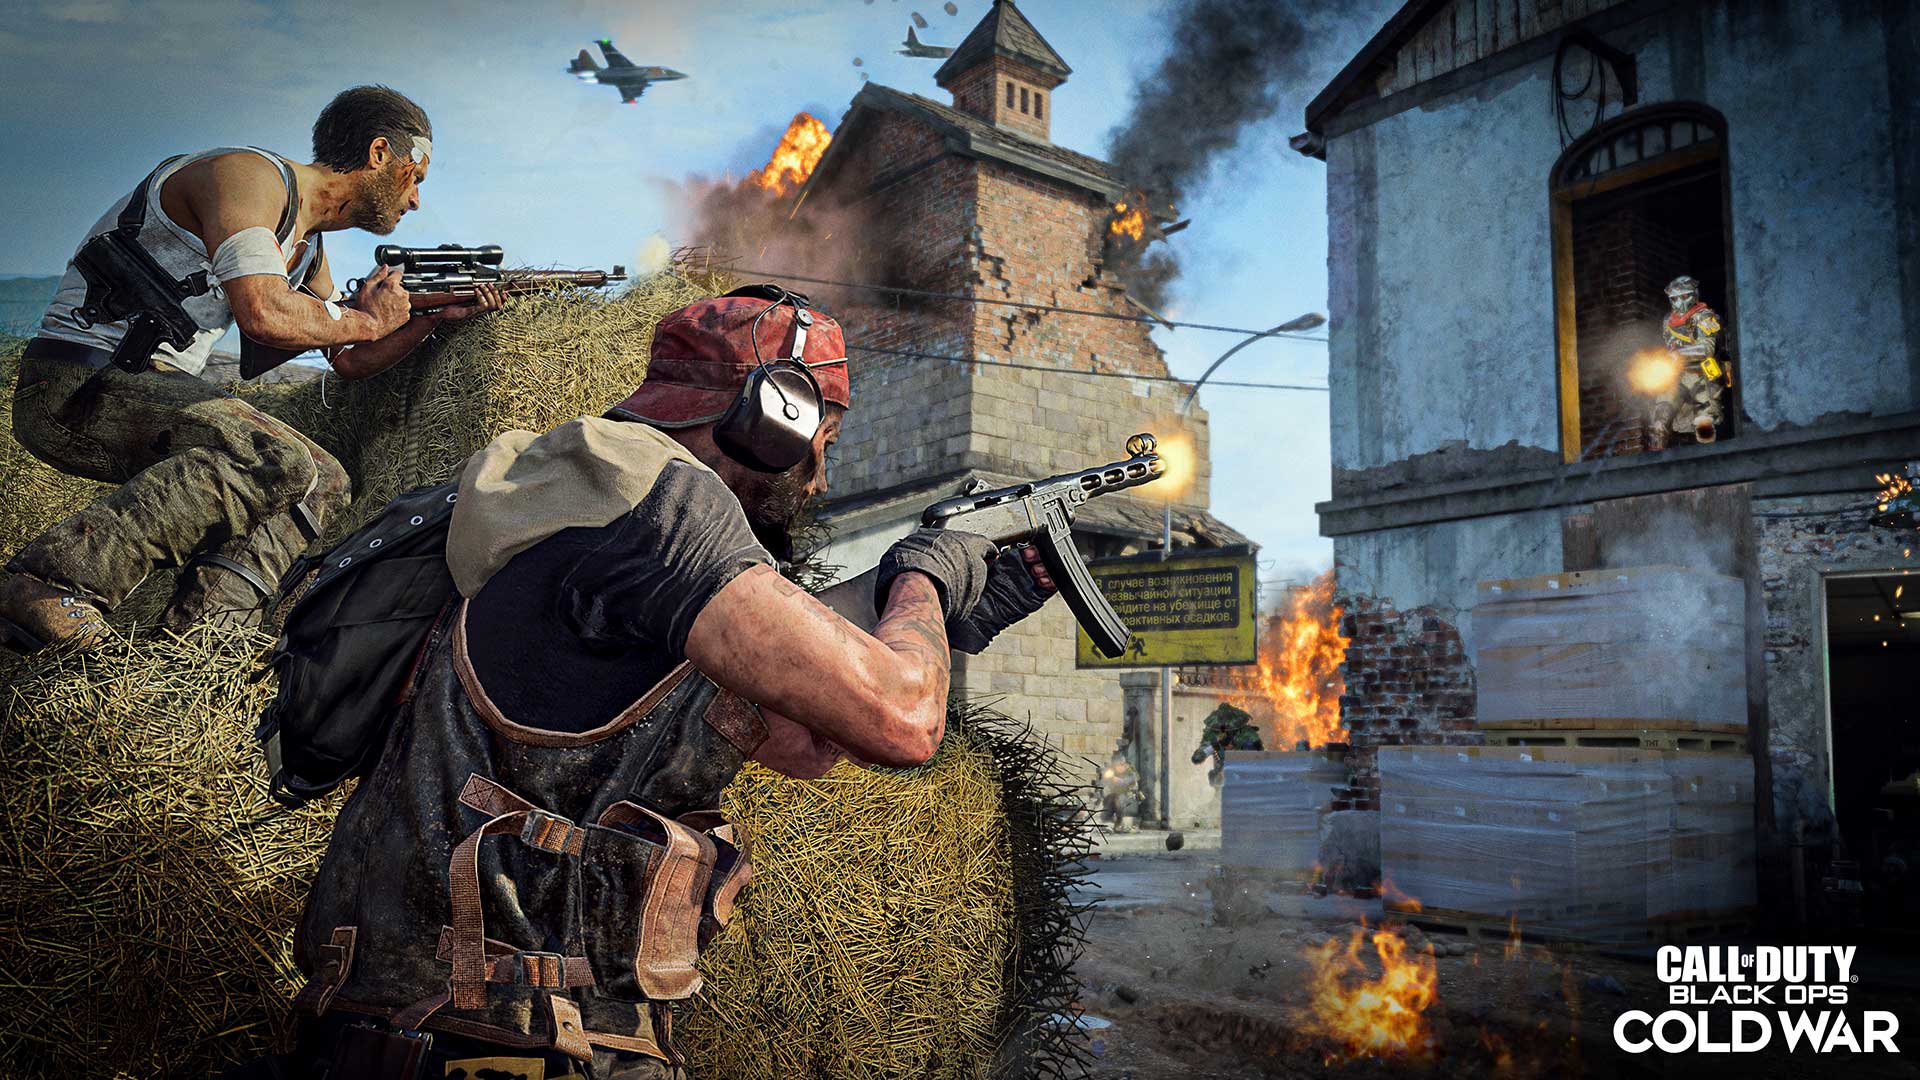
Battle erupts in a small border town, and the snipers all take to the windows. Welcome to Standoff, first introduced in Black Ops II and now joining the growing 6v6 Multiplayer map list as part of the Season Three content offered in Black Ops Cold War. Standoff is available to all players for free as part of the 6v6 map rotation.
Whether you’ve fought here before or you’re dropping in for the first time, here’s what you need to know as we head to Kyrgyzstan.
Lay of the Land
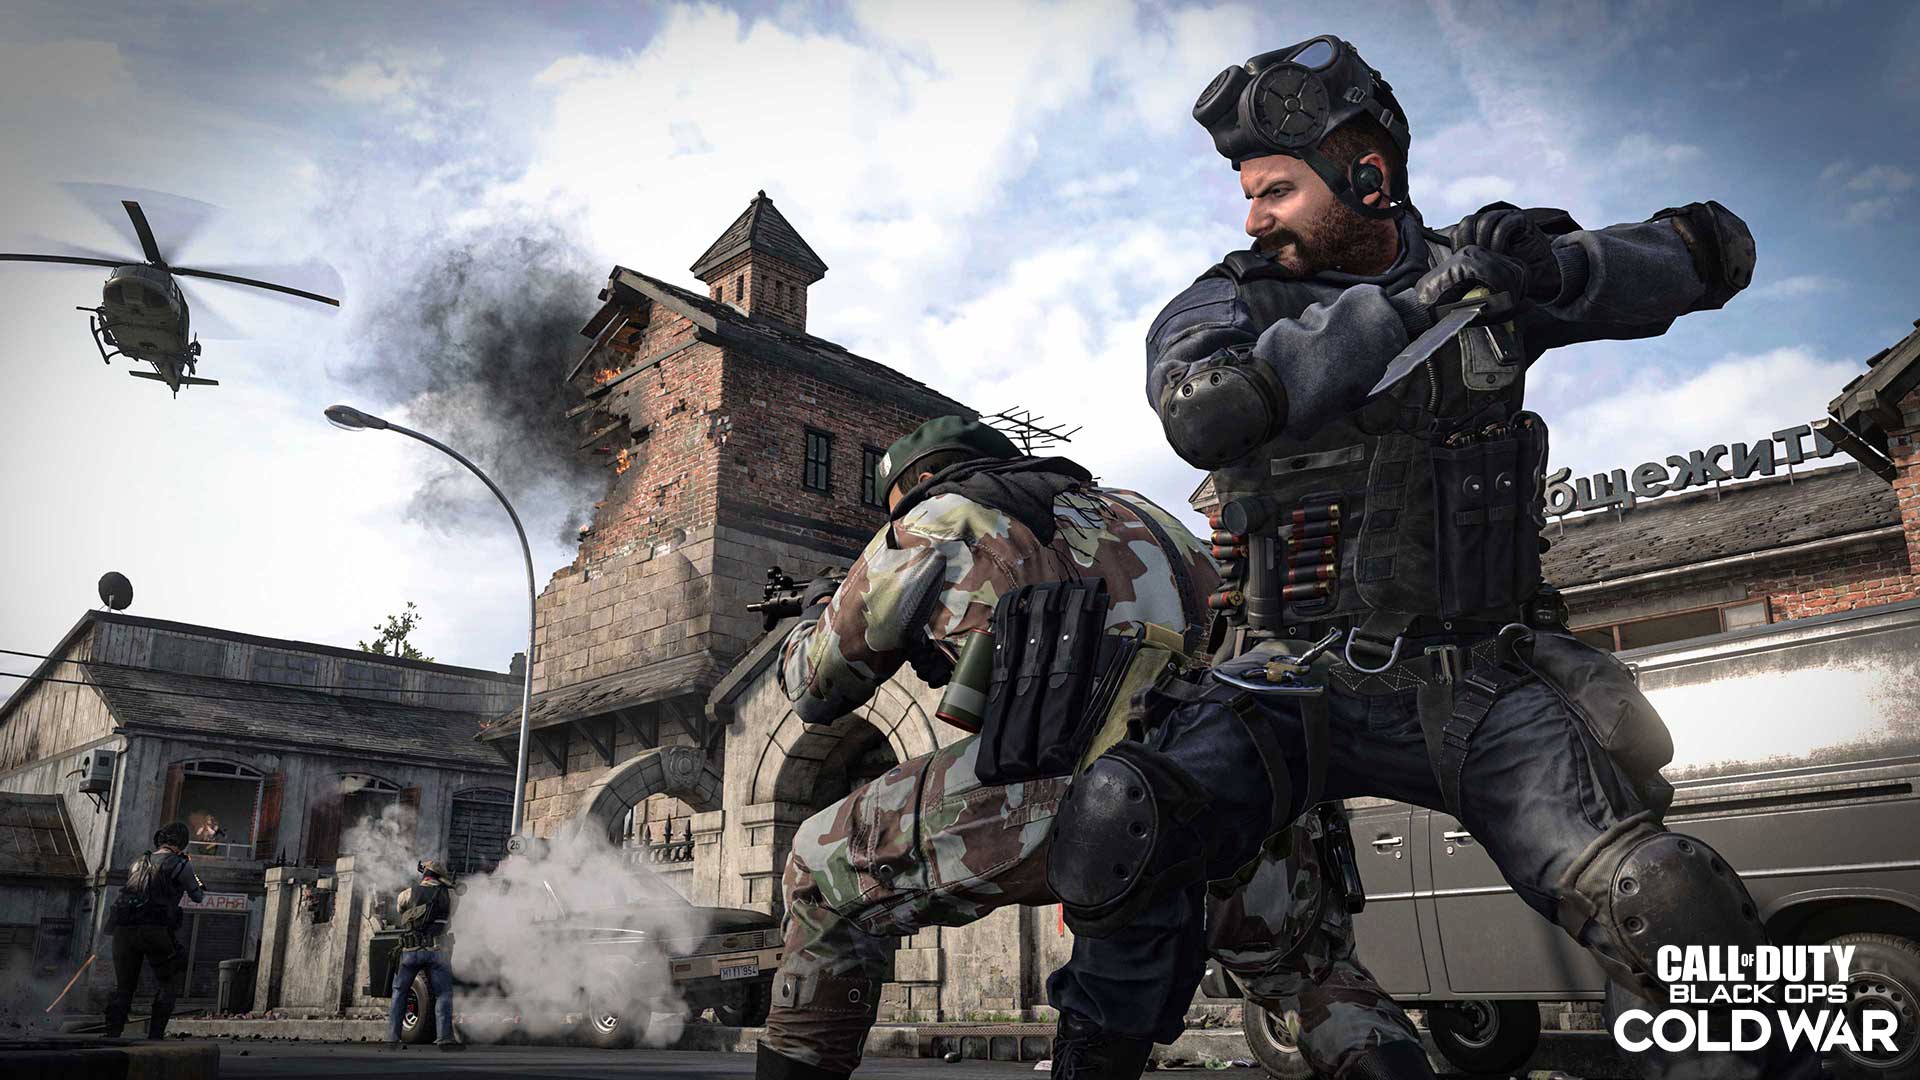
A border town under siege, Standoff shows signs of attack, with a crumbling, flaming tower at its center. This medium-sized map forms a rough U-shape around the central hotel and courtyard, with several large buildings along the winding road through town.
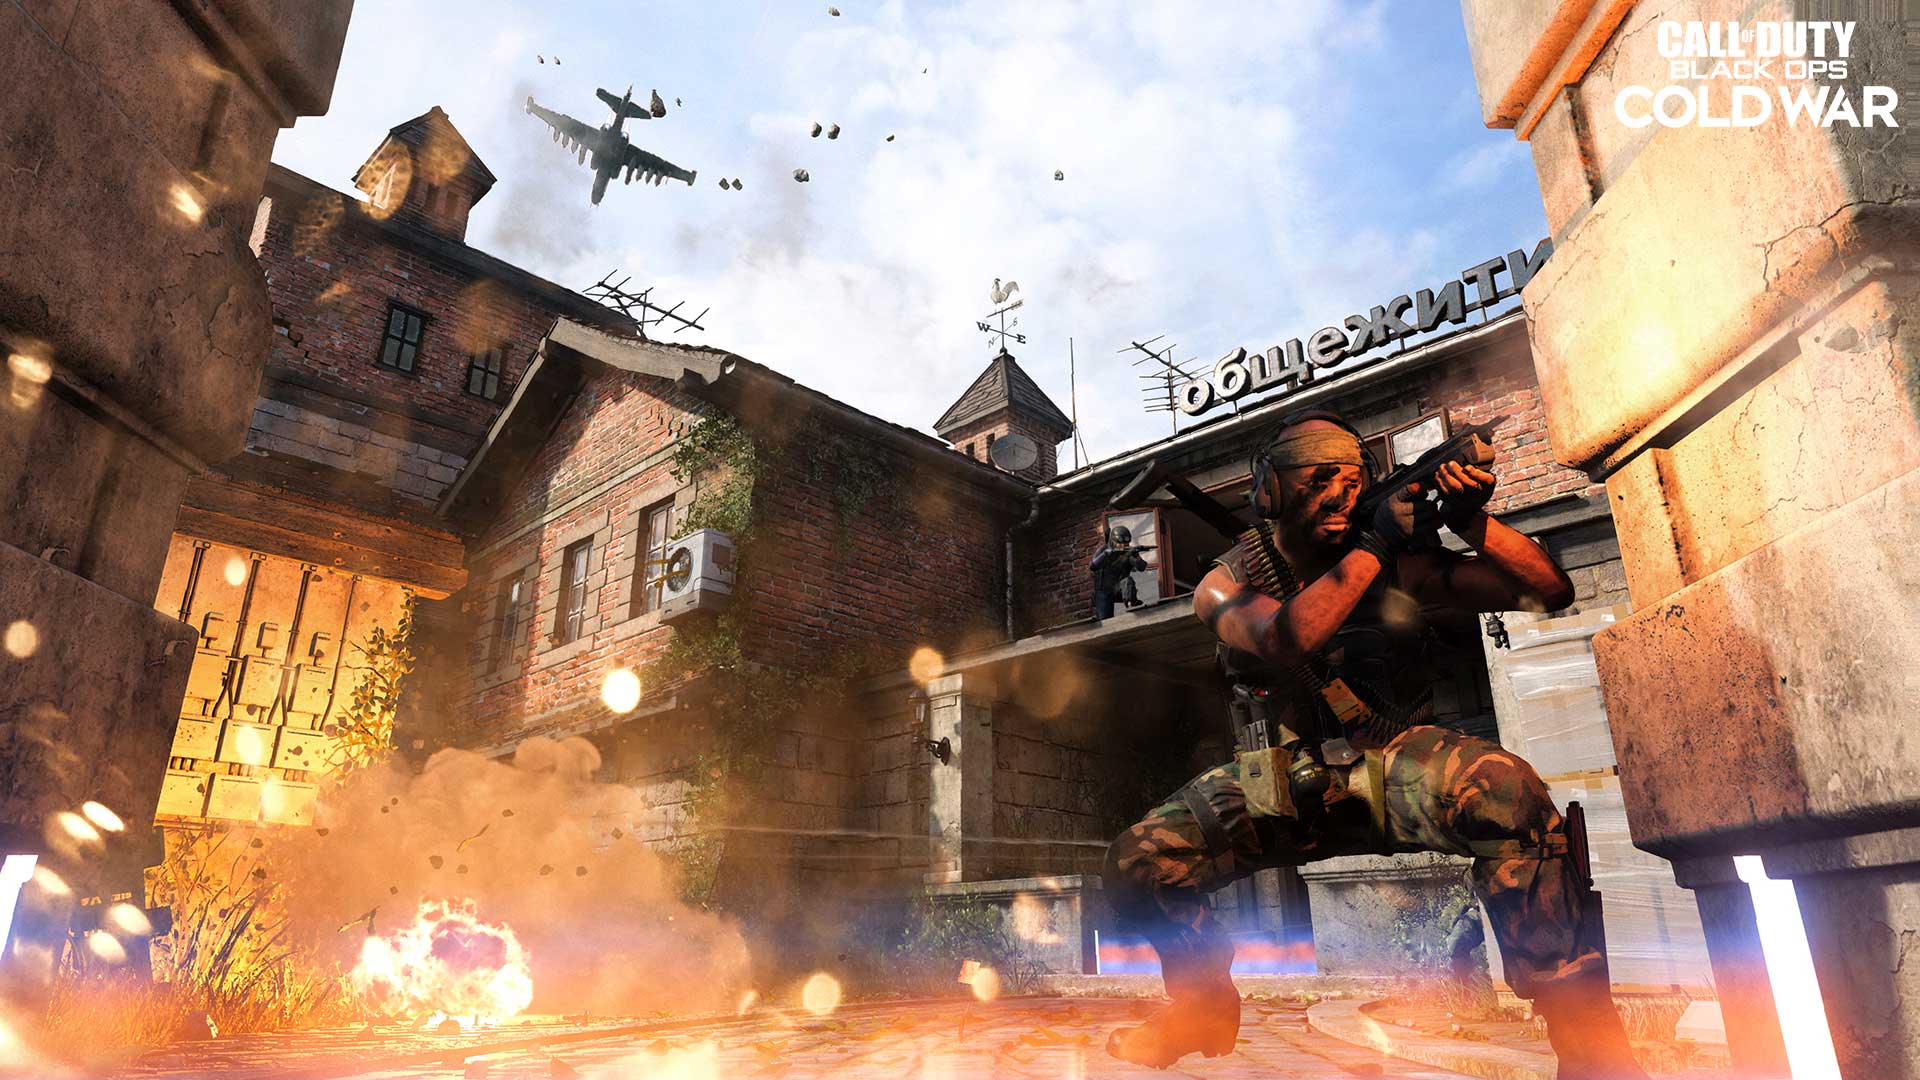
The map is largely divided between the buildings and the streets, creating many power positions in the upper levels with views over and across the main thoroughfare. But don’t mistake this for a sniper map, as Standoff is designed with plentiful shortcuts and backroads and means for outpositioning and uprooting the enemy.
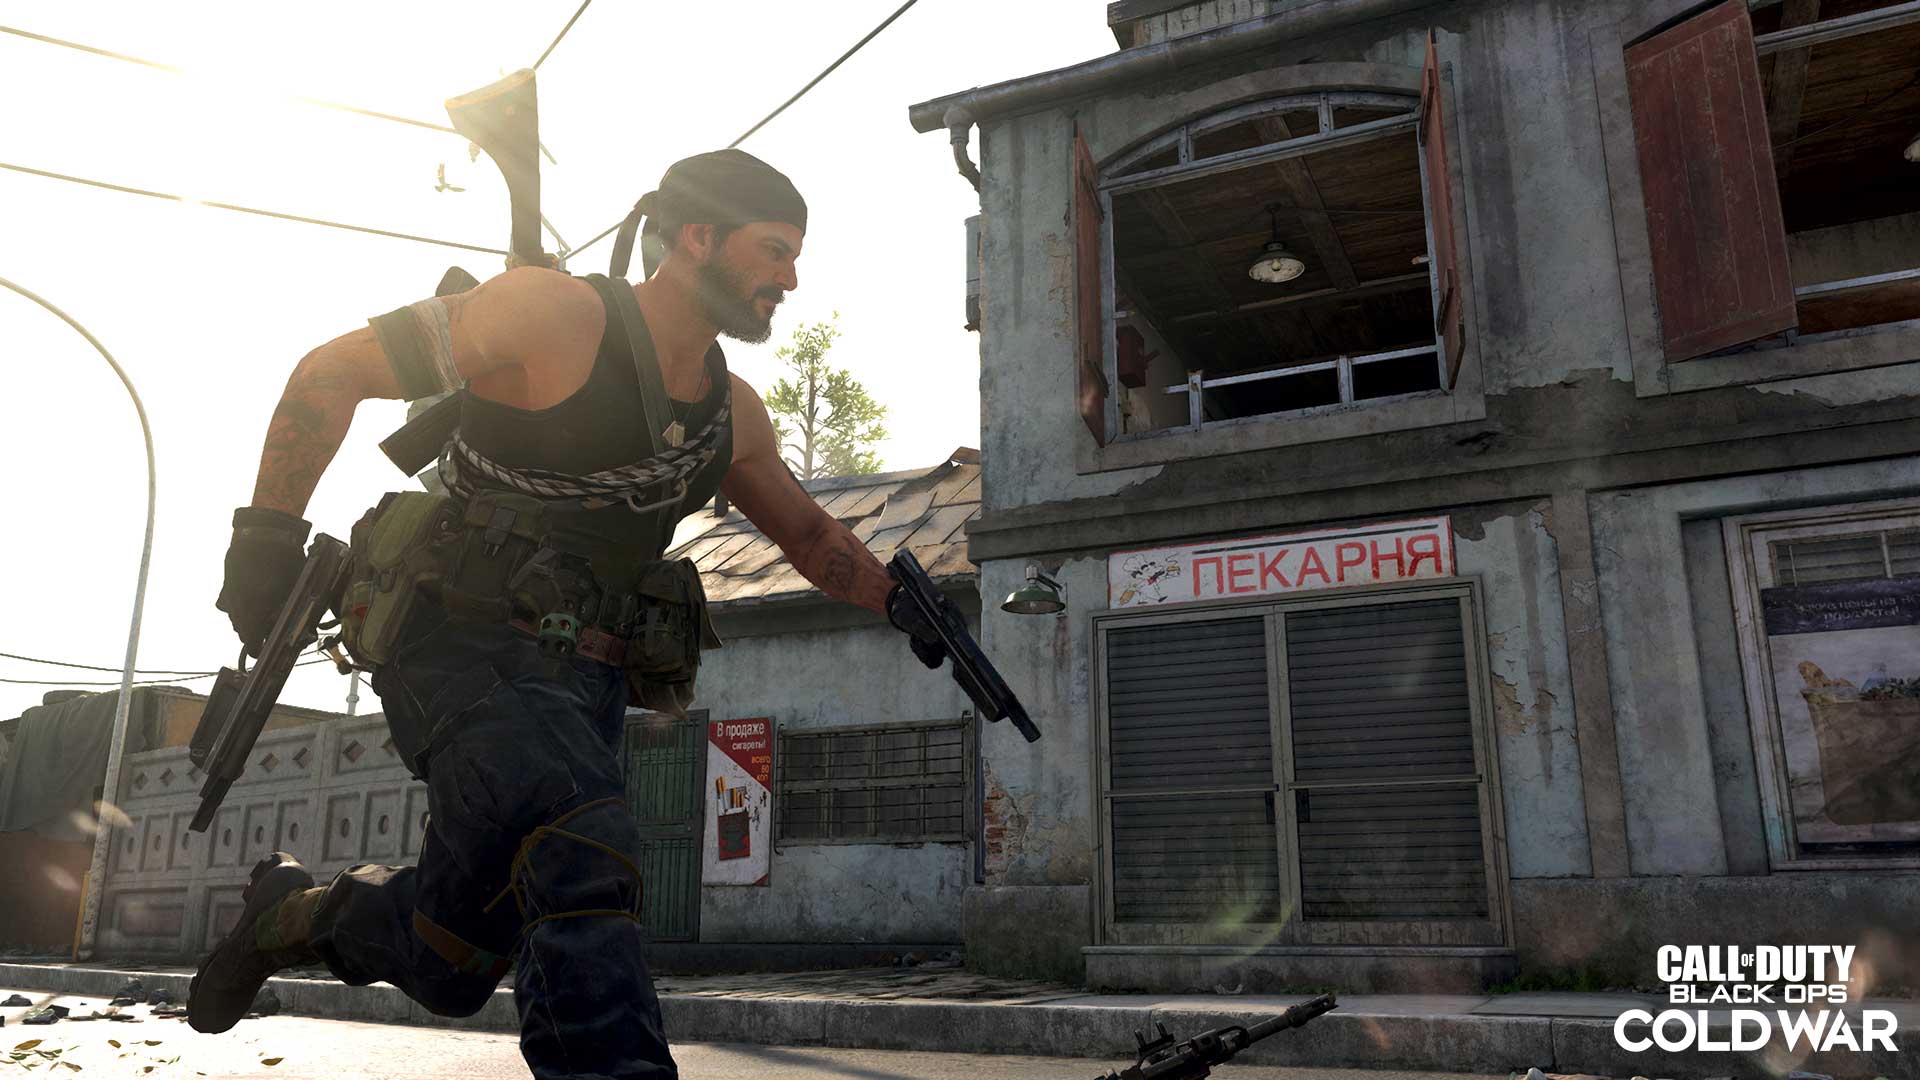
There are some paths off the main road, too, running along the tractor and behind the gas station and warehouse. There are also inlets on either side of the top bakery. Utilize them all to learn the full scope of the map so you always know the possible pathways to your current objective.
The central hotel dominates the landscape, partially enclosed by an L-shaped wall extending from the courtyard. Expect a lot of action in and around this area, as players jostle for the coveted second-story view. Either cross your fingers and get in the middle of it or watch from the outside, picking off enemies moving through the hotly contested area.
Basic Strategies
One of Standoff’s greatest features is the number of playstyles it caters to, and we’re not just talking supporting roles, either. Whether close-, mid-, or long-range, there are plenty of opportunities to dominate as you consider the most optimal path for your current loadout.
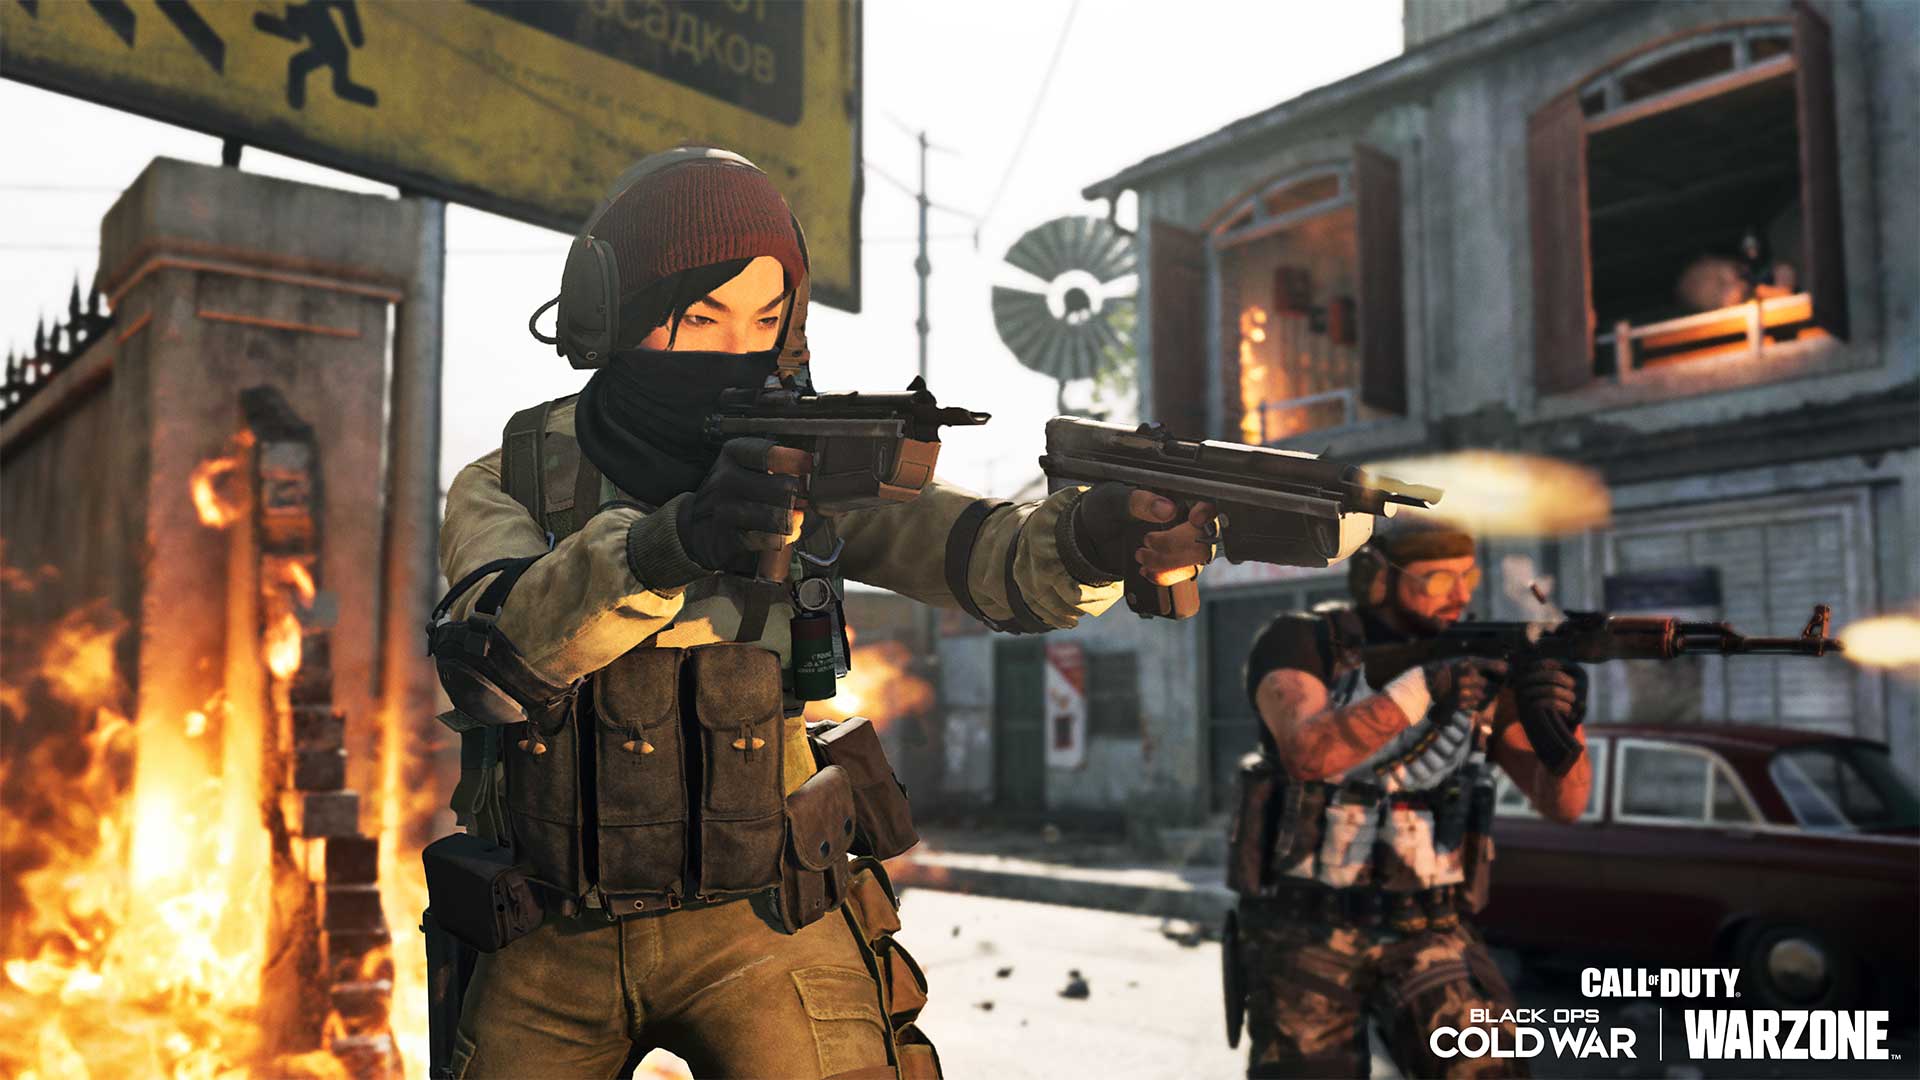
SMGs can do wonders around the far perimeter, by the tractor and gas station and its back alley, allowing you to take out enemies while you’re on the move. The trick is to avoid moving into those long sight lines where a tactical rifle or sniper rifle will outperform you. Stay out of view from the main roads, and when you need to cross the map, move through the buildings to keep your fights up close.
Assault rifles and LMGs have more flexibility in fighting along the main road, and can inflict great damage when you start learning all the climbing spots and other positions with strong midrange views. Consider a secondary shotgun or pistol to improve your chances of survival when moving through tight areas.
Long-distance loadouts utilizing tactical rifles and sniper rifles are clearly favored in the upper levels, particularly in the top bakery and bottom deli, where you have a clear view down the middle of the map. You can also do well on street level and may even perform better here, as players expect you to take an elevated position.
Scorestreak Field Guide
The RC-XD is great here. With so many 90-degree angles in this map, it’s a useful, low-cost tool for attacking enemies just around the corner. The Sentry Turret is no joke either, allowing you to take advantage of rooftops and long sight lines down the street. Try placing it on the bottom deli roof, behind the advertisement. It’s got great cover with views over a large portion of the map. With the means to move away from the main action, the Care Package works well here, too.
For mid-tier Scorestreaks, any of the aerial targeted attacks are a good option. Objective modes notwithstanding, there are plenty of moments when teams get caught in a stalemate fighting across the main road, with enemies standing right out in the open. Target their position and bomb away.
If you’ve got the chops to earn them, the War Machine and Attack Helicopter can be devastating. Use the War Machine to blast enemies in windows and from behind cover. The Attack Helicopter — as well as any of the other upper-tier aerial Scorestreaks — can effectively shut down enemy access to the roads, a great asset to call in when you need to make a big push or defend against one.
Objective Play
Domination can get especially hectic here. Plentiful power positions coupled with the B flag’s placement right in the center of the main road make for a particularly strenuous effort to take the flag. Group up and grab it early. It’s much easier to defend than to attack, so get that advantage right at the start.
Search & Destroy is a whole different beast, and really highlights all the tactical possibilities in Standoff. Without respawns, you need to be mindful of every angle and pathway of attack so that you always know which dangers you’re facing and which opportunities are available to you. Play Search & Destroy and you’ll become a map expert in no time.
If respawn modes are more your speed, Hardpoint offers another means for becoming proficient in Standoff. Consider the Law Breaker Wildcard to equip both the Tactical Mask and Flak Jacket, as the hills are quite confined, making you vulnerable to thrown projectiles. Grab Tracker as your third Perk to help locate and get after defenders when attacking the point.
10 Tips
10. Take the Grand Tour. First time playing Standoff? Need a refresher? A large part of the map’s popularity comes from the many ways to move around the environment, opening all sorts of tactical opportunities. Take some time in your first few matches to really explore and start memorizing the full layout. Get a grasp of the big picture before zeroing in on all the details.
9. Airing Things Out. There are many open windows here among all the buildings, from the upstairs bakery to the warehouse, hotel, and deli. That means a lot of vantage points, so it’s in your best interest to learn their locations and their viewpoints. Use them to your advantage and to avoid unnecessary deaths when moving on the ground.
8. Bring a Launcher. Whether it’s your current loadout or a class you have on hand to switch to when needed, have a launcher ready and preferably on a loadout using Cold-Blooded. The skies are clear here, and even though there’s plenty of interior space around the map, your team’s mobility becomes heavily restricted when there’s an Attack Helicopter or Chopper Gunner in the air.
7. Middle Road Massacre. Be very aware of the danger you’re in when traversing the middle street, as you’re open to attack from several prominent power positions. Avoid unnecessary exposure here. And in Domination, when you need to get on that center B flag, make sure you check every angle, or at least…
6. Blind Them with Smoke. Sometimes it doesn’t matter how dangerous the road is when you need to cross over or into the middle of it now. A Smoke Grenade is really helpful in these situations. In objective modes, combine this with Flak Jacket and Cold-Blooded to resist incoming grenades and stay off enemy thermal sights.
5. Keep to the Sidewalk. Whatever part of the road you’re on, stick to the side. There’s little cover in the center, making you a wide-open, easy target. Move along the sides for better cover access and for the ability to quickly dodge into a nearby building when the fighting gets intense.
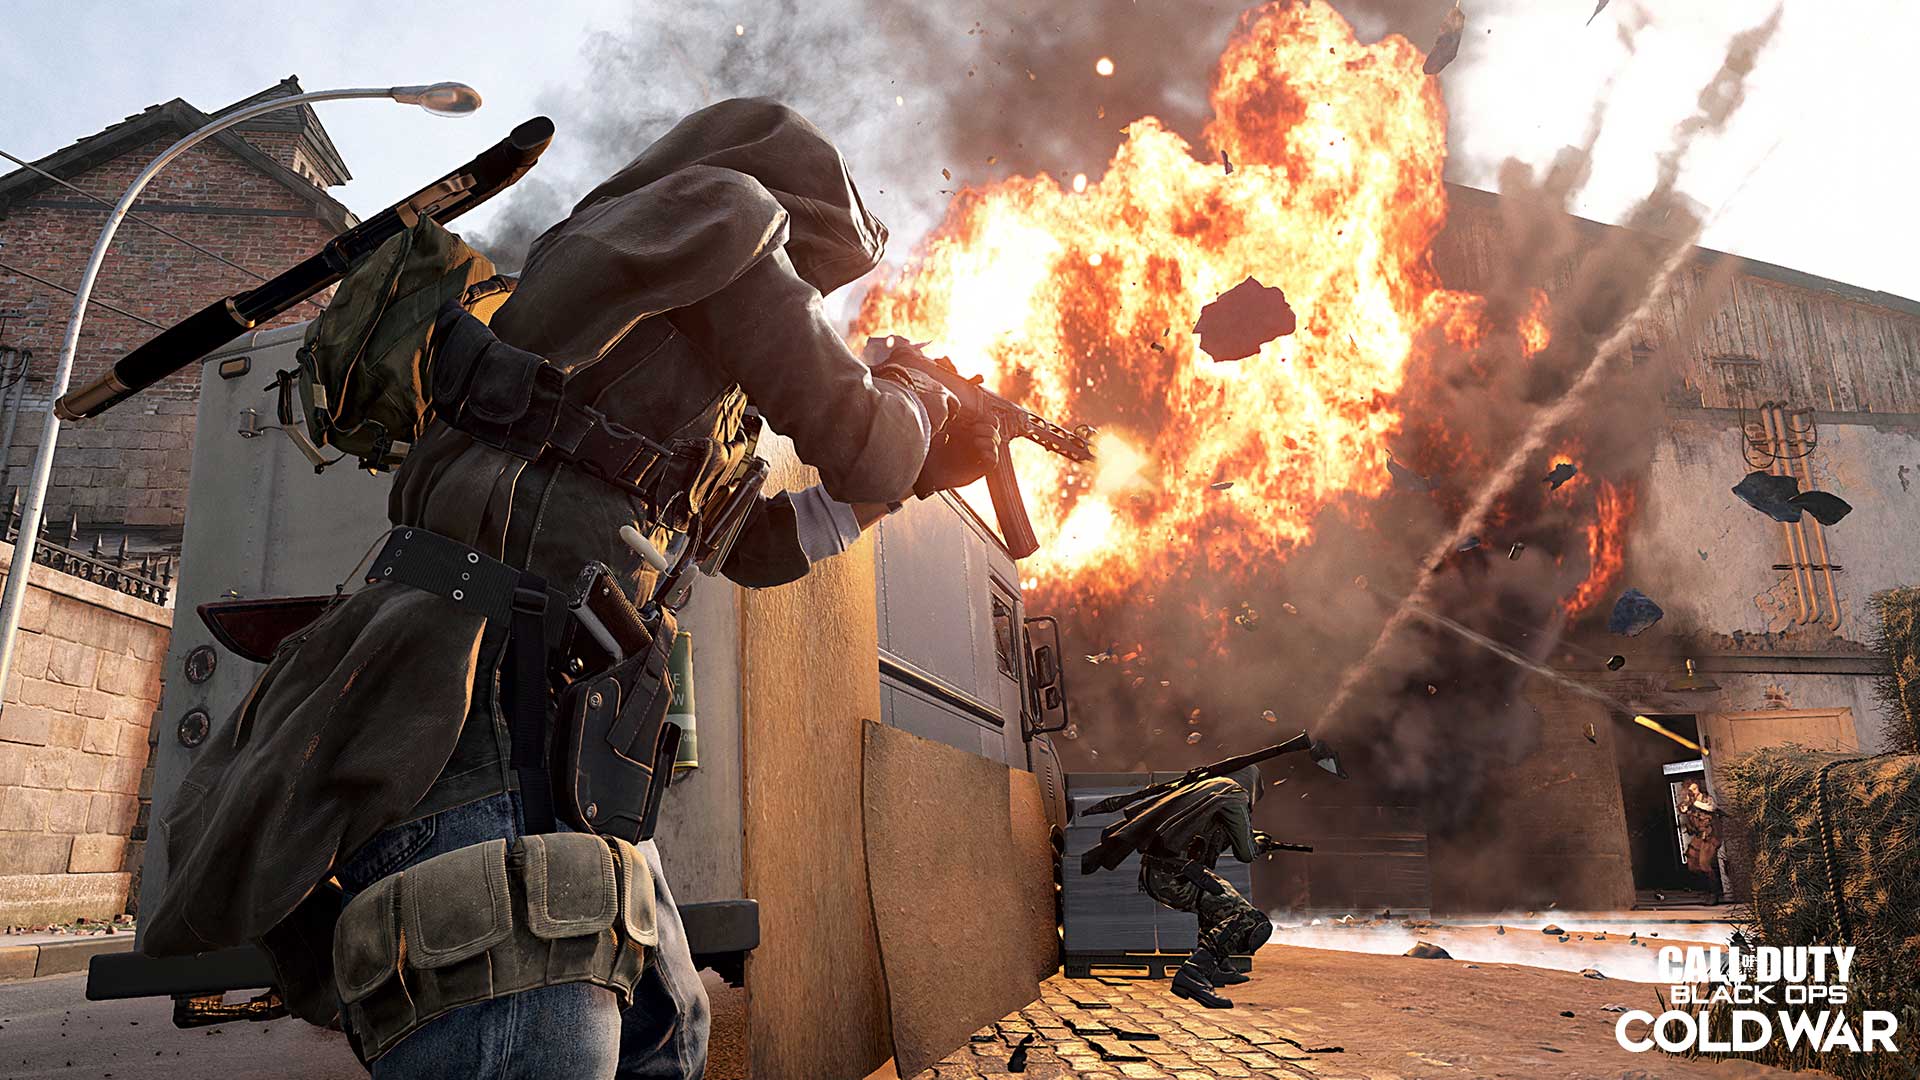
4. Kablooey. About all those cover points… pay attention to where you’re standing. There are several vehicles spread throughout Standoff that are ready to blow, given enough bullets or a well-aimed grenade. Taking cover won’t help when your cover’s engine blows up in your face. Be mindful of that.
3. Up and Over. Standoff is full of barrels and hay bales and other climbable objects that grant access to powerful viewpoints. Some objects, like the hay bales, offer great cover as well, while others like the statue and forklift are more risk vs. reward, in that you’re wide open while on top of them. Play around, climb everything, and see what works in different situations.
2. Watch the Flip. A successful push into enemy territory can lead to a lot of kills and score opportunities, but check your back once the fighting dies down. There’s a good chance the enemy is now spawning behind you and coming after you down the road. Be ready for them.
1. Don’t Be a Lump. With so many available power positions, it’s tempting to stick to a spot that’s working for you, but don’t get lulled into a false sense of security. It’s only a matter of time before your first victims come looking for you. Get some kills and move on. And have some fun while you’re at it. This map’s a classic.