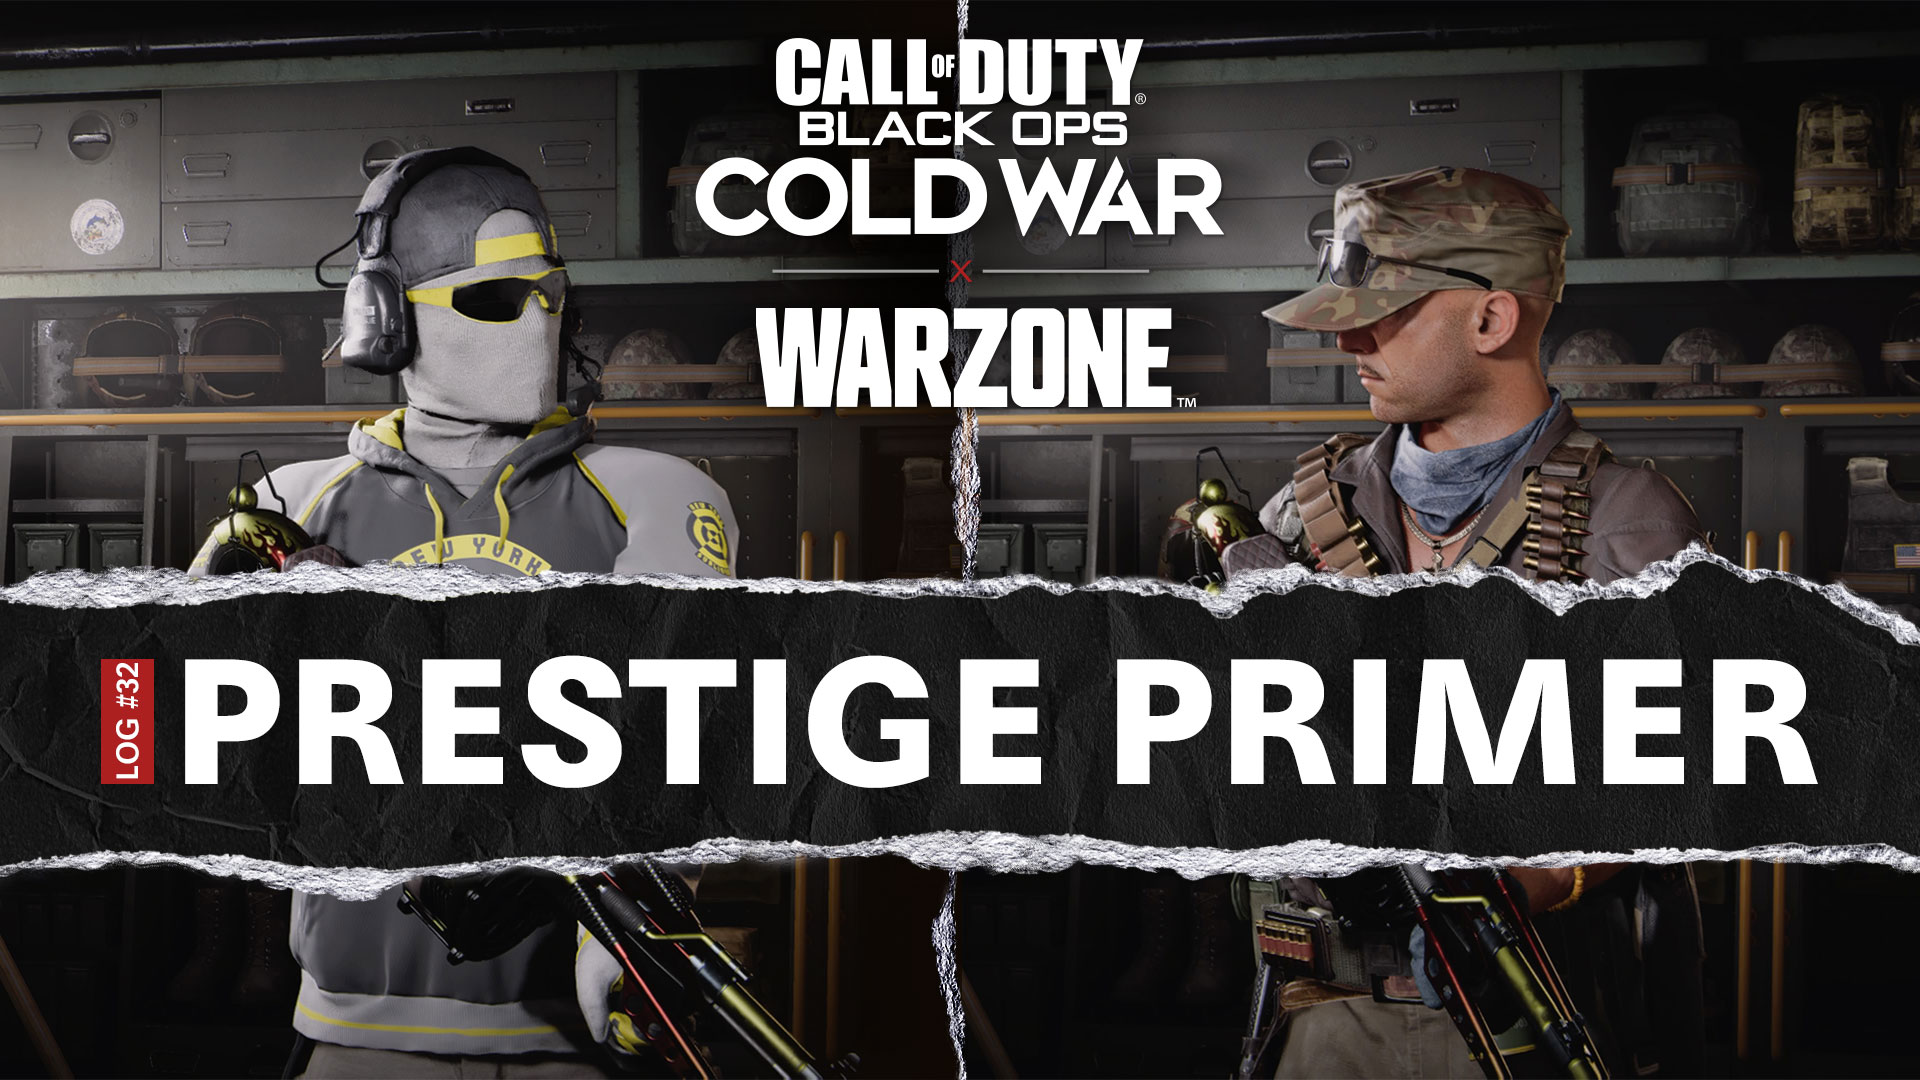
Black Ops Cold War: How to Complete Season Four’s First 10 Zombies Seasonal Challenges
Call of Duty®: Black Ops Cold War and Warzone™ will have Double Battle Pass XP live from now until July 12. To celebrate the upcoming midseason occasion, and to look forward to “Mauer Der Toten,” we have some Zombies tips and a breakdown of an LMG that will help you smoke the competition.
That Battle Pass isn’t going to complete itself.
Lucky for you, Black Ops Cold War and Warzone will feature a double progression rate on the Battle Pass — AKA Double Battle Pass XP — from now until July 12 at 10 AM PT.
That means there’s no time to waste, especially with “Mauer der Toten” lying in wait. Let’s level up.
This Week’s Featured Operators
With Double Battle Pass XP this weekend, you’ll be able to earn Tiers quicker through regular gameplay. That means more new Weapon Blueprints, XP Tokens, and Operator Skins can be yours if you own the full Battle Pass.
For example: Our first Featured Operator for the week is Vargas. You can unlock his “Cutthroat” Operator Skin at Tier 60 of the Season Four Battle Pass. This Tier also comes with his “Rebel Commando” Multiplayer Operator Mission AND his “All Out Extermination” Zombies Operator Mission, which both reward two additional Operator Skins, several items for your profile, and a ton of XP.
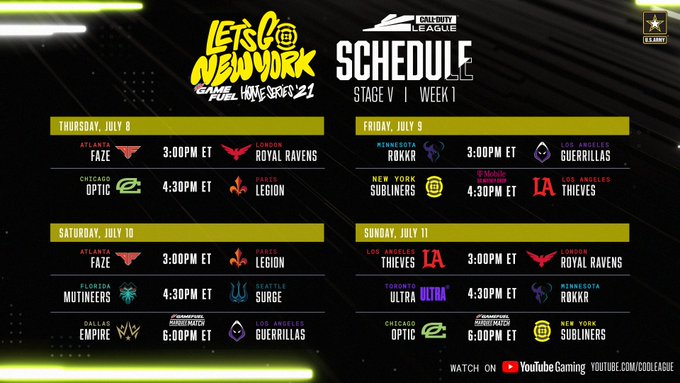
Our other featured Operator is the official Call of Duty League Operator in the New York Subliners’ Home Uniform. The Call of Duty League is back for its fifth and final stage of the 2021 season, and while Atlanta FaZe all but locked the #1 seed for the Championship tournament, there is still plenty on the line during this weekend and through the rest of July.
Take our host New York Subliners, who currently sit in fourth place in the regular season standings. They are only 5 points behind the Toronto Ultra, who are in third, and 10 points behind the Dallas Empire, who are in second. With every regular season win granting them 10 points, this three-horse race for regular season silver may come down to the wire… and may ultimately have a spoiler in fifth-place OpTic Chicago, the Subliners’ Marquee Matchup opponent this weekend, who the tri-state faithful will hope to see lose as they cheer on their hometown heroes during New York’s first-ever “OMGNYSLBBQ” fan event.
Ready to support the Subliners or one of the other 11 Call of Duty League teams? You could pick up the Team Supporter Pack or their individual bundles in the Store… Or you could be there for the league’s first ever fan-accessible event of the season.
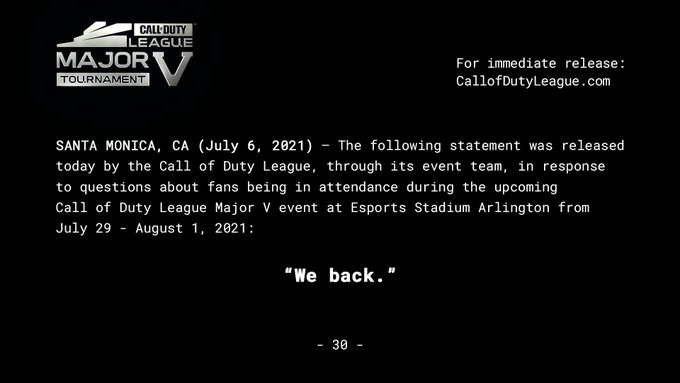
The Stage V Major, to take place from July 29 to August 1, will feature all 12 teams in competition with a limited live audience* at the Esports Stadium Arlington in Texas. Fans can purchase their two-day admission ticket and witness the Major’s final matches on Saturday, July 31 and Sunday, August 1.
Tickets are on sale now for $59.00 (USD, plus fees) on the event’s official website. Do not miss your chance to witness Call of Duty League history in the making.
*Event attendance shall be subject to any local public health, venue or other event restrictions and guidelines.
Top Tip — Season Four’s First 10 Zombies Seasonal Challenges
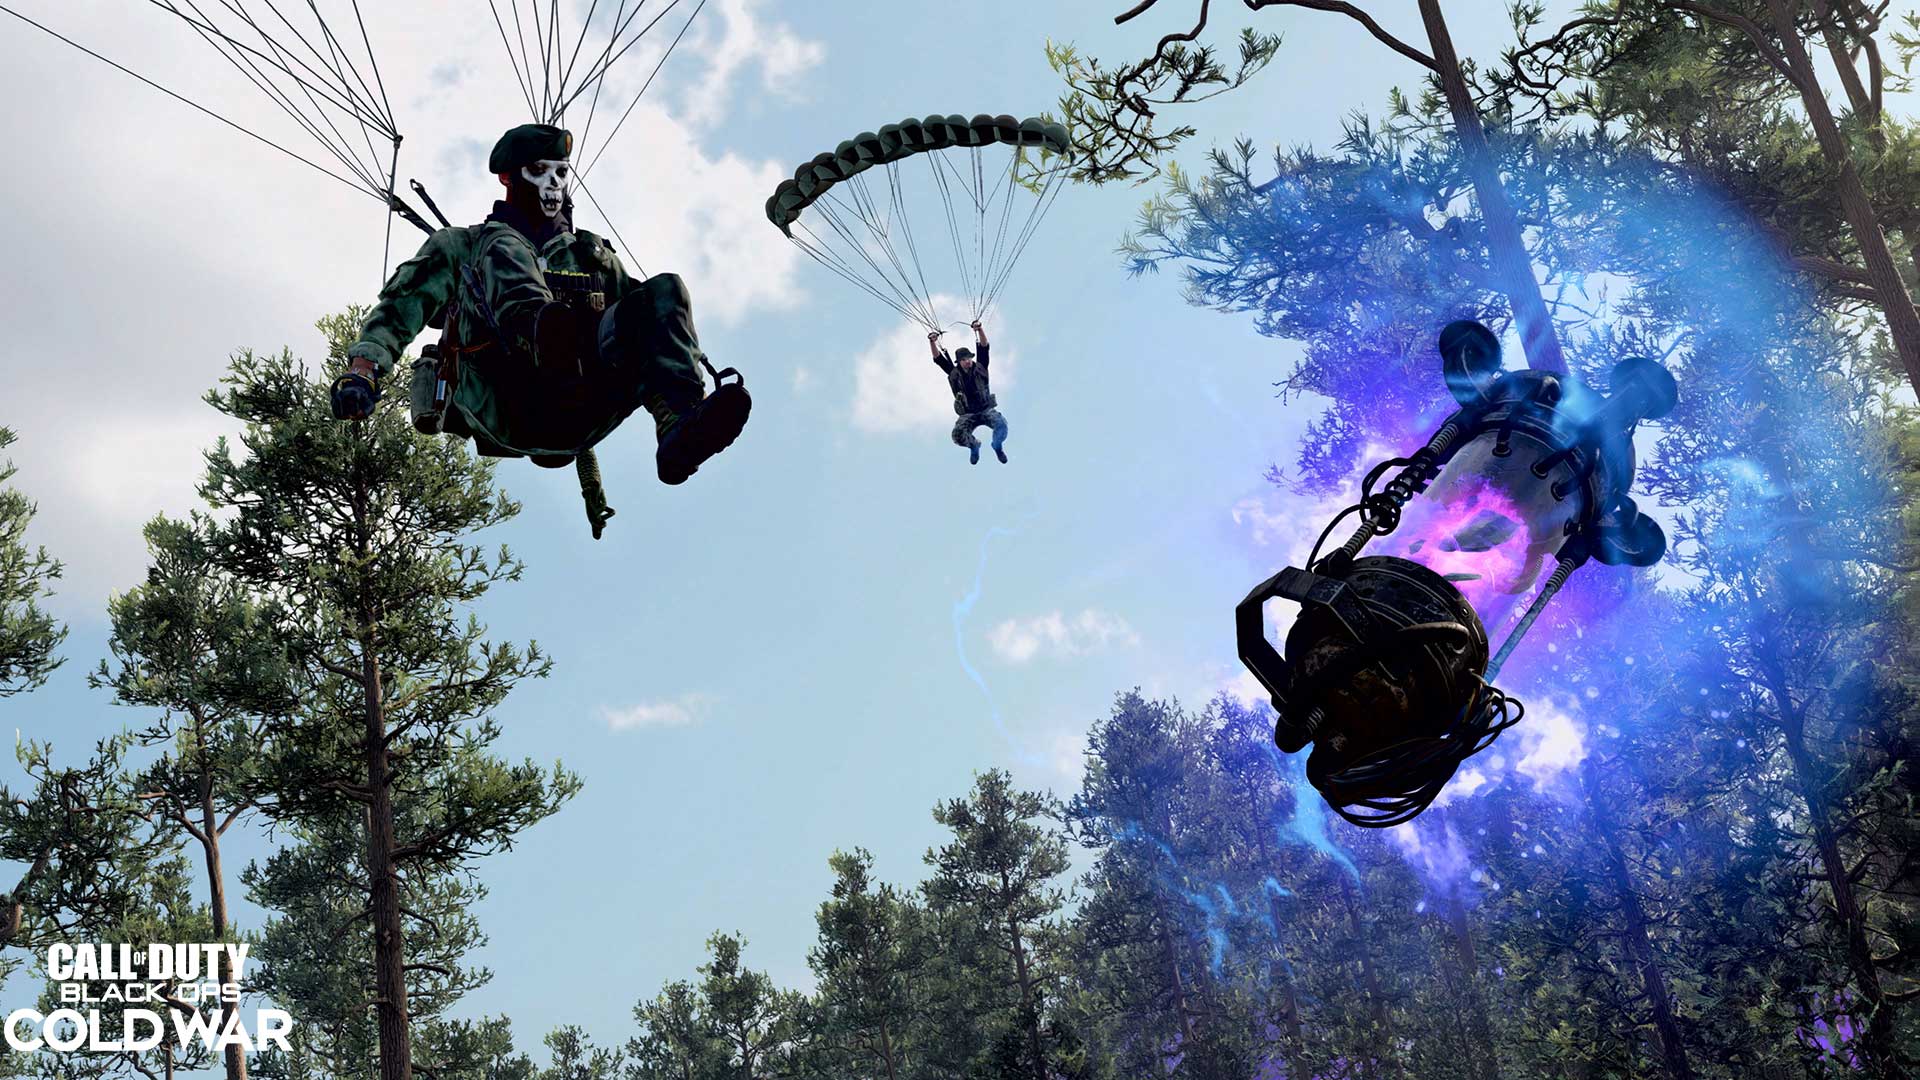
Requiem needs every agent ready for what lies ahead in “Mauer der Toten” — and if you need to catch up on the story so far, we have you covered — so treat these tips as your elite training before one of your most important missions yet.
Before hopping into Outbreak, “Firebase Z,” or “Die Maschine,” you should either have these skills upgraded to the following levels or be ready to use your Aetherium Crystals to upgrade:
Healing Aura Field Upgrade Skill: Tier II (3 Raw Aetherium), required; Tier V (5 Raw Aetherium, 4 Refined Aetherium, 5 Flawless Aetherium), recommended.
Melee Weapon Class Skill: Tier V (6 Raw Aetherium, 4 Refined Aetherium, 5 Flawless Aetherium).
Toxic Growth Field Upgrade Skill: Tier V (6 Raw Aetherium, 4 Refined Aetherium, 5 Flawless Aetherium), recommended.
You should also have a primary weapon with a Thermal Scope attachment as a Loadout starting weapon.
Now, let’s fight back the horde and complete these challenges:
Drop the Hammer (Level 1): In Outbreak, get 25 Eliminations shortly after landing from a parachute — 8,500 XP (three Tiers)
This first challenge involves finding a high point to jump from, or locating a Jump Pad (marked on your Tac Map) and using it to get some sick air before absolutely decimating the undead.
While you could literally “drop the hammer” with the Sledgehammer, it may be wise to use a Launcher, which can eliminate multiple zombies at once due to its blast radius.
As you float in the air, try to find a wandering horde, ready your Launcher, land safely near them, and blast away.
Weed Killer (Level 10): Earn 10 Overgrowth Medals (kill 5 or more enemies rapidly with your Toxic Growth) — 8,500 XP (three Tiers)
Toxic Growth, the most recent Field Upgrade, tends to demolish hordes rapidly when used around objectives or entry points.
In traditional round-based Zombies, try setting up a Toxic Growth next to a broken window. In Outbreak, place it near objectives like the rockets for the Secure Objective.
If you’re still having trouble ensnaring these undead creatures, try using their low intelligence against them. Lure them into the weeds with a Decoy Grenade, or simply lead them right into the prickly patch, since they’ll be hell-bent on following you anywhere you go.
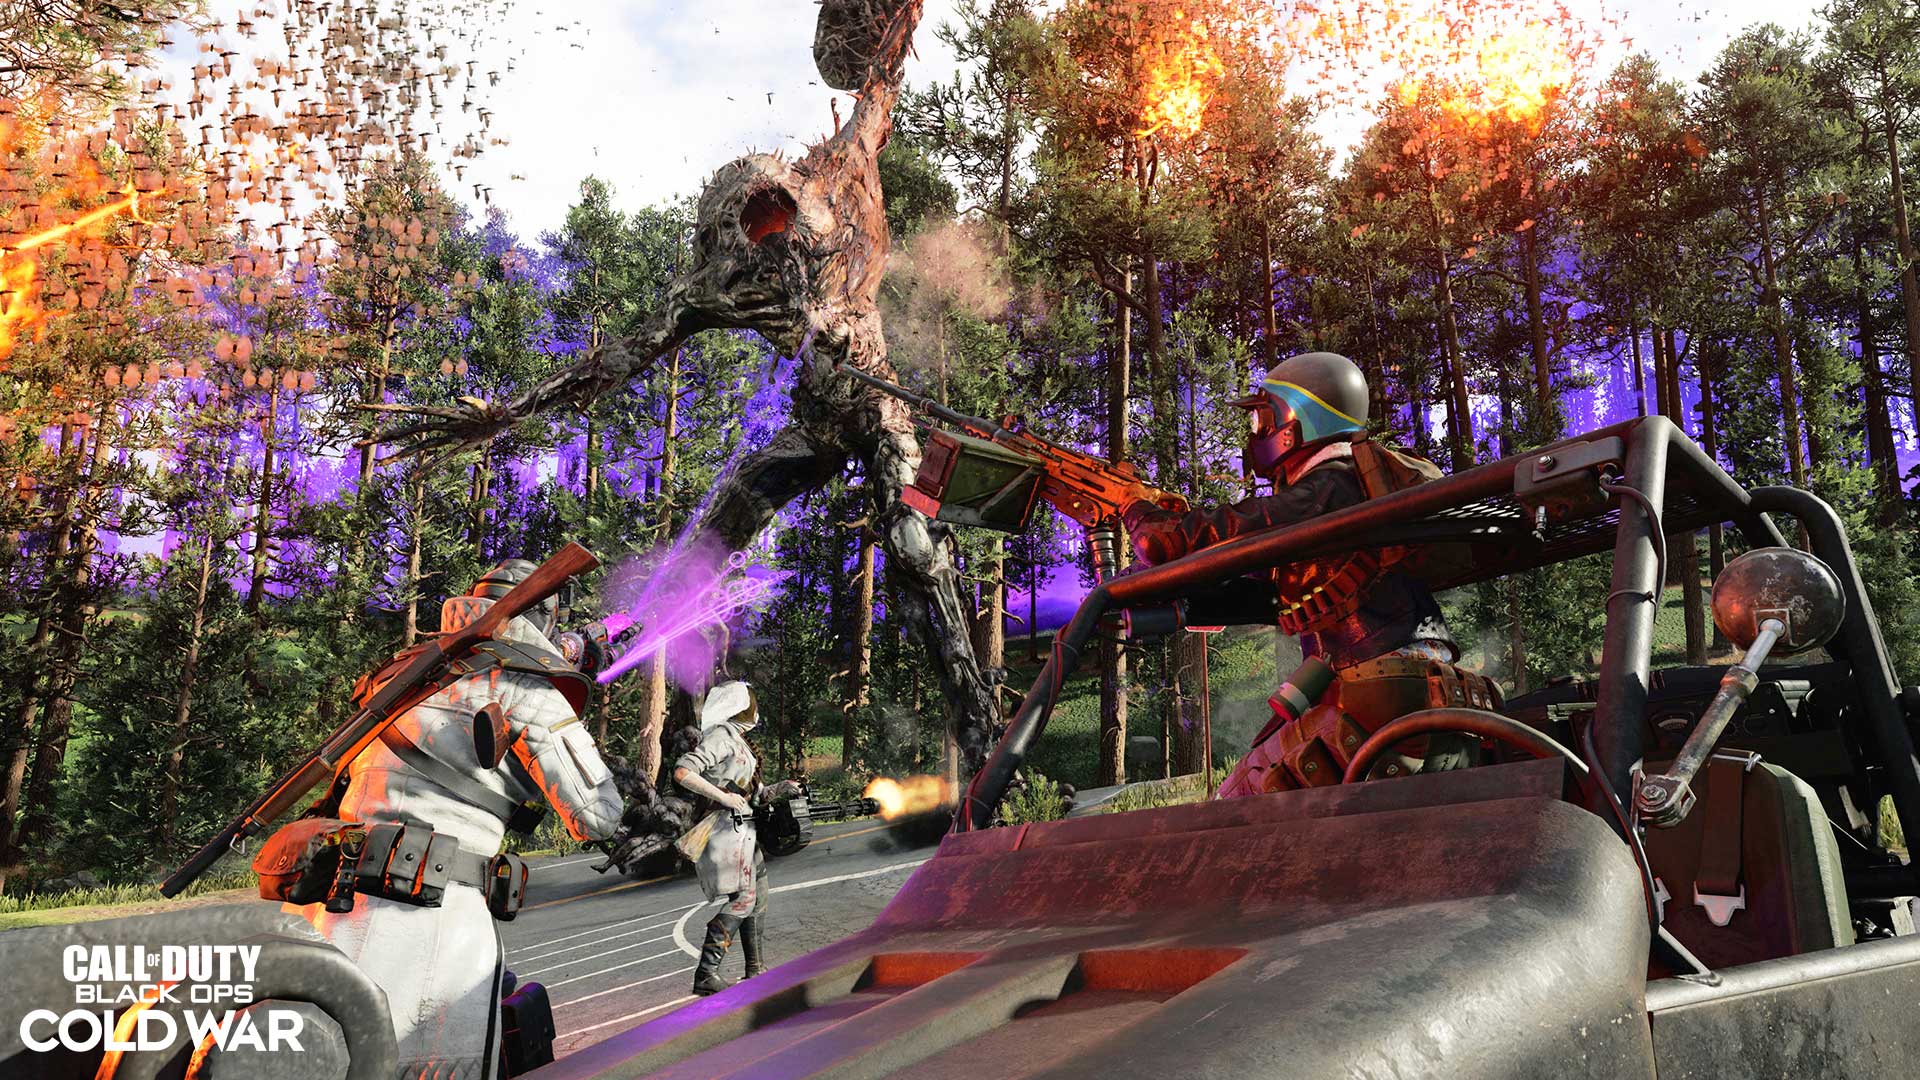
Vehicular Assistance (Level 20): Earn 25 Gunner Medals (kill 3 or more enemies rapidly using a vehicle’s weapons) — 8,500 XP (three Tiers).
It’s always wise to find a vehicle with mounted weapons in Outbreak, as that extra firepower can help deal with enemies should your main weapons run out of ammo.
Find an FAV, Cargo Truck, or other vehicle with mounted weapons and focus fire on wandering hordes. Alternatively, you could bring one close to a World Event (e.g., a Golden Chest) and use it to complete that side objective, gaining some much-deserved in-game rewards in the process.
Harvest Time (Level 30): In Outbreak, collect 5 rewards from rockets in the Secure Objective — 8,500 XP (three Tiers).
The rockets in the Secure Objective will open to reveal a nice reward — often, free Essence or Salvage — once you complete it.
Rather than running for the Beacon site after completing a Secure Objective, be sure to stick around and collect your reward.
Those having difficulty in successfully completing this objective should try using aerial Support, such as Artillery, to blast the undead off these rockets and help them charge up. If you’re having difficulty even finding a Secure Objective, don’t be discouraged if it isn’t your main objective in a region; simply warp to another one until you find it!
Infradead (Level 40): Get 500 Eliminations while aiming down a Thermal Scope attachment — 15,000 XP (five Tiers).
Thermal Scopes are usually the last unlockable attachment for primary weapons such as assault rifles and LMGs.
Take a weapon you unlocked a Thermal Scope for and equip it as your starting weapon within a Loadout. Then stare down those sights and light those zombies up like the thermal heat signatures you’ll see within that scope.
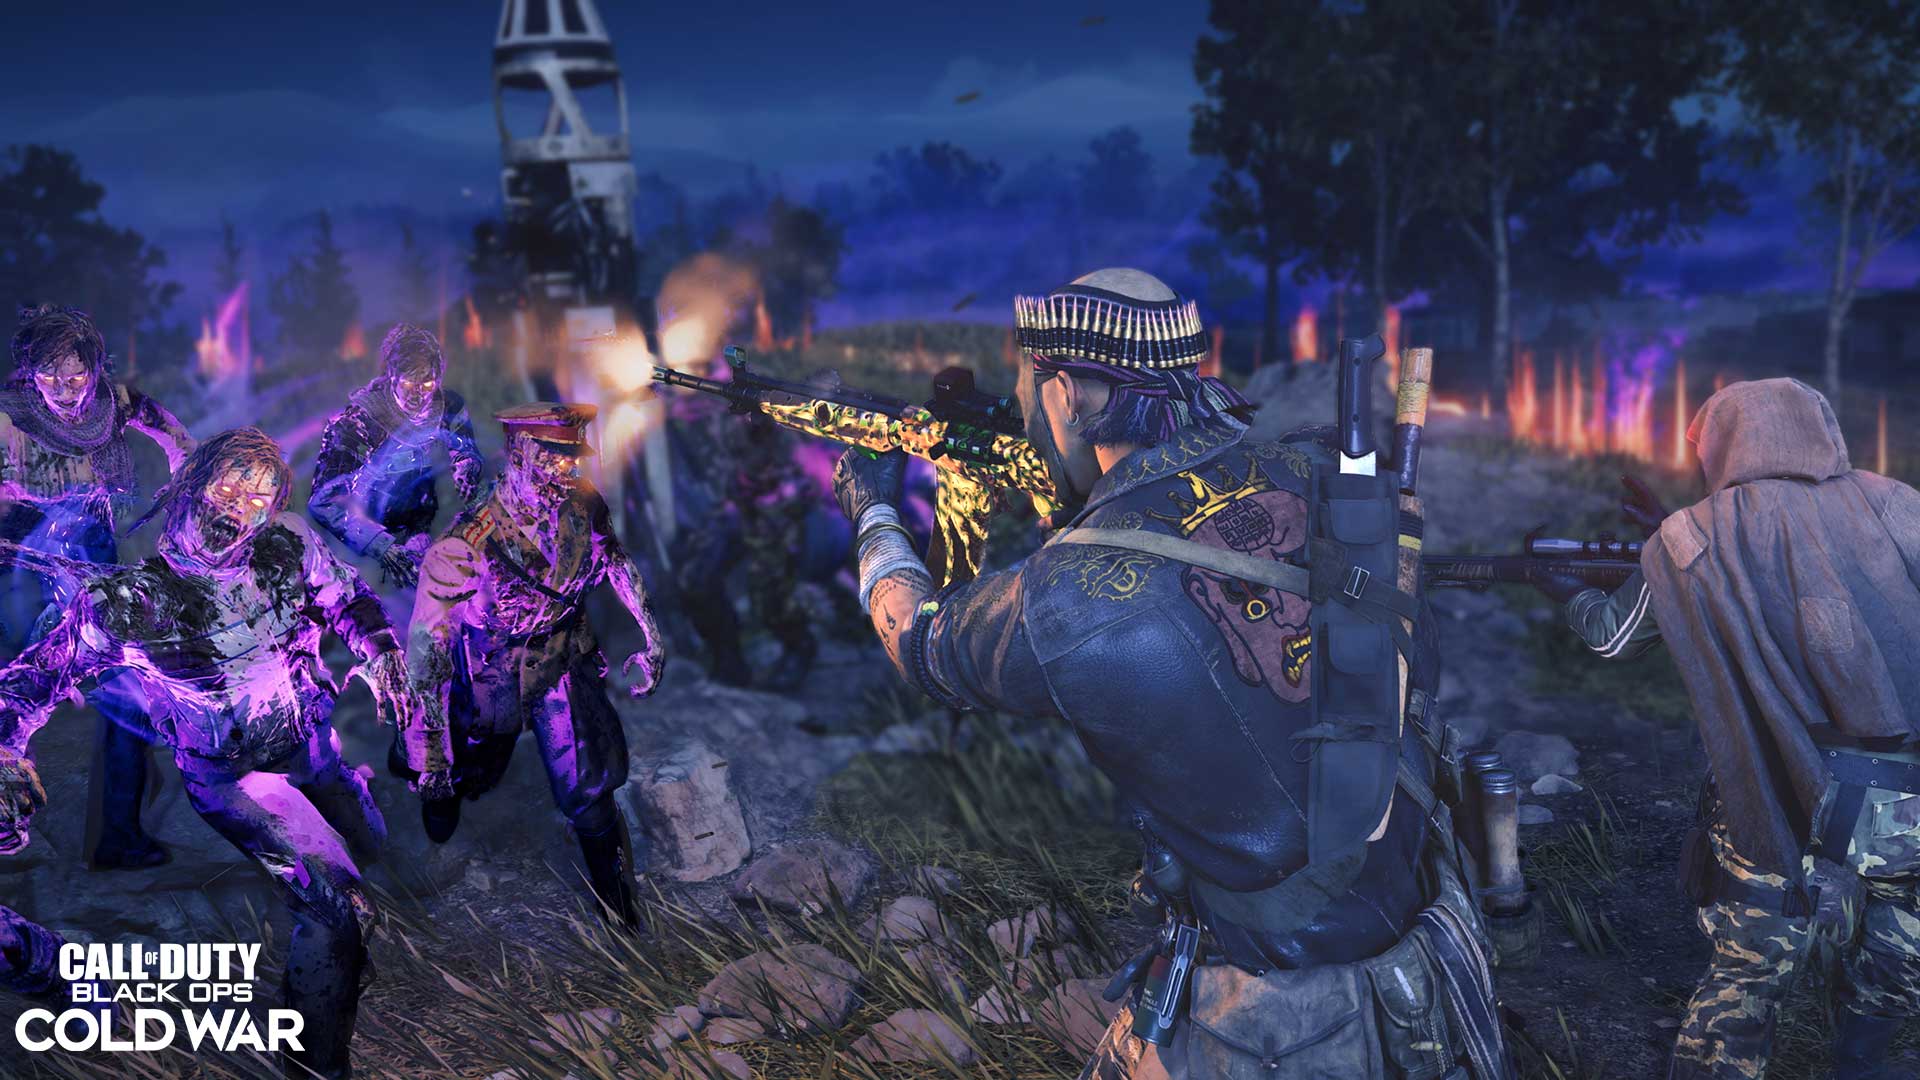
Look Out Below (Level 50): In Outbreak, kill an Orda with a melee finisher — 2,500 XP.
Ordas are no joke — even early in a match, these towering figures can crush Operators like bugs with one well-placed stomp.
So of course we need to have a Knife, a Sledgehammer, or even a shovel to take one down.
Having your melee skill fully upgraded helps with this challenge, as the added damage boosts and self-heals will keep you alive longer. However, we also advise going against an Orda with more than just a melee weapon.
Instead, take a powerful weapon with you to an Orda fight and chip its health down to a sliver. Then take your Knife — or use the butt of your weapon — and chop away at its feet. Using Aether Shroud can also help you avoid being pounded into the dirt, since it allows you to fight the Orda while being completely invincible to damage for a brief period.
Out of Body Experience (Level 60): Use a Chopper Gunner or Cruise Missile Support with 5 or more enemies in close proximity — 8,500 XP (three Tiers).
Another “pro tip” that you will learn through this challenge: If you have a Chopper Gunner or Cruise Missile Support, zombies will stop attacking you completely.
This means that when you pull up one of these items while being bitten and swiped at, you essentially save yourself from dying.
If you’re worried about diving headfirst into a horde, then try using a Decoy Grenade to pool five or more enemies together before standing next to them and pulling out your Support tablet.
Gone Fishing (Level 70): In Outbreak, collect 25 items from fishing — 8,500 XP (three Tiers).
We personally love this minigame that Treyarch added into Outbreak last season, and you may love it, too, since it gives you the chance to get Support Items and even Wonder Weapons with few strings attached.
You can find a fishing spot in an Outbreak region by paying close attention to your mini-map and looking for a fishing pole icon that often appears above bodies of water. Once there, sit back and chill to some relaxing tunes as you cast a line. Once your controller starts rumbling or the audio cue plays, press the button onscreen to pull in your catch.
Do this 25 times, and you’ll complete this challenge, but we don’t blame you if you continue to fish plenty of times after this. Just be wary of some old boots if you catch one on your line, as we’re not sure who keeps throwing them into the water…
Blinded by the Light (Level 80): Kill 25 enemies stunned by Healing Aura — 8,500 XP (three Tiers).
No need to be some all-hot half-shot to complete this challenge; you can even do it with the Healing Aura Skill upgraded to Tier II (which makes the Aura knock down normal enemies and stun Specials and Elites), although we recommend putting it at Tier V to allow for persistent beams that can frequently stun enemies.
Once the Healing Aura is charged, let some Special and Elite enemies approach you and get within its range. Once stunned, fire everything you have into them; if your weapons are too weak, soften them up before activating the Aura and finishing the job.

Hipster (Level 90): Earn 500 Critical Kills without aiming down sights — 15,000 XP (five Tiers).
Those who completed the “Two Is Better Than One” challenge back in Season Three already knew this tip before it became mainstream.
Dual Pistols can work wonders here, as you have to hip-fire them anyway. Alternatively, it can be easier to earn hip-fire Critical Kills when you are up close and personal to the horde and aiming above center mass.
Just be careful that they don’t eat your hip for lunch as you fire away.

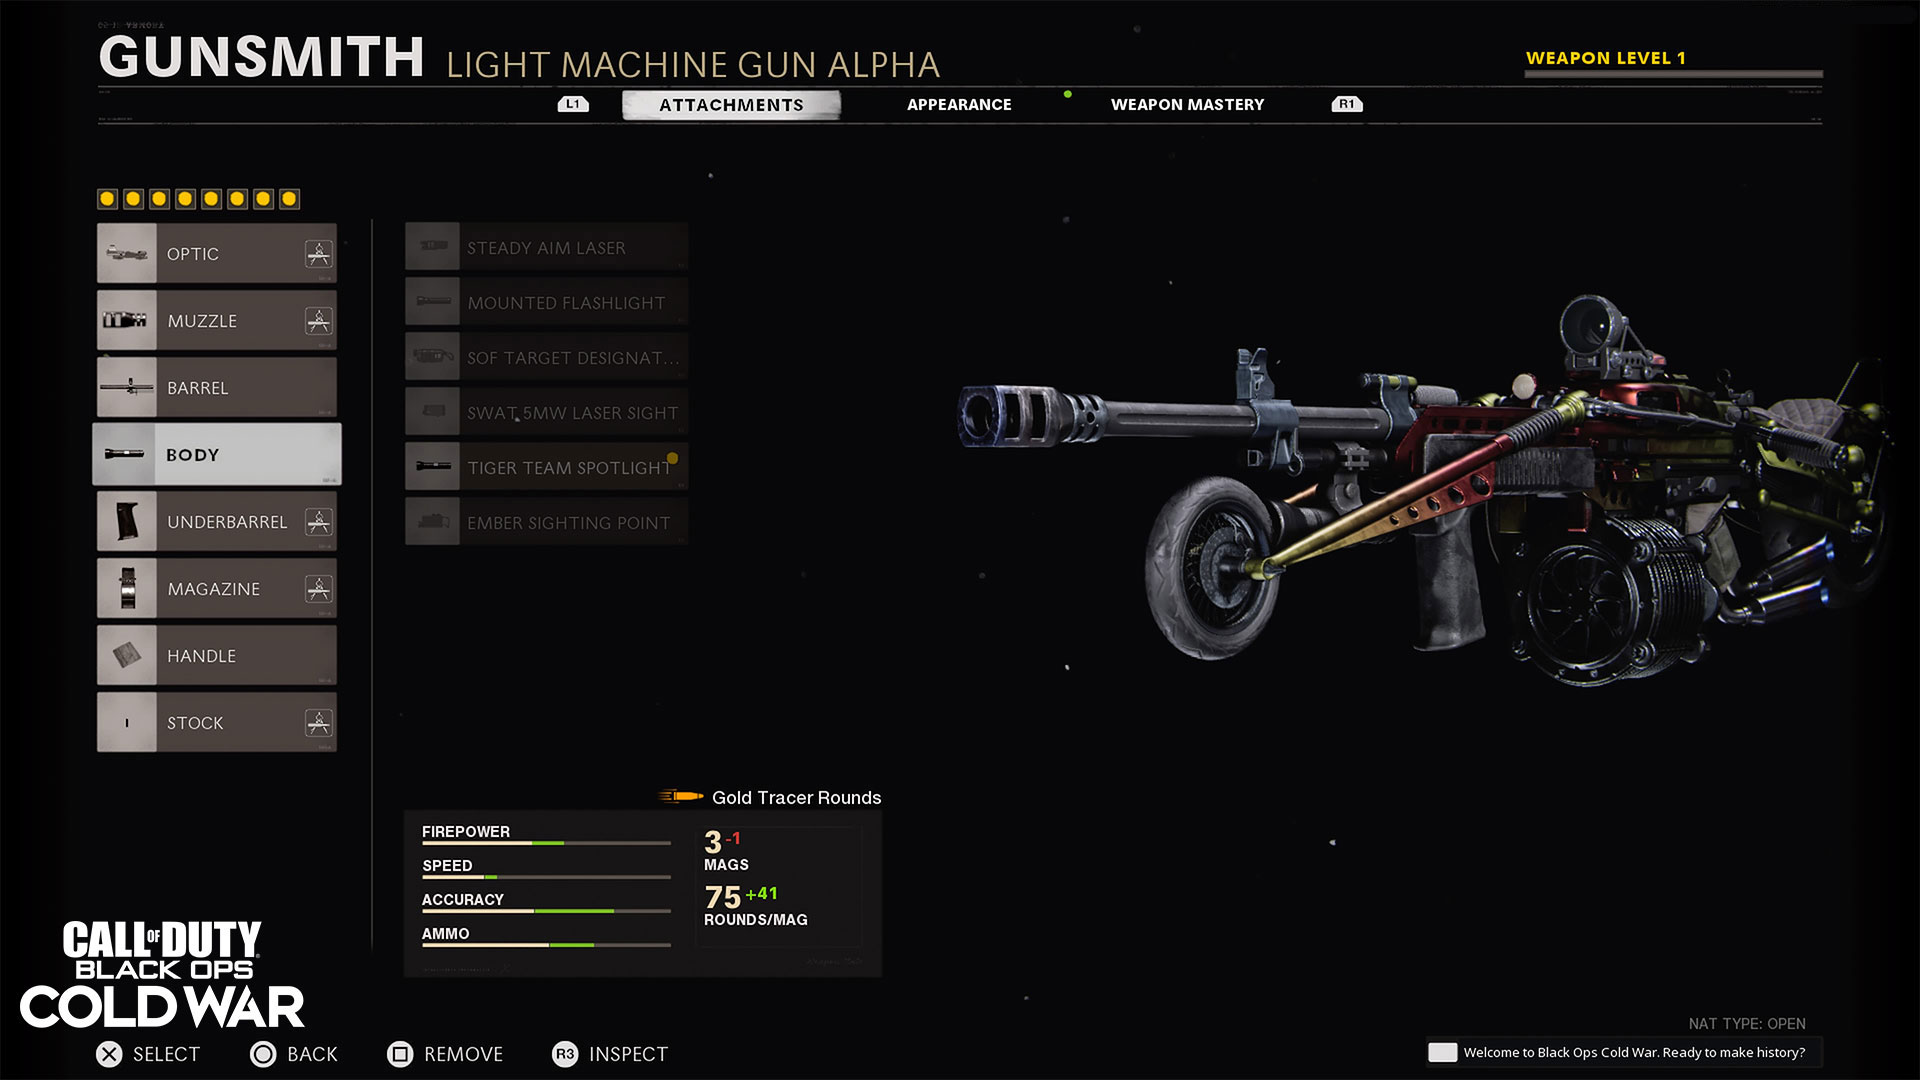
Gunsmith Weapon Blueprint of the Week
Over the weekend, you can get your hands on a brand-new Mastercraft for a Black Ops Cold War LMG that many elite Operators have a very high opinion of.
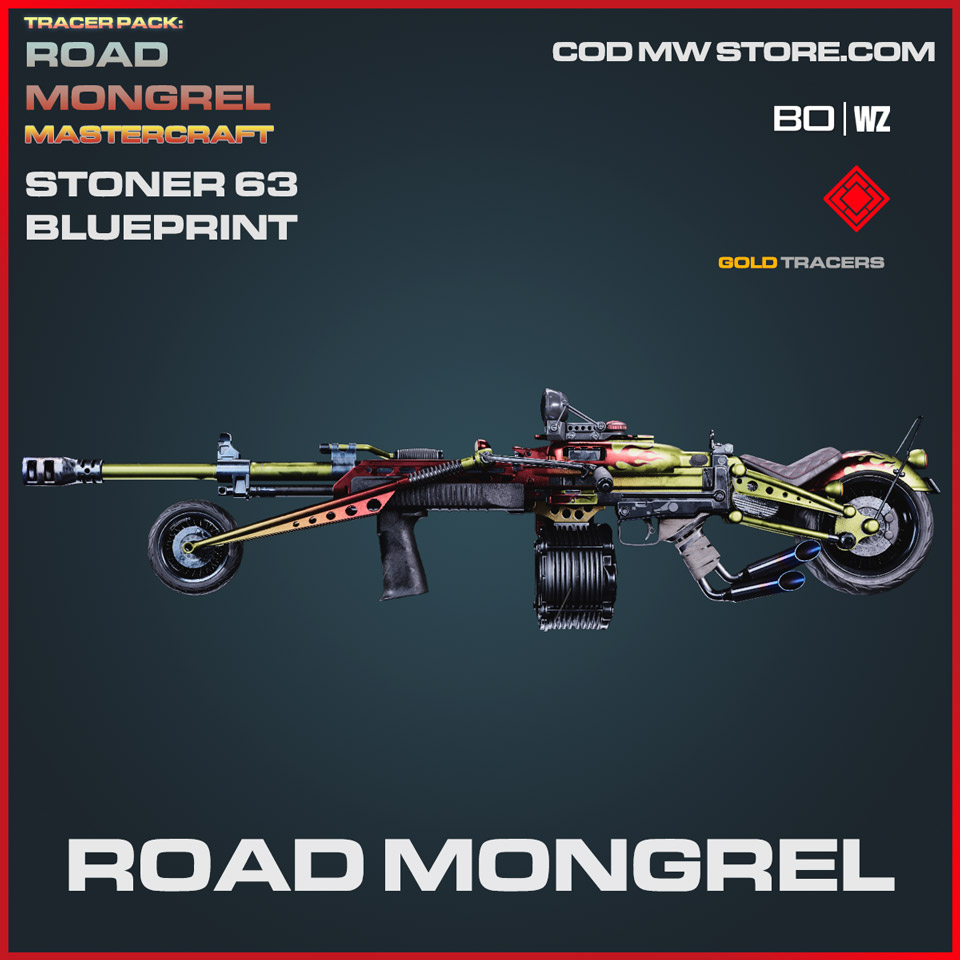
This is the Tracer Pack: Road Mongrel Mastercraft Bundle, featuring its titular signature Ultra-rarity Weapon Blueprint.
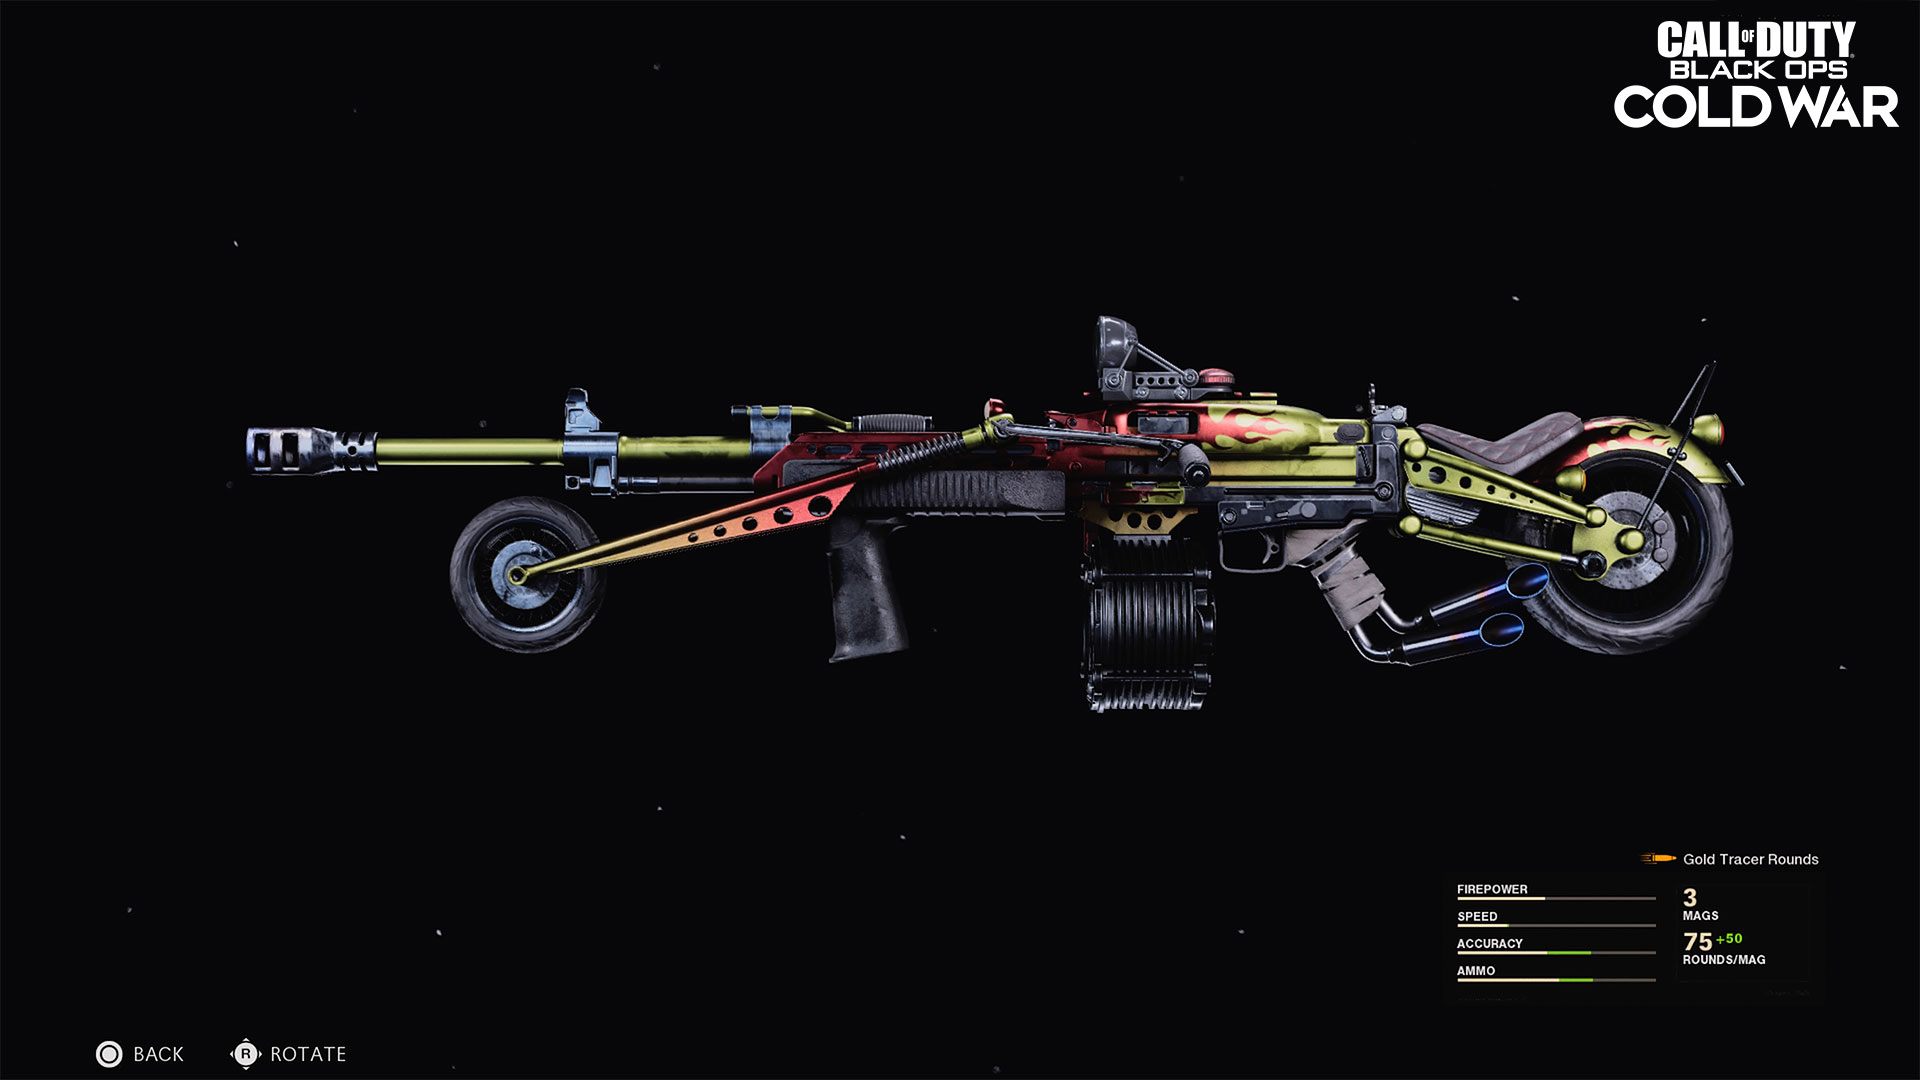
Based on a fast-firing yet balanced LMG, the “Road Mongrel” is a five-attachment monster with incredible ammo capacity (thanks to its massive fast magazine) and recoil control due to its Field Agent Grip.
On its own, this weapon is built for lighting up and smoking the competition into mere ashes in Multiplayer. In Zombies, if you have the LMG Skill upgraded to Tier III, you can use the spare attachment slots on a Task Force Barrel for increased damage, a Tiger Team Spotlight for maximum Salvage drop rates, and any Handle you wish for flinch resistance or Aim Down Sight (ADS) speed, such as the Airborne Elastic Wrap.
Now let’s talk Warzone. In the current meta, this weapon is considered one of the most effective Light Machine Guns across Black Ops Cold War and Warzone, as it is built for mid- to long-range engagements against full squads or multi-team fights.
Here’s how you can kit it for potential success across five attachments:
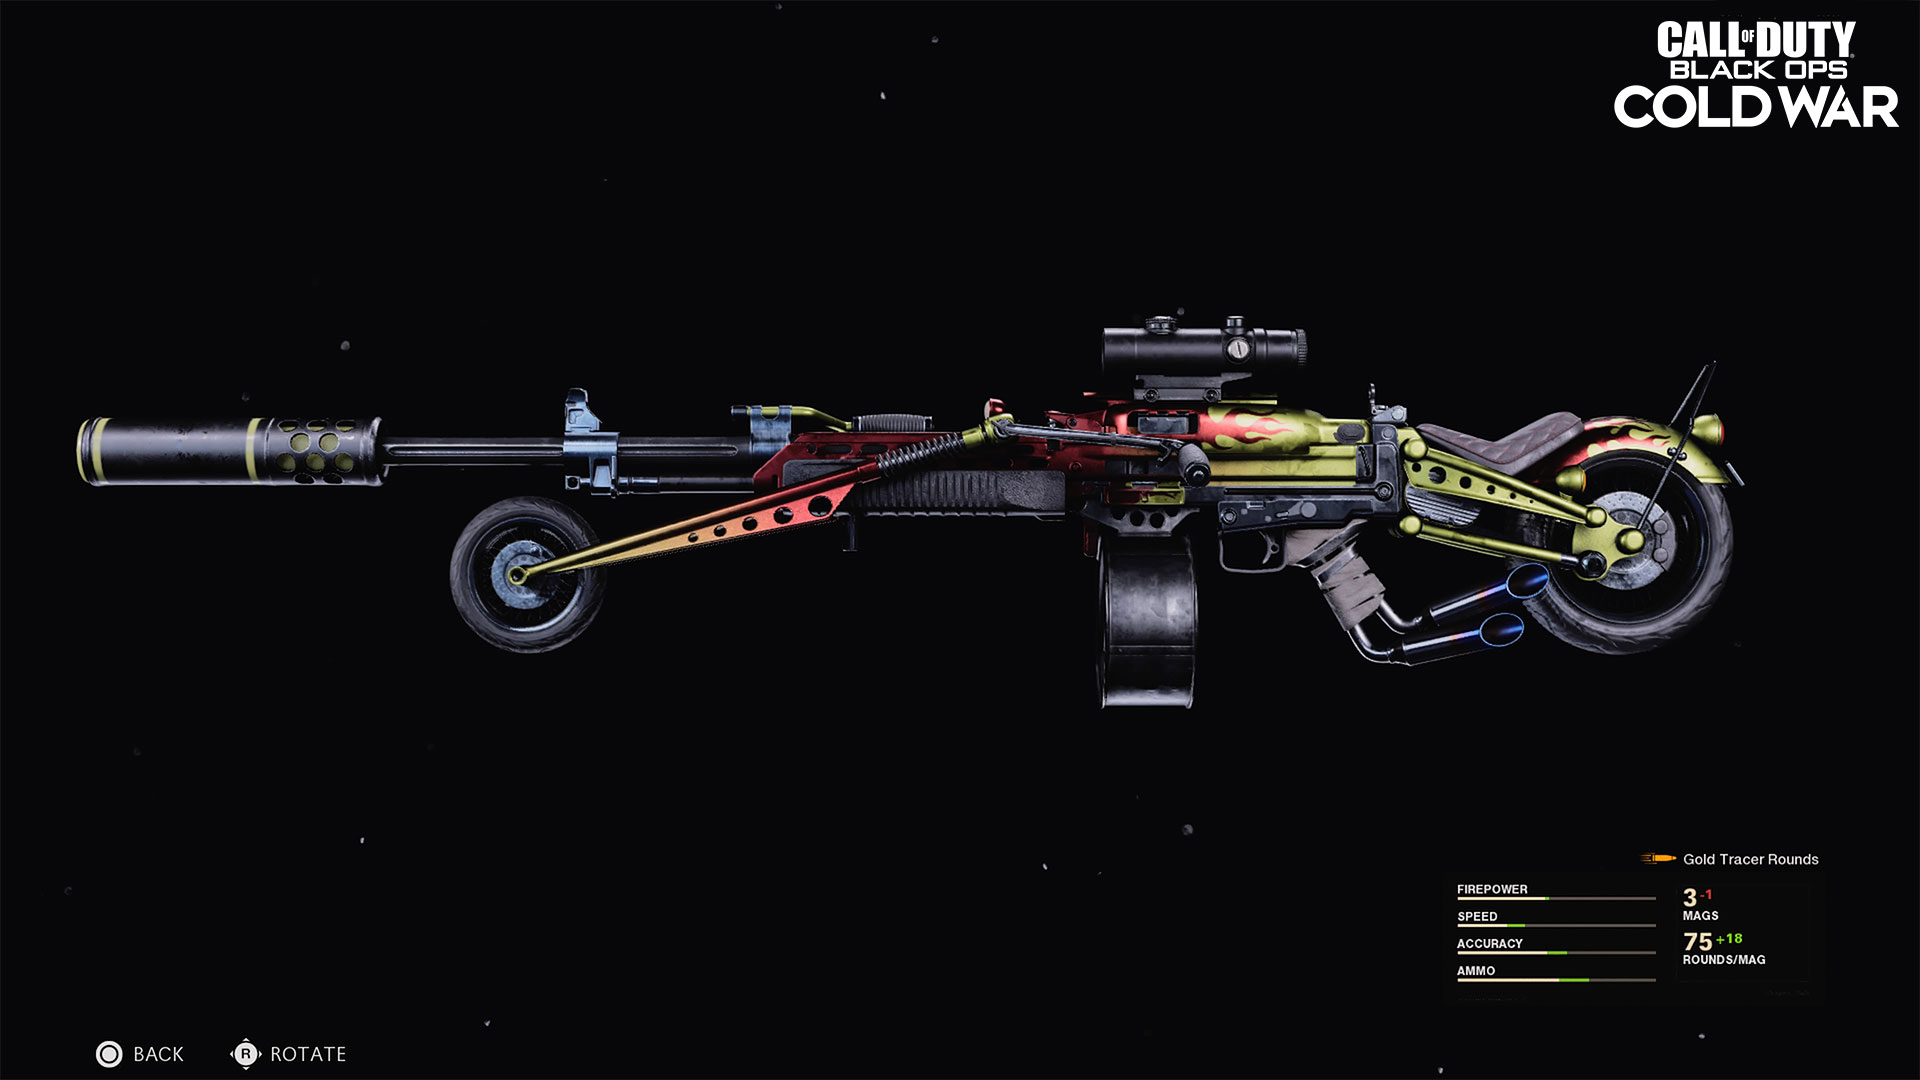
Optic: Using a higher-magnification scope can help you get accurate shots down range in long-distance engagements. This weapon’s iron sights aren’t too bad, but if you forgo an Optic for another attachment, you risk not having that clearer and magnified sight picture.
Muzzle: Agency Suppressors are still the gold standard for Warzone’s long-range fights. Staying off the radar while gaining better range and recoil control is a combination that makes this attachment one to always consider.
Barrel: Like the Agency Suppressors, you can rarely go wrong with a Task Force Barrel on a Black Ops Cold War weapon, thanks to its sheer damage boost. If you don’t have it unlocked, or don’t like its penalties, then consider the Match Grade Barrel for a straight Damage Range boost, or go for some of the shorter barrels, such as the 18.6” Division, to create a weapon that is more suited for strafing and moving while firing.
Body: Hip-firing an LMG is rarely a good idea when fighting in long-range engagements, so you may want to consider taking a Flashlight from this category instead for its Damage Range boosts.
Underbarrel: The Field Agent Grip is phenomenal here, since it helps with vertical and horizontal recoil. However, if you are going for a more “mobile” build with a shaved-down barrel, it may be better to take a Foregrip, which provides a solid horizontal recoil control bonus with no downsides, or an Infiltrator Grip, which further boosts shooting move speeds in addition to regular movement and Aim Walking Speeds.
Magazine: By default, you’ll have a ton of ammo for squad fights, but don’t think you can skip over a Magazine attachment for Solo or Duo games. LMGs are known for slow reloads, and this weapon is no different. Fast mags are recommended, and for squad-based game modes, you can’t go wrong with its largest fast magazine at 120 rounds.
Handle: Although they downgrade the weapon’s already slow Sprint-to-Fire speed, the Serpent Wrap and Airborne Elastic Wrap are both great choices for Handles on this weapon, since their ADS benefits are second to none. If you are concerned about your weapon not being ready for fights after a long sprint, consider taking some simple Speed Tape instead.
Stock: We have No Stock attached here, since it provides a great Sprint-to-Fire benefit that can be especially great in a more mobile build and because it keeps our Mastercraft fully intact instead of losing a wheel. The SAS Combat Stock is also good for this in another way, since it significantly boosts Shooting Move Speed and Aim Walking Movement Speed.
With this weapon, there are two main camps of Loadout-building: the first is the traditional “on-meta” long-range tool, one that may not be as mobile but can throw out lead down range to wipe multiple squads.
The alternative way of building this weapon may grant you the element of surprise in battle: a mobile LMG build. For example, take an 18.6” Division Barrel that boosts Damage and Shooting Move Speed, use it in combination with the Agency Suppressor and Tiger Team Spotlight to bring its range back up, then round it out with an SAS Combat Stock and Serpent Wrap. In Solo or Duo modes, this combination can be great for strafing, as if you were using an assault rifle but with the ammo capacity and power of a mighty LMG.
In other words, keep experimenting away from what the masses of Operators usually use, and you may find that one nugget of pure meta-shifting gold.